If you want to give your engine a thorough clean and keep it running smoothly, knowing how to properly use Liqui Moly Engine Flush is essential. Using this powerful product the right way can remove sludge and deposits that harm your engine over time.
But here’s the catch—you must follow the correct steps carefully to avoid causing damage. In this guide, you’ll get clear, simple instructions on how to use Liqui Moly Engine Flush safely and effectively. Keep reading to protect your engine and get the most out of this trusted product.
Your car deserves it!
Credit: mypartsuniverse.com
Liqui Moly Engine Flush Basics
Understanding the basics of Liqui Moly Engine Flush helps maintain your engine’s health. This product cleans harmful deposits inside your engine. It improves oil flow and engine performance. Using it correctly ensures your engine runs smoothly and lasts longer.
What It Does
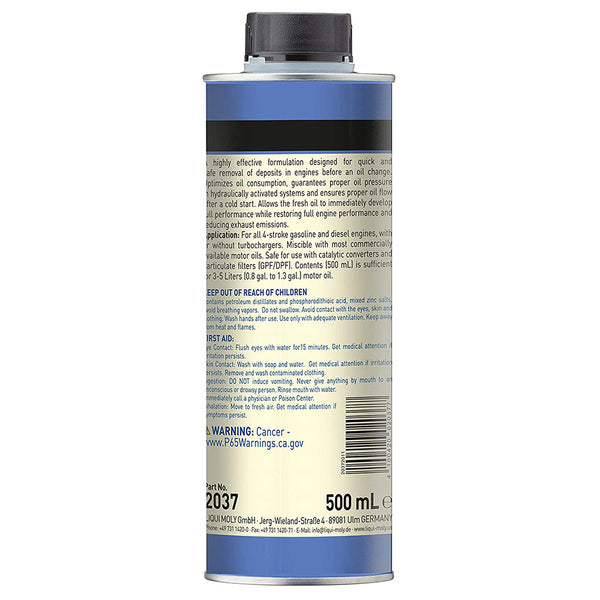
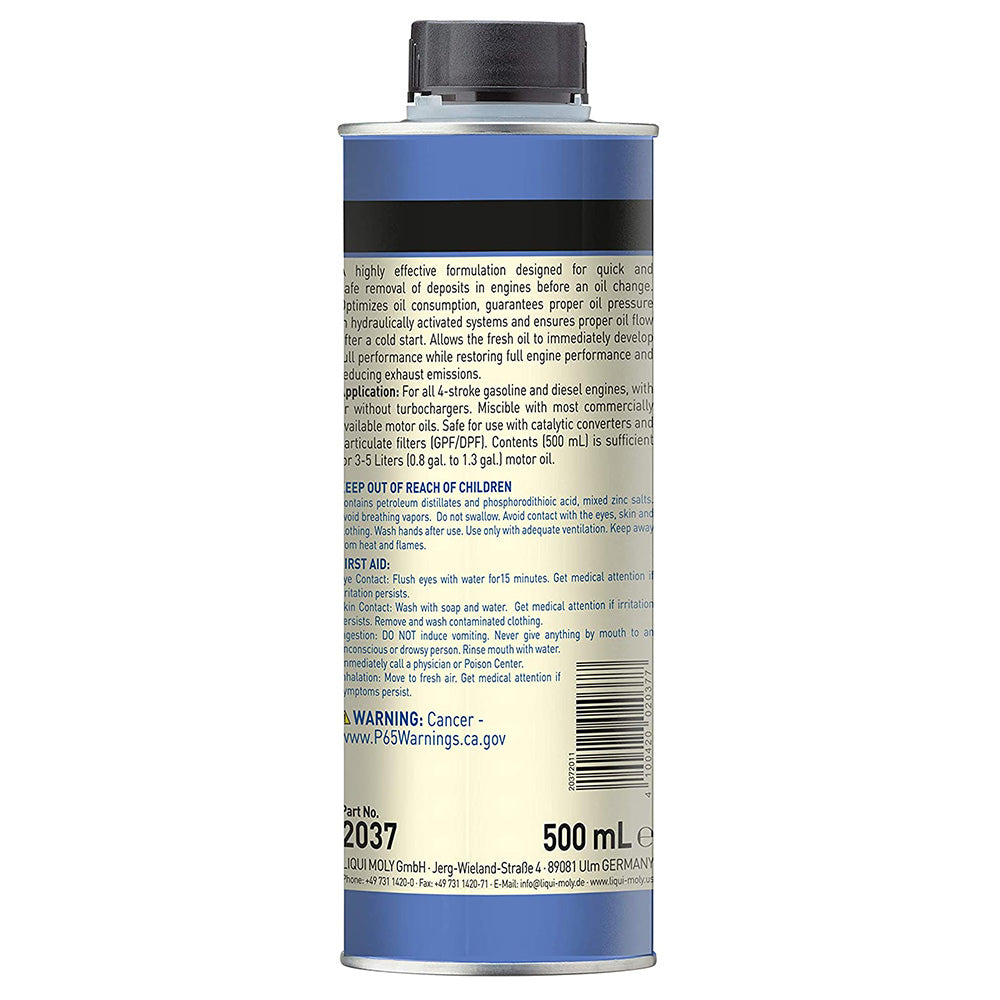
Liqui Moly Engine Flush removes sludge and dirt build-up. It breaks down deposits that form from old oil. This cleaning prepares the engine for fresh oil. It helps reduce wear and tear on engine parts. The product works quickly during short idling periods. It does not require driving while applied.
Key Ingredients
The formula contains special detergents and solvents. These ingredients dissolve stubborn sludge and varnish. They help loosen dirt stuck to engine surfaces. The flush also includes additives to protect metal parts. These ingredients ensure safe cleaning without harm. The product is designed to mix well with old oil.
Credit: mypartsuniverse.com
Step-by-step Flush Process
Performing an engine flush with Liqui Moly helps clean sludge and deposits inside your engine. Follow this step-by-step flush process carefully to ensure best results. Each step prepares your engine for a thorough cleaning and fresh oil refill.
Prepare Engine Temperature
Start your car and let the engine warm up. The oil must reach normal operating temperature. Warm oil flows better and carries away dirt more easily. Turn off the engine before adding the flush.
Add Engine Flush
Pour the Liqui Moly Engine Flush into the engine oil filler opening. Use the entire bottle for one flush. This flush mixes with the old oil and starts dissolving sludge and deposits.
Idle Engine Only
Start the engine again and let it run at idle speed. Keep the engine running for 10 to 15 minutes. Do not drive the car during this time. The flush works best while the engine idles.
Drain Old Oil And Flush
Turn off the engine. Drain the old oil mixed with the flush from the oil pan. Make sure to collect all the old oil. Proper disposal helps protect the environment.
Replace Oil Filter
Remove the old oil filter and discard it. Install a new oil filter to ensure clean oil flow. A fresh filter protects your engine from new contaminants.
Fill Fresh Engine Oil
Pour the recommended amount of fresh engine oil into the engine. Use the oil grade specified by your vehicle manual. Check oil level with the dipstick and add more if needed.
Safety Precautions
Safety precautions are vital when using Liqui Moly Engine Flush. The product contains chemicals that clean engine sludge effectively. Misuse can lead to problems and engine damage. Following safety steps ensures a smooth and safe engine flush process.
Understanding the risks helps protect your engine and avoid costly repairs. Always follow the product instructions carefully for the best results.
Avoid Driving With Flush
Do not drive your car with Liqui Moly Engine Flush inside. The flush is meant for engine idling only. Driving can cause the diluted oil to circulate and reduce protection. Keep the engine running at idle as instructed to prevent damage.
Risks Of Diluted Oil
The engine flush thins the existing oil to break down sludge. This dilution lowers the oil’s ability to lubricate parts properly. Thin oil cannot protect moving parts under pressure. It may cause increased wear and overheating in the engine.
Potential Engine Damage
Using the flush incorrectly can harm engine components. Bearings and oil passages are especially at risk. Lack of proper lubrication may cause parts to seize or fail. Follow instructions strictly to avoid expensive engine repairs.

Credit: www.team-bhp.com
Liqui Moly Sludge Remover Vs Engine Flush
Understanding the difference between Liqui Moly Sludge Remover and Engine Flush helps maintain your car’s engine health. Both products clean the engine but work in different ways and have specific uses. Choosing the right one depends on your engine’s condition and maintenance needs.
Formula Differences
Liqui Moly Engine Flush contains strong chemicals that dissolve heavy sludge fast. It is a concentrated formula made for tough cleaning. Sludge Remover is milder and less concentrated. It works slowly to break down light deposits and sludge. Engine Flush can thin the oil significantly during use. Sludge Remover is safer for regular maintenance and gentle cleaning.
Usage Instructions
For Engine Flush, add it to warm engine oil before an oil change. Run the engine at idle for about 10 to 15 minutes. Do not drive the car during this time. Then drain the oil mixture and replace the oil filter. Finally, add fresh engine oil. Sludge Remover can be added to the engine oil and driven normally for several hundred miles. It cleans the engine gradually during normal driving. After this, change the oil and filter as usual.
Which To Choose
Choose Engine Flush for heavy sludge or long engine use without maintenance. Use it carefully and follow instructions strictly. Choose Sludge Remover for regular engine care or mild sludge build-up. It is safer for frequent use and protects engine parts. Both products improve engine cleanliness but suit different situations. Use the right product to keep your engine running smoothly.
How Often To Use Engine Flush
Knowing how often to use Liqui Moly Engine Flush helps keep your engine clean. Regular use removes sludge and deposits that harm engine parts. It also improves oil flow and engine performance. Using it at the right time ensures your engine stays healthy and runs smoothly.
Recommended Intervals
Use Liqui Moly Engine Flush every 10,000 to 15,000 miles. This depends on your car’s make and driving conditions. Check your owner’s manual for specific advice. For older cars or those with heavy use, consider flushing more often. Avoid using it too frequently to prevent oil dilution.
Signs Your Engine Needs A Flush
Look for slow acceleration or rough idling. Engine noise or knocking sounds can indicate sludge buildup. Dark, thick oil on the dipstick also signals a flush is needed. Poor fuel economy may mean your engine needs cleaning. These signs suggest it’s time to use Liqui Moly Engine Flush.
Common Myths And Faqs
Many people have questions and doubts about using Liqui Moly Engine Flush. Some myths spread confusion and cause hesitation. This section clears up common misunderstandings. It also answers frequent questions to help you use the product safely and effectively.
Can You Drive After Adding Flush?
No, do not drive your car after adding the standard Liqui Moly Engine Flush. The engine flush thins the oil to break down sludge. This thinning reduces oil’s ability to protect engine parts. Driving can cause serious damage due to poor lubrication.
Instead, run the engine at idle for about 10 to 15 minutes only. Then, drain the old oil and flush mixture. Replace the oil filter and add fresh oil before driving again.
Is Engine Flush Always Necessary?
Engine flush is not needed for every oil change. It is mainly for engines with heavy sludge or deposits. If your engine runs clean and oil looks normal, skip the flush.
Use an engine flush only if your mechanic recommends it or if you notice rough engine performance. Overuse can remove too much oil and cause harm. Follow the product instructions carefully.
Effectiveness On Sludge Removal
Liqui Moly Engine Flush is effective at loosening and dissolving sludge inside the engine. It helps clean oil passages and improve engine efficiency. However, it cannot fix severe engine damage caused by long-term neglect.
For mild to moderate sludge buildup, the flush works well when used as directed. For heavy sludge, you might need professional cleaning or repairs. Always use the correct amount and avoid overuse.
Tips For Best Results
Using Liqui Moly Engine Flush correctly ensures your engine stays clean and runs smoothly. Small steps make a big difference in performance and longevity.
Follow these tips to get the most out of the engine flush and protect your engine from damage.
Use With Every Oil Change
Add the engine flush to your oil before every oil change. This helps remove sludge and dirt built up inside the engine. Running the flush only for a few minutes breaks down deposits without harming the engine. Always drain the old oil mixed with the flush afterward. Replace the oil filter and add fresh oil for best results.
Follow Manufacturer Instructions
Read and follow Liqui Moly’s instructions carefully. Use the recommended amount of flush and only run the engine at idle. Do not drive the car with the flush inside. This prevents the oil from thinning too much, avoiding engine damage. Using the flush incorrectly can cause serious harm to engine parts.
Check Engine Condition
Before using the engine flush, check your engine’s condition. Older engines with heavy sludge may need special care or professional service. If your engine is very dirty, consider using Liqui Moly Sludge Remover instead. Always ensure your engine is at normal operating temperature before adding the flush. This helps the product work better and protects your engine.
Frequently Asked Questions
Can I Drive With Liqui Moly Engine Flush?
Do not drive with Liqui Moly Engine Flush in your engine. Run the engine only at idle as per instructions. Driving thins oil, reducing lubrication and risking engine damage. Always follow product-specific guidelines for safe use.
How Often Should I Use Liqui Moly Engine Flush?
Use Liqui Moly engine flush once every oil change or as recommended in your vehicle’s manual. Avoid frequent use to protect engine health.
How To Properly Use Engine Flush?
Add engine flush to warm oil and idle engine for 10-15 minutes. Then drain oil and flush mixture. Replace oil filter and refill fresh oil. Avoid driving with flush inside to prevent engine damage. Follow product-specific instructions carefully for best results.
How To Use Liqui Moly Engine Detox?
Warm up the engine. Add Liqui Moly Engine Detox to existing oil. Idle the engine for 10-15 minutes. Drain old oil and flush. Replace the oil filter. Refill with fresh engine oil. Do not drive the car during the flush process to avoid engine damage.
What Is Liqui Moly Engine Flush Used For?
It cleans engine sludge and deposits before changing the oil for better engine health.
Conclusion
Using Liqui Moly Engine Flush properly protects your engine. Always add the flush with warm oil. Let the engine idle as instructed. Never drive with the flush inside. Drain the old oil and replace the filter. Fill the engine with fresh oil afterward.
This process cleans sludge and deposits safely. Follow product instructions carefully for best results. Proper care extends engine life and performance. Simple steps prevent damage and costly repairs. Keep your engine running smoothly and efficiently.


