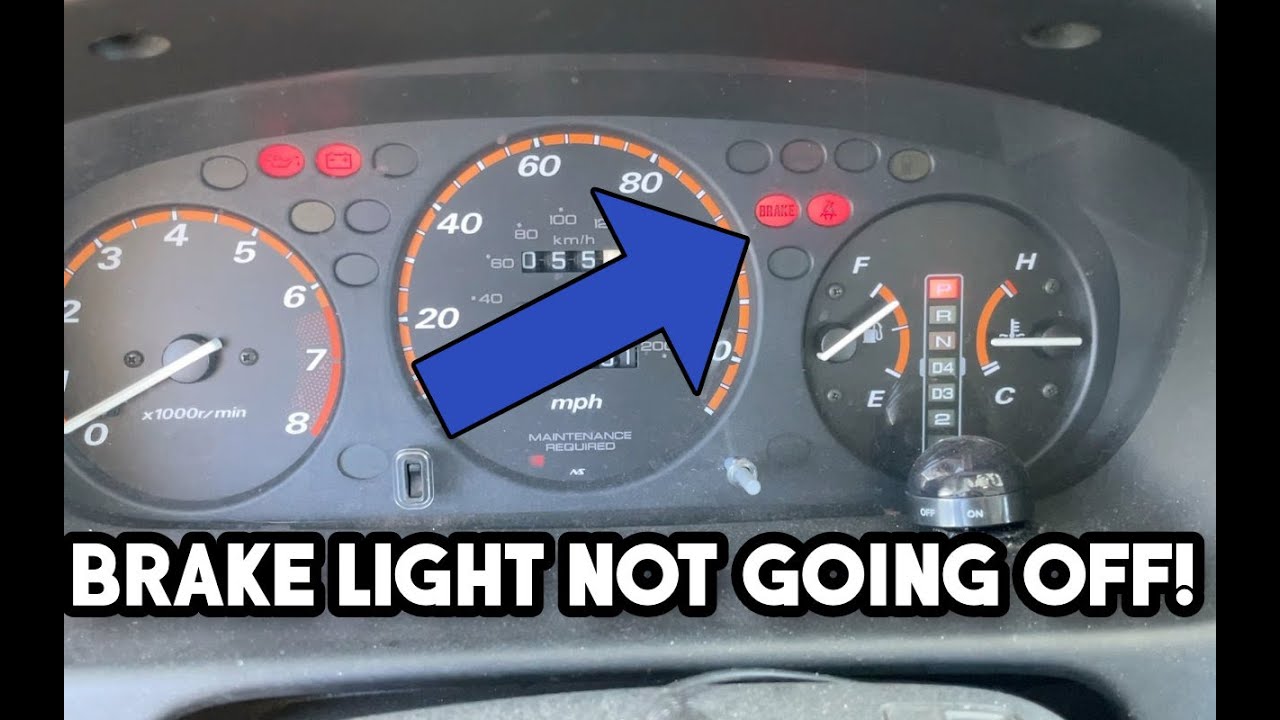
If your Honda CRV brake light stays on, it can be concerning. This issue might signal a problem needing immediate attention.
Your brake light staying on is not just an annoyance. It can indicate serious issues with your vehicle’s braking system. Problems can range from a simple sensor malfunction to more complex electrical or mechanical failures. Understanding the causes and solutions can save you time and money.
Plus, it ensures your car remains safe on the road. In this blog, we will explore the common reasons behind this issue. You’ll also learn the steps to diagnose and fix it. Let’s dive in and keep your Honda CRV running smoothly and safely.
Credit: www.2carpros.com
Common Causes
Have you noticed that your Honda CR-V brake light stays on? This issue can be frustrating. Knowing the common causes can help you fix the problem. Here are some reasons why this might happen.
Faulty Brake Light Switch
The brake light switch is a small device. It is located near the brake pedal. When you press the brake pedal, it sends a signal to turn on the brake lights.
If the switch is faulty, the brake lights can stay on. This is one of the most common issues. Check the switch for any signs of damage. You may need to replace it.
Damaged Wiring
Wiring problems can also cause the brake lights to stay on. The wiring connects the brake light switch to the brake lights.
If there is a break in the wiring, the lights may stay on. Check for any frayed or broken wires. Fixing the wiring can solve the problem.
| Common Causes | Description |
|---|---|
| Faulty Brake Light Switch | The switch may be damaged or worn out. |
| Damaged Wiring | The wiring may be frayed or broken. |
By understanding these common causes, you can troubleshoot the problem. Fixing the brake light issue will ensure your Honda CR-V is safe to drive.
Initial Inspection
Experiencing issues with your Honda CRV brake light staying on? This problem is common. To fix it, start with an Initial Inspection. This process helps identify the root cause. Follow these steps to ensure safety and functionality.
Check Brake Pedal
First, check the brake pedal. Ensure it returns to its original position. Sometimes, the pedal may stick. This can keep the brake light on. Press and release the pedal several times. Observe if it moves smoothly.
Next, look for any obstruction. Dirt or debris can cause the pedal to stick. Clean the area around the pedal. This simple step can fix the issue.
Inspect Brake Light Switch
Next, inspect the brake light switch. This switch is usually located near the brake pedal. It activates the brake light when you press the pedal.
- Locate the brake light switch.
- Check for any visible damage.
- Ensure the switch is properly aligned.
If the switch is damaged, it needs replacement. A misaligned switch can cause the brake light to stay on. Adjust the position of the switch. Ensure it makes contact with the brake pedal correctly.
Here is a quick checklist for inspecting the brake light switch:
| Step | Action |
|---|---|
| 1 | Locate the brake light switch |
| 2 | Check for visible damage |
| 3 | Ensure proper alignment |
| 4 | Adjust if necessary |
Performing these checks helps identify and fix common issues. Ensure your Honda CRV operates safely and efficiently.
Fixing The Brake Light Switch
Is your Honda CRV brake light staying on? The brake light switch might be the problem. This small component can cause big issues. Fixing it can be simple if you know how. Follow these steps to resolve the issue.
Locating The Switch
First, you need to locate the brake light switch. It is usually near the brake pedal. Look under the dashboard. You will see a small switch connected to the brake pedal arm.
- Sit in the driver’s seat.
- Look up under the dashboard.
- Find the brake pedal arm.
- Locate the small switch attached to it.
Replacing The Switch
Once you have located the switch, you can replace it. Follow these steps for a smooth replacement:
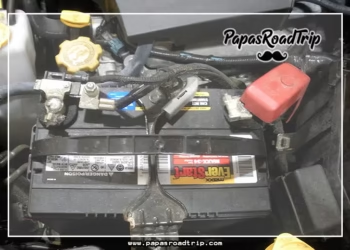
- Disconnect the battery to avoid any electrical issues.
- Remove the old switch by unscrewing it.
- Disconnect the wiring harness from the old switch.
- Connect the wiring harness to the new switch.
- Secure the new switch in place by screwing it in.
- Reconnect the battery.
Ensure the new switch is properly aligned. Test it by pressing the brake pedal. The brake light should now function correctly.
Replacing the brake light switch can solve the issue of brake light staying on. It is a straightforward process. This helps you save time and money on repairs.
Wiring Issues
Wiring issues can cause your Honda CR-V brake light to stay on. Damaged wires disrupt the electrical connection. This can lead to a malfunctioning brake light. Below are steps to identify and fix wiring issues.
Identifying Damaged Wires
First, inspect the wiring harness. Look for any visible damage. Broken or frayed wires can be the culprit. Use a flashlight to examine hard-to-see areas. Check for loose connections as well. Sometimes, wires can disconnect due to vibrations. Confirm that all connections are secure.
Repairing Or Replacing Wires
If you find damaged wires, you have two options. Repair the wires or replace them. To repair, strip the damaged section. Use electrical tape to insulate it. This will restore the connection. For severe damage, replacing the wire is better. Cut out the damaged section. Splice in a new piece of wire. Use connectors to join the wires securely. Always ensure good insulation to prevent future issues.
Fuse Problems
Fuse problems can cause your Honda CRV brake light to stay on. A blown fuse may disrupt the electrical circuit. This can keep the brake light on constantly. Fixing this issue involves checking and replacing the fuse.
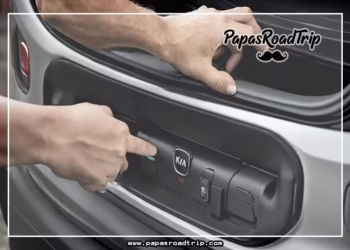
Locating The Fuse Box
First, find your car’s fuse box. It is usually under the dashboard. You might also find it near the engine. Check your car’s manual for the exact location. Once found, open the fuse box cover.
Replacing Blown Fuses
Inside the fuse box, look for the brake light fuse. The car manual can help you identify it. Pull out the fuse using a fuse puller or tweezers. Check if the metal strip inside is broken. If it is, the fuse is blown. Replace it with a new one of the same rating. Close the fuse box cover and test the brake lights.
Brake Pedal Adjustment
Brake pedal adjustment is crucial for your Honda CRV’s brake lights. If the brake light stays on, the pedal might need adjustment. This process ensures the brake lights activate and deactivate correctly.
Checking Pedal Position
First, check the brake pedal’s position. The pedal should not be too high or too low. A misaligned pedal can cause the brake light to stay on. Press the pedal and observe its movement. It should move smoothly without sticking.
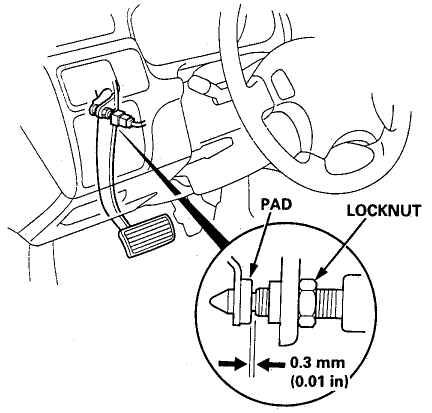
Adjusting Pedal Height
Next, adjust the brake pedal height. Find the adjustment nut near the top of the pedal. Turn the nut to raise or lower the pedal. Make small adjustments and test the brake lights after each change. Ensure the pedal height feels comfortable and the brake lights function properly.
Diagnostic Tools
When your Honda CRV brake light stays on, it can be quite concerning. Understanding the proper diagnostic tools can help you identify the root cause. This section will explore the necessary tools and methods to diagnose the issue effectively.
Using A Multimeter
A multimeter is an essential tool for diagnosing electrical problems in your vehicle. It measures voltage, current, and resistance. Here’s how to use it:
- Set your multimeter to measure voltage.
- Connect the red probe to the brake light wire and the black probe to the ground.
- Check the voltage reading. A good brake light circuit should show around 12 volts.
- If the voltage is low or zero, there might be a wiring issue.
Reading Error Codes
Another effective method is reading error codes using an OBD-II scanner. This tool connects to your car’s diagnostic port and retrieves fault codes. Follow these steps:
- Plug the OBD-II scanner into the port, usually located under the dashboard.
- Turn on the ignition without starting the engine.
- Follow the scanner’s instructions to retrieve the error codes.
- Refer to the scanner’s manual or an online database to understand the codes.
Using these diagnostic tools, you can pinpoint the problem with your Honda CRV’s brake light. Proper diagnosis leads to effective repair and a safer driving experience.
Credit: www.youtube.com
Preventative Measures
Ensuring that your Honda CR-V brake light does not stay on can save you from potential safety issues. By following preventative measures, you can keep your vehicle in optimal condition. Regular maintenance and routine inspections play a crucial role in this.
Regular Maintenance
Regular maintenance is essential to keep your Honda CR-V running smoothly. It helps in identifying and fixing small issues before they become major problems. Here are some steps to include in your maintenance routine:
- Check brake fluid levels monthly.
- Inspect brake pads and rotors every six months.
- Replace brake fluid every two years.
Keeping an eye on these components can prevent the brake light from staying on.
Routine Inspections
Routine inspections help spot issues early. Conducting these inspections regularly ensures that all parts are functioning correctly. Here’s what to look for:
- Inspect brake lights for any damage.
- Check the brake light switch for proper operation.
- Look at the wiring for any signs of wear.
Addressing these points can help avoid unnecessary trips to the mechanic.

Credit: www.reddit.com
Frequently Asked Questions
Why Does My Honda Crv Brake Light Stay On?
This happens due to a malfunctioning brake light switch or low brake fluid.
How Can I Fix A Stuck Brake Light On Honda Crv?
Check and replace the brake light switch. Ensure brake fluid levels are adequate.
Will A Stuck Brake Light Drain My Battery?
Yes, a brake light staying on can drain your car’s battery quickly.
Is It Safe To Drive With The Brake Light On?
No, it’s not safe. The brake lights warn other drivers. Fix it immediately.
How Much Does It Cost To Fix A Brake Light Switch?
The cost ranges from $30 to $100, depending on labor and parts.
Conclusion
Addressing a Honda CRV brake light issue is crucial for safety. Regularly check the brake system. Fixing the problem early can prevent bigger issues. Consult a professional mechanic if needed. Your car’s brake lights should function properly. Keep an eye on them.
Regular maintenance is key. Don’t ignore warning signs. Ensure your Honda CRV is safe for every drive. Stay proactive with vehicle care.


