Are you dealing with an epoxy-coated surface and wondering how to get the perfect paint finish? Applying a high build primer over epoxy might be exactly what you need.
This powerful combination not only ensures excellent adhesion but also smooths out imperfections like dents and scratches, giving your project a flawless look. Whether you’re prepping an automotive panel or a fiberglass part, understanding how and when to use high build primer over epoxy can save you time and headaches.
Keep reading to discover the key steps and insider tips that will help you achieve a professional-quality finish every time.
Benefits Of High Build Primer
High build primer offers several advantages when applied over epoxy coatings. It enhances the overall finish and prepares surfaces for paint. This primer type is specially designed to improve adhesion and durability. It also helps fix surface defects and creates a better base for topcoats. Using a high build primer ensures a smooth, even appearance after painting.
Filling Larger Imperfections
High build primer fills scratches, dents, and other surface flaws. Its thick consistency allows it to cover bigger imperfections than regular primers. This reduces the need for extra body filler or sanding. Filling these defects early saves time and effort during later stages. The result is a more uniform surface ready for painting.
Creating Smooth Surfaces
The primer forms a smooth layer over rough or uneven epoxy surfaces. This helps prevent paint from showing bumps or texture. A smooth surface improves the final look of the paint job. It also promotes better paint adhesion and durability. Smooth surfaces require less sanding between coats, speeding up the project.
Building Thickness For Sanding
High build primers add thickness to the surface, which is ideal for sanding. The extra thickness allows for more sanding without exposing the epoxy underneath. This makes it easier to shape and refine the surface. Proper sanding helps paint layers bond better and appear flawless. Building thickness protects the base and improves the lifespan of the finish.
Credit: boatcrafterscompany.com
Epoxy Primer Advantages
Epoxy primers offer many benefits for both professionals and DIY painters. They create a strong base that supports further coatings. Their properties improve surface preparation, making paint last longer and look better.
These primers are especially useful in harsh environments. They protect metal and other materials from damage and wear. Using epoxy primer helps achieve a smooth, durable finish with less effort.
Superior Adhesion
Epoxy primers stick very well to metal and other surfaces. This adhesion prevents paint from peeling or chipping. It also helps the next paint layers bond better. Strong adhesion means the coating lasts longer and stays intact.
Corrosion Resistance
One key feature of epoxy primers is their corrosion protection. They create a barrier that blocks moisture and chemicals. This barrier stops rust and corrosion from forming. Protecting metal parts extends the life of vehicles and equipment.
Durability And Strength
Epoxy primers form a tough, hard layer on surfaces. This layer resists scratches, chips, and impacts. It withstands harsh weather and chemicals without breaking down. Durable primers reduce the need for repairs and repainting.
Applying High Build Primer Over Epoxy
Applying high build primer over epoxy creates a smooth, even surface for topcoats. The primer fills minor imperfections and improves paint adhesion. Proper steps ensure lasting results and a professional finish.
Follow careful preparation, mixing, and application methods. These steps avoid common problems like peeling or uneven texture. Use the right spray gun settings for the best coverage.
Surface Preparation Steps
Start by cleaning the epoxy surface thoroughly. Remove dust, grease, and oils using a wax and grease remover. Lightly sand the epoxy with fine grit sandpaper. This creates a rough texture for better primer bonding. Wipe away sanding dust with a clean cloth. Ensure the surface is dry before applying primer.
Mixing And Application Tips
Mix the high build primer according to product instructions. Use the recommended ratio of primer to reducer. Stir gently to avoid bubbles. Apply thin, even coats rather than one thick layer. Allow each coat to flash off before the next. Avoid over-spraying to prevent runs and drips. Maintain a consistent distance between the spray gun and surface.
Spray Gun Settings
Set the spray gun’s fluid flow to medium-high for primer. Adjust the air pressure between 30 and 40 psi for smooth atomization. Use a fan pattern about 8 to 10 inches wide. Keep the gun perpendicular to the surface. Move steadily to ensure even coverage without heavy buildup. Clean the gun thoroughly after use to prevent clogging.
Credit: tamcopaint.com
Sanding And Finishing Techniques
Sanding and finishing are vital steps after applying a high build primer over epoxy. These steps ensure a smooth surface ready for painting. Proper sanding removes imperfections and creates adhesion for the topcoat. Finishing techniques help achieve a perfect look and durability.
Choosing the right sanding method and inspecting the surface carefully makes a big difference. Here are key techniques and tips for sanding and finishing high build primer over epoxy.
Wet Vs Dry Sanding
Wet sanding uses water to lubricate the surface and reduce dust. It creates a finer finish and prevents clogging of sandpaper. Wet sanding is ideal for final smoothing and polishing.
Dry sanding is faster and good for removing heavy material. It works well for initial sanding stages but can cause dust and scratches. Use dry sanding with coarse grit, then switch to wet sanding with finer grit.
Achieving A Flat Surface
Start with a coarse grit to level high spots on the primer. Move in a consistent pattern to avoid uneven areas. Check your work often to see progress.
Gradually switch to finer grit sandpaper to smooth the surface. Keep sanding until the primer feels even and flat to touch. A flat surface helps paint stick better and looks professional.
Final Inspection Checklist
- Look for scratches, runs, or sanding marks on the primer.
- Check for dust or debris that may affect paint adhesion.
- Feel the surface with your hand for smoothness and evenness.
- Ensure edges blend well with surrounding areas.
- Clean the surface thoroughly before painting.
Common Challenges And Solutions
Applying a high build primer over epoxy can improve surface smoothness and durability. Yet, this process often brings some challenges. These issues can affect the final finish and the longevity of the paint job. Understanding common problems and their solutions helps to avoid costly mistakes and ensures a professional result.
Avoiding Primer Peeling
Peeling happens when primer fails to stick well to epoxy. It often results from poor surface preparation. Always clean the epoxy thoroughly to remove dust and grease. Lightly sand the surface to create a rough texture for better adhesion. Use the right primer compatible with epoxy coatings. Apply primer in thin, even layers to prevent lifting and peeling later.
Handling Trim And Panel Issues
Trim and panels can show uneven surfaces after primer application. This problem occurs due to improper fitting or damage before priming. Carefully inspect and repair any dents or gaps on panels. Mask trim edges properly to avoid overspray. Use flexible primer formulas on plastic trims to prevent cracking. Sand edges gently to blend primer smoothly into surrounding areas.
Dealing With Surface Imperfections
Surface imperfections like runs, bubbles, or orange peel reduce paint quality. These flaws often happen from incorrect spraying technique or environmental factors. Maintain steady spray gun distance and speed for uniform coverage. Control humidity and temperature in your workspace to minimize bubbles. Sand any rough spots after the primer dries, then clean before applying paint. Multiple primer coats may be needed to fill low spots and achieve a smooth finish.
Choosing The Right Products
Choosing the right products is vital for a smooth, lasting finish. The combination of high build primer over epoxy must be carefully selected. This ensures good adhesion, durability, and a perfect surface for topcoats. Picking compatible primers saves time and prevents costly mistakes.
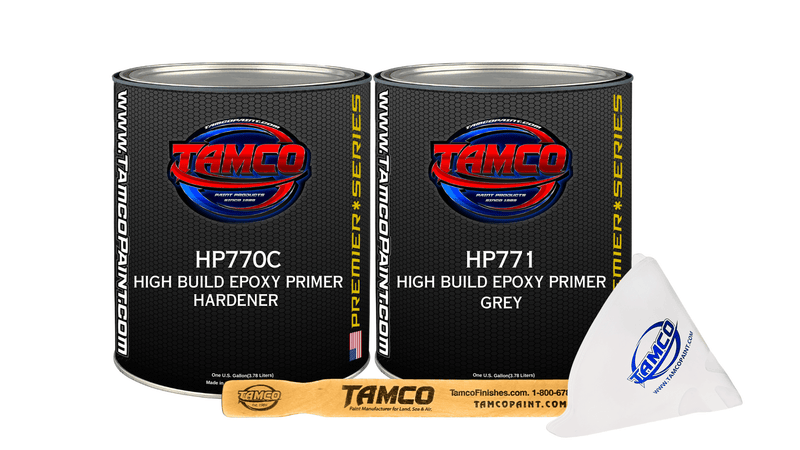
Top High Build Primers On Market
Some high build primers stand out for their thickness and smooth application. These primers fill minor imperfections quickly and sand easily. Popular choices include Tamco Paint High Build Primer and Specialty Coatings High Build Primer. Both provide excellent coverage and create a solid base for further layers.
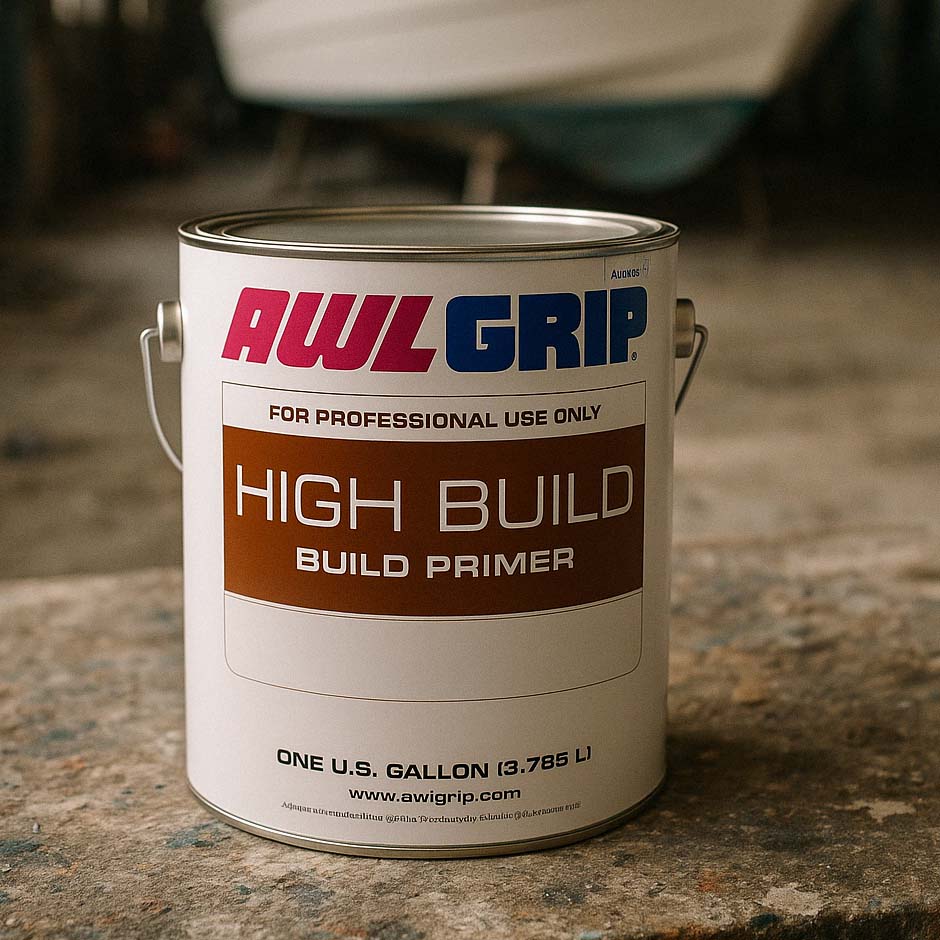
Recommended Epoxy Primers
Epoxy primers create a strong, protective layer on metal surfaces. West Marine Awlgrip Epoxy Primer and Eastwood Gray Epoxy Primer are trusted options. They prevent rust and offer a good bonding surface for high build primers. These primers dry fast and resist moisture well.
Compatibility Considerations
Not all primers work well together. Check product labels for compatibility notes. Using a high build primer designed to go over epoxy is crucial. Mismatched products can cause peeling or bubbling. Test a small area before full application to avoid issues.
Practical Uses And Applications
High build primer over epoxy offers strong adhesion and excellent surface filling. It creates a smooth base for topcoats. This combination improves durability and corrosion resistance. Various industries use it for different purposes. Below are some practical uses and applications.
Automotive Refinishing
High build primer over epoxy is common in car repairs. It fills scratches and small dents quickly. The primer helps paint stick better to metal surfaces. It also prevents rust from forming on car bodies. Mechanics use it to prepare panels before color coats. This method ensures a smooth and lasting finish.
Marine And Fiberglass Projects
This primer suits boats and marine equipment well. It bonds tightly to fiberglass and metal parts. The primer protects surfaces from water damage and salt corrosion. It fills imperfections on hulls for an even look. Boat builders and repair shops rely on it for long-lasting coatings. It helps maintain the strength and appearance of marine structures.
Industrial Coatings
Factories and plants use high build primer over epoxy for machinery and structures. It guards against harsh chemicals and abrasion. The primer’s thick layer covers surface flaws and rough spots. It enhances the lifespan of industrial equipment. Workers apply it to steel frameworks and heavy tools. This primer supports tough working conditions and reduces maintenance needs.

Credit: tamcopaint.com
Frequently Asked Questions
Can You Put Primer Over Epoxy?
Yes, you can apply primer over epoxy. Ensure the epoxy surface is fully cured and lightly sanded for proper adhesion.
What Primer Will Stick To Epoxy?
High build epoxy primers, like West Marine or Tamco Paint, adhere well to epoxy surfaces. Sanding before application improves bonding.
When To Use High Build Primer?
Use high build primer to fill larger imperfections like dents, deep scratches, or surface waviness. It creates a smooth, level base before painting. Choose it for significant surface correction requiring thicker application, not for minor repairs.
Is Epoxy Primer High Build?
Epoxy primer is not typically high build. It provides strong adhesion and corrosion resistance but has a thinner consistency. Use high build primers to fill larger surface imperfections before painting.
What Is High Build Primer Over Epoxy Used For?
It creates a thick, smooth layer to cover imperfections on epoxy surfaces before painting.
Conclusion
Applying high build primer over epoxy creates a smooth, even surface. It fills dents and deep scratches effectively. This step improves paint adhesion and durability. Proper surface prep ensures the primer bonds well with epoxy. Using the right primer enhances the final finish quality.
Remember to sand between coats for best results. This method suits automotive and marine projects alike. Choose high build primer for lasting protection and a flawless look.


