Are your headlights looking cloudy or dull? You might have wondered if a Magic Eraser can bring back their shine.
It sounds simple—just grab that handy cleaning sponge and wipe away the grime. But does it really work on headlights, or could it make things worse? If you want clear, bright headlights without spending a fortune or hours on complicated kits, this article is for you.
Read on to discover whether the Magic Eraser is a quick fix or just a myth when it comes to cleaning your car’s headlights—and what you should do instead to get the best results.
Credit: www.reddit.com
Magic Eraser And Headlight Cleaning
Magic Eraser and Headlight Cleaning is a popular topic among car owners. Many wonder if this household item can restore clarity to dull headlights. The Magic Eraser is known for removing stains and dirt from various surfaces. But can it effectively clean and brighten plastic headlight lenses? Understanding how it works helps set the right expectations.
How Magic Eraser Works On Plastic
The Magic Eraser is made from melamine foam. This foam acts like very fine sandpaper. It scrubs away dirt and grime from surfaces gently. On plastic headlights, it removes surface dirt and some light oxidation. It does not add shine but cleans the outer layer. The eraser’s tiny abrasive particles reach small crevices in the plastic. This makes the lens look cleaner and clearer temporarily.
Effectiveness On Cloudy Vs. Dirty Headlights
Dirty headlights covered with grime respond well to Magic Eraser cleaning. It removes surface dirt quickly and easily. Cloudy headlights caused by oxidation or pitting are harder to fix. Magic Eraser may reduce haze slightly but cannot restore deep clarity. The foam cannot fill or repair damaged plastic. Cloudiness often returns after drying because the oxidation remains beneath the surface.
Common Results From User Experiences
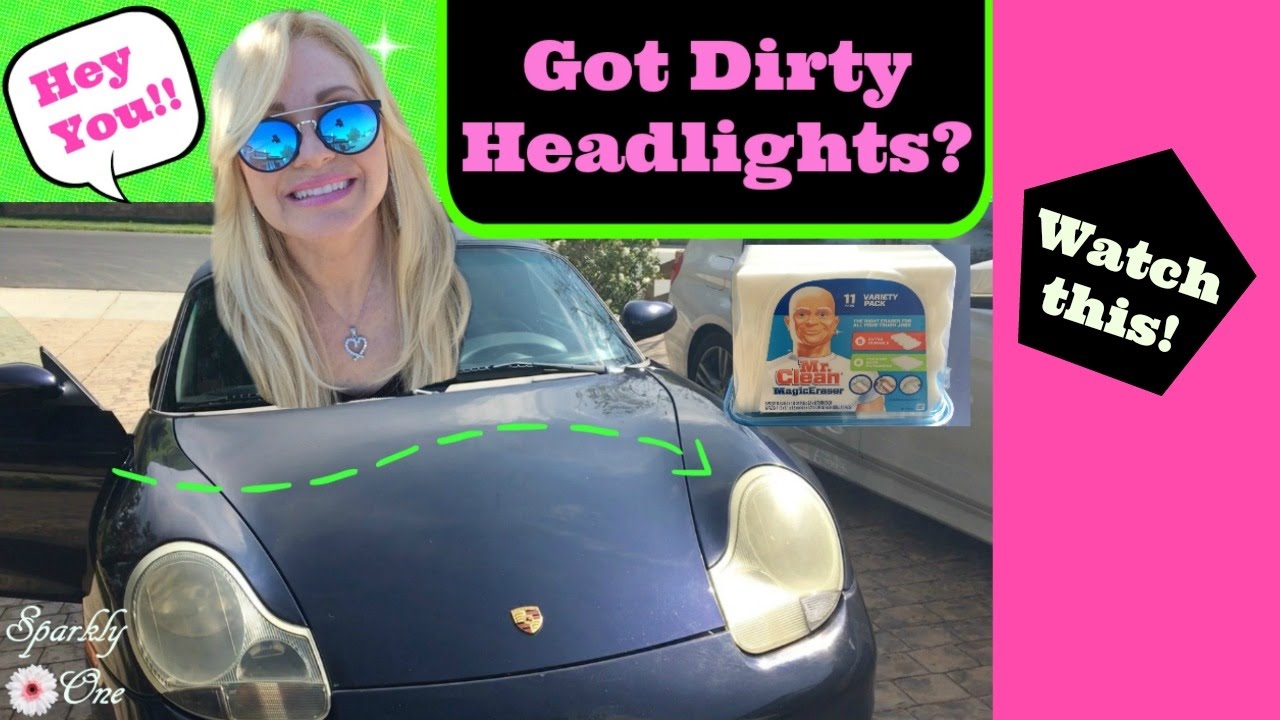
Users report mixed results when using Magic Erasers on headlights. Many see immediate improvement in brightness and cleanliness. Some find the eraser scratches plastic if used too hard. Others notice the haze returns within days. The product works best as a quick clean, not a long-term restoration. Combining it with other restoration methods may give better results.
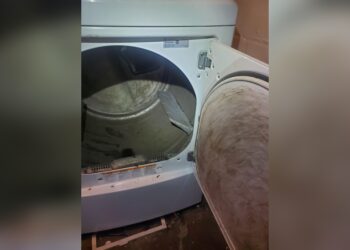
Credit: www.youtube.com
Limitations Of Magic Eraser
The Magic Eraser is popular for cleaning many surfaces. It can remove dirt and grime from headlights easily. Still, it has clear limits for headlight restoration. Understanding these limits helps avoid damage and unmet expectations.
Magic Eraser works by gently scrubbing the surface. It can clean the outer layer but cannot fix deeper issues. Headlights often suffer from plastic pitting and oxidation. These problems need more than just surface cleaning.
Impact On Plastic Pitting And Oxidation
Plastic pitting causes tiny holes on the headlight surface. Oxidation creates a cloudy, yellowed layer. Magic Eraser removes dirt but not these damages. It cleans the pits but does not fill or repair them. Oxidation remains under the surface, so clarity does not improve much.
Temporary Vs. Long-term Clarity
Magic Eraser can make headlights look better for a short time. It removes surface grime and light stains quickly. Water may fill small pits after cleaning, giving a clearer look. This effect fades as water dries and haze returns. Long-term clarity needs polishing or restoration kits.
Risks Of Surface Damage
Magic Eraser is mildly abrasive. It can wear down the plastic surface with repeated use. This wear may cause more pitting or scratches over time. Harsh scrubbing risks damaging coatings or clear layers. Using Magic Eraser without care can worsen headlight condition.
Alternative Cleaning Methods
Many people seek simple ways to clean cloudy headlights. Besides Magic Erasers, several alternative methods work well. These options use common household items or specialized kits. They help restore clarity and improve night driving safety.
Using Toothpaste And Baking Soda
Toothpaste is mildly abrasive and removes grime effectively. Apply a small amount on a soft cloth. Rub the headlight in circular motions for a few minutes. Rinse with water and dry with a clean cloth.
Baking soda works similarly. Mix it with white vinegar to form a paste. Spread the paste on the headlight and scrub gently. Rinse thoroughly to remove residue. These materials are affordable and easy to find.
Household Products For Headlight Cleaning
Other household items can also clean headlights. Dish soap and water remove surface dirt and oils. Use a sponge to wash the lens gently. For tougher haze, try rubbing alcohol or WD-40. These products break down grime and improve transparency.
Always test a small area first. Avoid harsh chemicals that may damage plastic. Regular cleaning with these products helps maintain headlight brightness.
Professional Restoration Kits
Restoration kits offer deeper cleaning and protection. They include sanding pads, polishing compounds, and sealants. These kits remove oxidation and fill tiny cracks in the plastic.
Follow kit instructions carefully for best results. Some kits add a clear coat to prevent yellowing. They cost more than household methods but last longer. Ideal for older headlights with heavy damage.
Credit: www.torquedetail.com
Top Headlight Restoration Kits
Top headlight restoration kits help bring back clear, bright headlights. These kits remove haze, yellowing, and small scratches that reduce visibility. Using the right kit can improve safety and make your car look newer. Here are some of the best options available for restoring headlights effectively.
Cerakote Ceramic Restoration Kit
The Cerakote Ceramic Restoration Kit uses a special ceramic clear coat. This coat protects headlights from future yellowing and damage. It is known for long-lasting results. The kit includes everything needed for a complete restoration. Users find it easy to apply and effective on heavily oxidized lenses.
Sylvania Headlight Restoration Kit
The Sylvania Headlight Restoration Kit offers reliable and durable results. It removes haze and surface damage with a multi-step sanding and polishing process. The kit comes with a protective sealant to keep headlights clear longer. Many car owners trust this kit for its consistent performance and ease of use.
Turtle Wax Headlight Lens Restore Kit
Turtle Wax Headlight Lens Restore Kit is affordable and simple to use. It includes sanding pads and a polishing compound to clear foggy headlights. This kit works best on moderate haze and yellowing. It also adds a protective coating to help prevent future damage. Many users appreciate its quick and noticeable results.
Key Restoration Techniques
Restoring headlights requires careful attention to several key techniques. These steps improve clarity and extend the life of the lens. The process involves sanding, sealing, and protecting the surface. Each method plays a vital role in making headlights look clear again. Understanding these techniques helps achieve better restoration results.
Wet Sanding Process
Wet sanding removes the cloudy, oxidized layer from headlights. Use fine-grit sandpaper soaked in water to gently sand the lens. This smooths out rough spots and clears yellowing. Keep the surface wet to avoid scratches. Sand evenly until the lens looks clearer but avoid over-sanding. This step prepares headlights for sealing.
Applying Uv Sealant
After sanding, apply a UV sealant to protect the lens. This sealant blocks harmful sun rays that cause yellowing. Use a clean cloth or applicator to spread the sealant evenly. Allow it to dry fully before touching the lens. This layer keeps headlights clear longer and prevents future damage.
Protecting Headlights Post-restoration
Protecting headlights after restoration is essential to maintain clarity. Regular washing removes dirt and grime that can wear the sealant. Park your car in shaded areas to reduce sun exposure. Consider applying a protective wax or coating every few months. These habits extend the life of your restored headlights.
Safety And Precautions
Using a Magic Eraser on headlights can improve clarity but requires caution. Safety and precautions help avoid damage to the car’s surface and ensure effective cleaning. Knowing how to protect your vehicle and use the product correctly is important.
Avoiding Paint Scratches
Magic Erasers are mildly abrasive and can scratch paint. Avoid rubbing the car’s painted areas while cleaning headlights. Use painter’s tape to cover edges near the headlights. Clean only the plastic lens to prevent paint damage. Gentle pressure and careful movements reduce the risk of scratches.
Proper Use Of Abrasive Materials
Magic Erasers remove grime and light haze but can wear down plastic if used too hard. Wet the eraser before use to soften its surface. Use short, light strokes instead of heavy scrubbing. Test on a small area first to check for any damage. Rinse the headlights well after cleaning to remove residue.
When To Seek Professional Help
Severe yellowing or deep scratches need professional restoration. Professionals use specialized tools and coatings for better results. Avoid DIY fixes if the headlights are cracked or heavily damaged. A professional service ensures safety and longer-lasting clarity. Consider expert help for stubborn or extensive headlight problems.
User Reviews And Recommendations
User feedback offers real insight into using Magic Eraser for headlights. Many share their experiences to help others decide. Reviews highlight what works and what doesn’t.
Success Stories With Diy Methods
Some users report clear headlights after using Magic Eraser. They say it removes surface dirt and grime quickly. Many appreciate the low cost and easy access of the product. A few combine it with mild soap for better results. These DIYers feel their headlights look brighter and cleaner afterward.
Failures And Common Complaints
Other users find Magic Eraser only cleans the surface haze. The deeper cloudiness or yellowing often remains. Some mention the eraser can cause tiny scratches. These scratches may worsen headlight clarity over time. A few warn against using too much pressure. Many recommend caution to avoid damaging headlights.
Expert Opinions From Automotive Forums
Experts on car forums advise Magic Eraser for light cleaning only. They note it removes dirt but not oxidation or pitting. Professionals suggest proper restoration kits for long-lasting results. Many recommend sanding and applying protective coatings. Experts warn Magic Eraser is not a full solution. It works best as a quick fix before a full restoration.
Frequently Asked Questions
Is It Safe To Use A Magic Eraser On Headlights?
Using a magic eraser on headlights can clean surface grime but may worsen plastic pitting. It’s not a long-term solution.
What’s The Best Thing To Clean Your Headlights With?
The best way to clean headlights is using a restoration kit with sanding and UV sealant. Toothpaste or baking soda can help light cleaning. Avoid Magic Erasers, as they don’t restore clarity long-term. Kits like Cerakote, Sylvania, or Turtle Wax offer effective, lasting results.
How Do I Get The Cloudy Film Off My Headlights?
Remove cloudy film by sanding headlights with fine-grit sandpaper, then polish and apply a UV sealant. Use restoration kits for best results. Avoid Magic Erasers, as they don’t fix plastic pitting.
Does Wd-40 Get Rid Of Foggy Headlights?
WD-40 temporarily clears foggy headlights by removing surface grime. It does not restore yellowed or oxidized plastic. For lasting results, use a proper headlight restoration kit with UV sealant.
Conclusion
Magic Eraser can remove surface dirt from headlights quickly. It does not fix deep cloudiness or yellowing. For lasting results, use a proper headlight restoration kit. These kits clean, polish, and protect headlights well. Always apply a UV sealant to prevent future damage.
Regular maintenance keeps headlights clear and bright. Clean headlights improve night driving safety and car appearance. Choose the right method based on your headlight’s condition. Simple cleaning works for light grime, but restoration needs more care.


