If you want your paint job to look flawless and last longer, understanding how to use a primer sealer sanded is key. You might wonder why sanding a primer sealer matters or when you should skip it.
The truth is, sanding helps create a smooth base that makes your final paint coat stand out and stick better. Whether you’re working on a car, furniture, or walls, knowing the right way to handle primer sealers can save you time and frustration.
Keep reading to learn exactly when and how to sand your primer sealer for the best results every time.
Primer Sealer Basics
Understanding primer sealer basics helps achieve a smooth paint finish. It prepares surfaces by sealing pores and improving paint adhesion. Using the right primer sealer makes painting easier and more durable.
Primer sealers come in different types, each designed for specific surfaces and needs. Knowing their differences ensures the best choice for your project.
What Is Primer Sealer Sanded
Primer sealer sanded is a type of primer that you can sand down after it dries. It creates a smooth surface by filling small imperfections. This primer is ideal for surfaces that need extra prep before painting.
After applying, wait for it to dry fully. Then, sand it lightly to remove bumps or rough spots. This step helps paint stick better and look flawless.
Types Of Primer Sealers
There are several types of primer sealers. Some are water-based, while others are oil-based. Water-based primers dry quickly and have less odor. Oil-based primers are stronger and seal better on tough surfaces.
Some primers are designed for specific materials like wood, metal, or drywall. Choosing the right type depends on the surface and paint you plan to use.
Sanded Vs Non-sanded Sealers
Sanded sealers can be sanded after drying to create a very smooth finish. Non-sanded sealers dry hard but are not meant for sanding. They work well on surfaces that do not need extra smoothing.
Sanded primers offer more control over the surface texture. Non-sanded primers save time as they do not require sanding. The choice depends on your project’s smoothness needs.
Benefits Of Sanded Primer Sealer
Sanded primer sealer offers several benefits for painting projects. It prepares surfaces for a smooth and even finish. This type of primer contains fine particles that help fill in small surface flaws. Using sanded primer sealer ensures a better paint job and long-lasting results.
Achieving Smooth Surfaces
Sanded primer sealer creates a smooth base for paint. The fine grit helps level rough areas. It reduces bumps and uneven textures on the surface. This smoothness makes painting easier and improves the final look.
Hiding Imperfections
The sanded primer sealer fills in minor scratches and dents. It covers small holes and imperfections effectively. This results in a cleaner surface that hides flaws. The paint then appears flawless and professional.
Improving Paint Adhesion
Sanded primer sealer improves paint adhesion significantly. It creates a slightly rough surface that paint grips well. This prevents peeling and chipping over time. Strong adhesion means the paint lasts longer and looks better.
When To Sand Primer Sealer
Sanding primer sealer is a key step for smooth, professional paint finishes. Knowing when to sand primer sealer helps avoid rough surfaces and paint flaws. It prepares the surface for better paint adhesion and a clean look. Proper sanding timing ensures a flawless final coat and hides imperfections.
Before Final Paint Coat
Sanding primer sealer before the final paint coat removes rough spots. It smooths the surface for better paint coverage. Use fine-grit sandpaper to avoid damaging the primer. Light sanding helps the paint stick evenly. This step prevents bumps and uneven paint layers.
After Primer Surfacer
Primer surfacers create a thick layer to fill imperfections. Sanding after applying primer surfacer levels the surface. It removes high spots and rough textures. Use a sanding block with medium grit for best results. This makes the surface ready for the primer sealer or paint.
Addressing Surface Flaws
Sanding primer sealer fixes small flaws like scratches or dust. It smooths out imperfections before painting. Inspect the surface carefully and sand problem areas. Sanding also helps blend patches or repairs. This step ensures a clean, uniform base for painting.
Credit: tcpglobal.com
Situations To Skip Sanding
Skipping sanding on primer sealer sanded is possible in certain cases. It can save time and effort without hurting the final result. Choosing to skip sanding depends on the type of sealer, the finish quality needed, and project timing.
Using Non-sanding Sealers
Non-sanding sealers are designed to bond well without sanding. They create a smooth surface that paint can stick to easily. Using these sealers removes the need to sand before painting. This option suits projects with quick turnaround times or simple surfaces.
Less Critical Finishes
When the finish does not require a perfect look, sanding can be skipped. For example, utility spaces or hidden areas do not need a flawless surface. Skipping sanding in these cases saves work without much risk. The paint still adheres well enough for protection and basic appearance.
Time-saving Considerations
Projects with tight deadlines benefit from skipping sanding steps. Sanding adds extra time and effort to the painting process. If the surface is already smooth and the sealer is compatible, sanding might not be necessary. This approach helps finish jobs faster while maintaining decent results.
Tools And Materials Needed
Preparing a surface with primer sealer sanded requires specific tools and materials. Having the right equipment ensures a smooth finish and strong adhesion. This section covers the essential items needed for effective sanding and sealing.
Types Of Sandpaper
Sandpaper comes in different grits. Coarse grits remove rough spots fast. Fine grits smooth the surface for finishing. Choose sandpaper designed for primer sanding. Wet or dry sandpaper works well with primer sealer. Using the right grit avoids damage to the surface.
Sanding Blocks And Machines
Sanding blocks help keep pressure even and steady. They prevent uneven sanding and gouges. For larger projects, electric sanding machines speed up the job. Orbital sanders or palm sanders give smooth results. Select a tool that matches your project size and detail level.
Safety Equipment
Sanding creates dust and particles that affect breathing. Wear a dust mask or respirator to protect your lungs. Use safety goggles to shield your eyes from debris. Gloves protect your hands from irritation. Proper ventilation in your workspace is important for safety.
Step-by-step Sanding Process
The step-by-step sanding process is essential for a smooth finish when using primer sealer sanded. It prepares the surface to accept paint evenly. Proper sanding improves adhesion and durability. Follow these clear steps to ensure the best results.
Preparing The Surface
Start with a clean, dry surface. Remove dust, dirt, and grease. Use a mild detergent or cleaner if needed. Allow the surface to dry completely before sanding. Check for any rough spots or damage. Repair or fill these areas first. This ensures a uniform sanding base.
Choosing The Right Grit
Select sandpaper grit based on the primer thickness. Use coarse grit (80-120) for heavy primer layers. Fine grit (220-320) suits light sanding or smoothing. Avoid using overly coarse grit on thin primer coats. It can damage the surface. Always follow manufacturer recommendations for grit choice.
Sanding Techniques
Sanding should be even and gentle. Use circular or back-and-forth motions. Apply light pressure to avoid gouging. Keep the sandpaper flat against the surface. Change sandpaper when it gets clogged. Check progress often to avoid over-sanding. Smooth, consistent strokes create the best finish.
Cleaning After Sanding
Remove all dust after sanding. Use a vacuum or a soft brush first. Wipe the surface with a tack cloth or damp rag. Ensure no particles remain before painting. Any leftover dust can cause paint imperfections. Proper cleaning guarantees a flawless paint job.
Common Mistakes To Avoid
Using a primer sealer sanded correctly can improve your paint job’s quality. Avoiding common mistakes helps get a smooth, durable finish. These errors often cause uneven surfaces and poor paint adhesion. Learn what to watch out for during your project.
Over-sanding
Sanding too much can damage the primer layer. It may expose the surface underneath. This causes poor paint coverage and uneven texture. Sand gently and check your progress often. Use fine-grit sandpaper for the best results. Stop as soon as the surface feels smooth.
Ignoring Manufacturer’s Instructions
Each primer sealer has specific rules for use. Ignoring these can cause problems like poor adhesion. Drying times and recommended sanding grits vary by product. Follow the instructions on the label closely. This ensures the primer works as intended. It also helps avoid costly mistakes.
Skipping Surface Cleaning
Dirt and dust on the surface ruin primer adhesion. Always clean the area before applying primer sealer sanded. Use a clean cloth and a mild cleaner. Let the surface dry completely before starting. Clean surfaces help the primer stick well. This leads to a smoother, longer-lasting finish.
Credit: tcpglobal.com
Popular Primer Sealer Products
Popular primer sealer products help prepare surfaces for painting. They create a smooth base and improve paint adhesion. Choosing the right primer sealer sanded product can make your project easier and more durable.
Many options exist in the market, each with unique features and prices. Understanding popular products helps you pick the best fit for your needs.
Top Brands And Prices
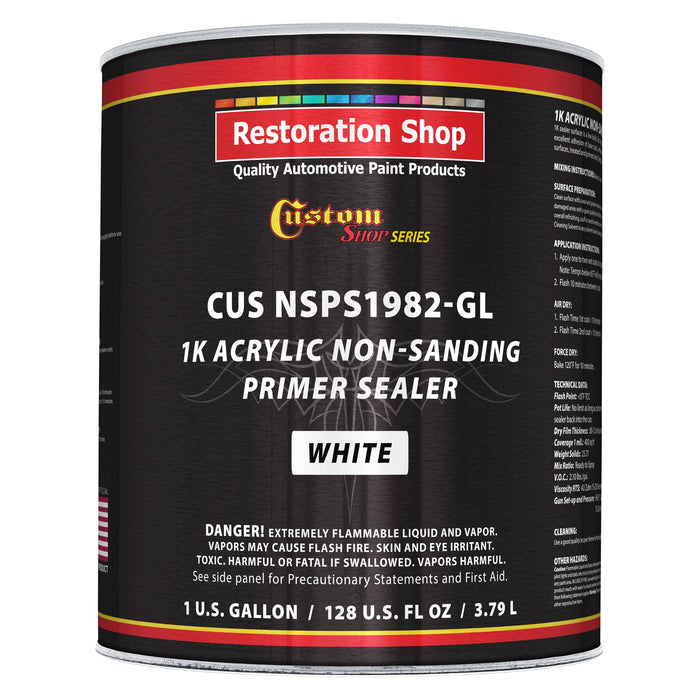
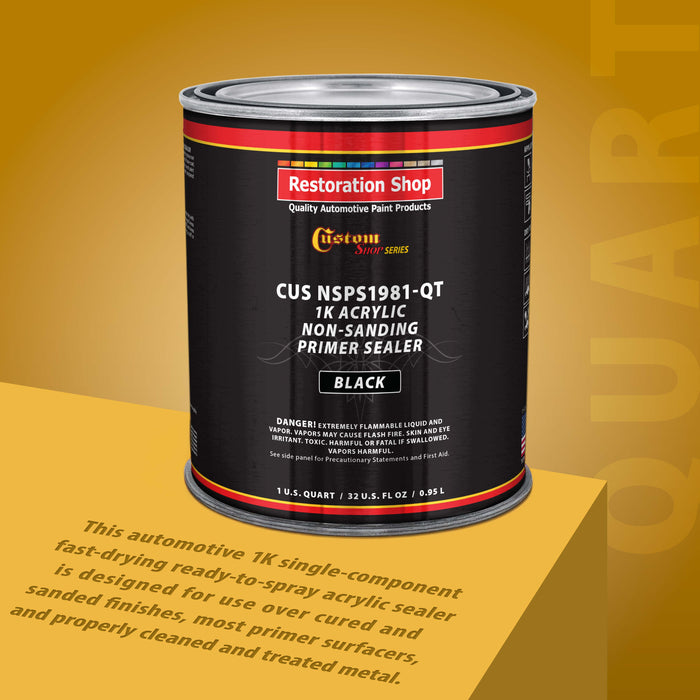
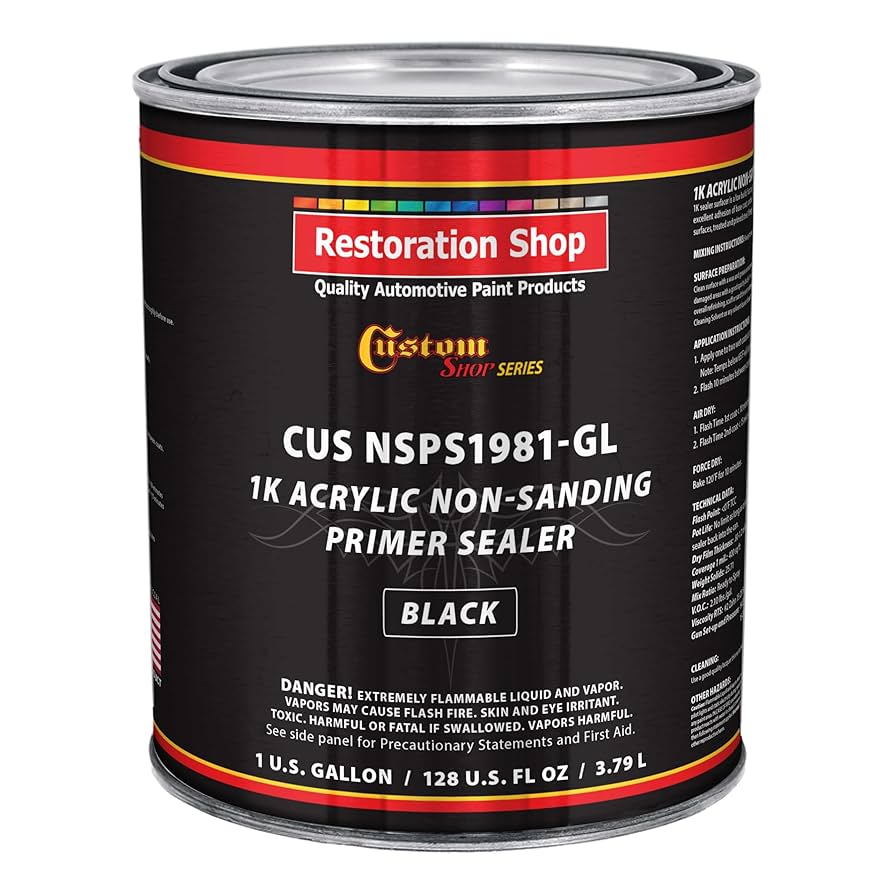
Zinsser B-I-N Primer is a favorite for many painters. It costs about $29.78 and offers excellent sealing power. Rust-Oleum Automotive Sandable Primer Spray is more affordable at $11.99. Evercoat Slick Sand Primer Surfacer is a premium choice priced at $86.99.
Other brands like U-POL and Bulls Eye SealCoat also have good reviews. Prices range from $7.97 at Walmart to $245.99 for high-end products at O’Reilly Auto Parts. Choose a brand that fits your budget and project size.
Where To Buy In Austin, Texas
Home Depot in Austin stocks Zinsser B-I-N Primer and other top products. Advance Auto Parts offers Rust-Oleum primers near you. Walmart and Lowe’s stores in Austin carry affordable options like sandable primers.
Ace Hardware and AutoZone also provide local access to sanding sealers. Buying in-store lets you see the product before purchase. Many stores also offer online ordering with in-store pickup.
Product Comparisons
Zinsser B-I-N Primer blocks stains well and sands smoothly. Rust-Oleum primer is easy to spray and dries fast. Evercoat products are thicker and fill surface imperfections better.
U-POL primers are popular for automotive use and provide a fine finish. Bulls Eye SealCoat is known for its quick drying time. Compare drying times, sanding ease, and coverage to find the right product.
Consider price and availability alongside product features. This ensures you get a primer sealer that meets your project needs and budget.
Tips For Flawless Wall Prep
Preparing walls properly is key for a smooth, lasting finish. Primer sealer sanded creates a strong base for paint. Follow simple tips to ensure perfect wall prep. These steps help avoid peeling, bubbling, or uneven texture. Careful preparation saves time and money later.
Optimal Drying Times
Allow the primer sealer to dry completely before sanding or painting. Drying time depends on temperature and humidity. Usually, wait at least 2 hours. Avoid rushing to prevent paint issues. Touch the surface gently to check dryness. A fully dry layer ensures better adhesion.
Layering Primer And Sealer
Apply thin, even coats for best results. Start with one layer of primer sealer sanded. Let it dry fully before adding another. Multiple thin layers cover imperfections well. Thick coats can cause cracking or peeling. Sand lightly between layers to smooth the surface.
Final Inspection Checklist
Check the wall for any rough spots or dust. Run your hand over the surface to feel smoothness. Look for missed areas or uneven coverage. Fix any flaws with light sanding or touch-up primer. Clean the wall from dust before painting. A perfect base leads to a flawless finish.
Credit: www.amazon.com
Frequently Asked Questions
Does Primer Sealer Need To Be Sanded?
Primer sealer often requires sanding to create a smooth surface and remove imperfections. Sanding improves paint adhesion and finish quality.
What Grit Sandpaper For Primer Sealer?
Use 320 to 400 grit sandpaper for sanding primer sealer. This range smooths the surface without damaging the primer layer.
Is Primer Supposed To Be Sanded?
Primer often requires sanding to smooth imperfections and ensure better paint adhesion. Sanding creates a professional, even surface before painting.
Do I Need To Use Sealer After Primer?
Using a sealer after primer depends on the project. Sealers protect and improve paint adhesion for better durability. Apply sealer if the primer surface is porous or sanding reveals imperfections. Skip sealer only when the primer already provides a smooth, sealed base.
What Is Primer Sealer Sanded Used For?
Primer sealer sanded creates a smooth base on surfaces before painting.
Conclusion
Primer sealer sanded improves paint adhesion and surface smoothness. It helps fill small imperfections and creates a uniform base. Using this product reduces sanding time and prevents paint peeling. Choose the right primer sealer for your project to get the best results.
Proper application leads to a long-lasting, professional finish. Remember, good preparation makes painting easier and more effective.


