Thinking about using Plasti Dip when the temperature drops? You might wonder if cold weather will ruin your project or if the dip will stick properly.
Whether you’re refreshing your car’s look or protecting your wheels, knowing how Plasti Dip behaves in chilly conditions is key. You’ll discover simple tips to get the best results even when it’s cold outside. Keep reading to learn how to avoid common mistakes and make your Plasti Dip job last longer, no matter the weather.
Your perfect finish is just a few easy steps away!

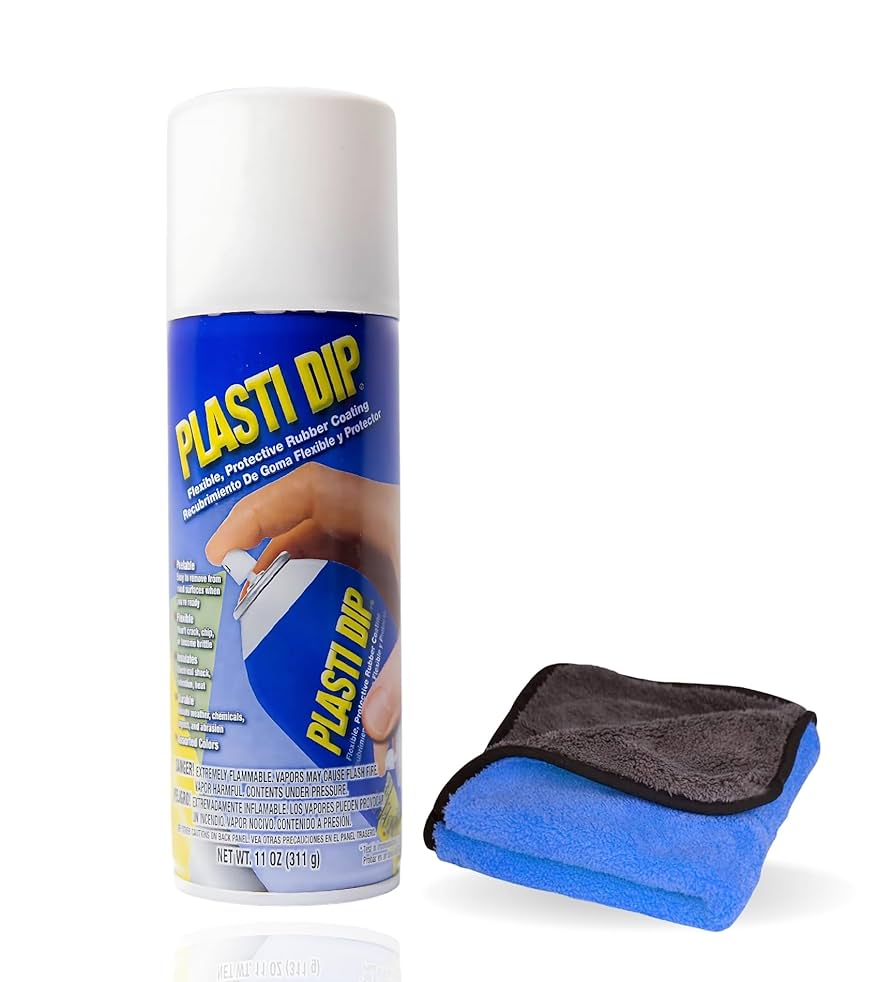
Credit: www.amazon.com
Cold Weather Effects On Plasti Dip
Applying Plasti Dip in cold weather requires special care. Cold temperatures influence how the product applies and cures. Understanding these effects helps achieve a smooth, durable finish. This section explains the main cold weather impacts on Plasti Dip.
Temperature Limits For Application
Plasti Dip works best between 50°F and 90°F. Below 50°F, the material thickens and sprays unevenly. Applying Plasti Dip below 40°F is not recommended. Cold air slows the spray pattern and causes clumps. Staying within the right temperature ensures better coverage and finish.
Impact On Drying And Curing Times
Cold weather lengthens drying and curing times significantly. At low temperatures, the air slows evaporation of solvents. This delay can cause sticky or tacky surfaces for hours. It may take up to 48 hours to fully cure in cold conditions. Allow extra time before handling or recoating.
Adhesion Challenges In Cold
Cold surfaces can reduce Plasti Dip’s adhesion. Moisture or frost on the substrate prevents proper bonding. Materials shrink slightly in cold, creating gaps under the dip. Warming the surface before application improves grip. Clean, dry, and warm surfaces lead to better adhesion and longer-lasting results.
Preparing Surfaces In Low Temperatures
Preparing surfaces in low temperatures requires extra care to ensure Plasti Dip adheres well. Cold weather can affect the surface and the coating process. Proper preparation helps avoid common issues like poor adhesion or bubbling. Follow simple steps to get the best results in cold conditions.
Cleaning Techniques For Cold Conditions
Remove dirt, grease, and oils before applying Plasti Dip. Use warm water and mild soap to clean surfaces thoroughly. Dry the surface completely using a clean cloth or heat source. Avoid cleaning in freezing temperatures to prevent frost formation. Clean surfaces ensure better grip and smooth coating.
Warming Materials Before Coating
Warm the material to room temperature before application. Cold metal or plastic can cause uneven drying and peeling. Use a heat gun or warm cloth to raise surface temperature gently. Keep Plasti Dip cans warm by storing them indoors before use. Warm materials help the coating stick better and cure evenly.
Avoiding Moisture And Frost
Moisture and frost reduce Plasti Dip’s effectiveness. Check surfaces for frost or condensation before starting. Use a heater or heat lamp to remove any moisture. Work in a dry, sheltered area to limit exposure to humidity. Dry, frost-free surfaces improve adhesion and finish quality.
Spraying Tips For Cold Weather
Spraying Plasti Dip in cold weather needs special care. Cold temperatures change how the dip sprays and dries. These tips help you get a smooth, strong finish despite the chill. Follow these simple steps to improve your results.
Shaking And Handling Cans
Shake the can longer than usual. Cold thickens the liquid inside. Keep shaking for at least one minute. This mixes the dip evenly. Warm the can in your hands before spraying. Avoid heating too much. Cold cans spray unevenly and clog the nozzle.
Spray Distance And Technique Adjustments
Hold the can slightly closer to the surface. Cold slows the dip’s drying time. Spraying closer helps the dip stick better. Use smooth, steady motions to avoid drips. Spray in a well-ventilated but draft-free area. Wind can cool the dip and cause uneven layers.
Multiple Thin Coats Vs. Thick Layers
Apply several thin coats instead of one thick layer. Thick layers take longer to dry in cold weather. Thin coats dry faster and reduce runs or bubbles. Wait a few minutes between coats for better adhesion. Patience leads to a cleaner, more durable finish.
Drying And Curing Strategies
Drying and curing Plasti Dip in cold weather requires special care. The lower temperatures slow down the process. This can affect the final finish and durability. Using the right strategies helps ensure a smooth, strong coating even in cold conditions.
Optimal Drying Environments
Choose a dry place protected from wind. Avoid areas with high humidity. Cold and damp air delays drying. A garage or enclosed porch works well. Keep the temperature above 50°F (10°C) if possible. Good airflow helps but avoid direct drafts. This balance speeds up drying without damage.
Using Heat Sources Safely
Heat speeds up curing but use caution. Avoid direct heat like open flames or hot lamps. Use safe heat sources such as space heaters or heat guns at low settings. Keep heaters at a distance to prevent melting or bubbling. Monitor the temperature closely. Gentle warmth helps Plasti Dip dry evenly.
Extended Curing Periods
Cold weather means longer curing times. Allow Plasti Dip to cure for 48 hours or more. Avoid touching or using the dipped item too soon. Longer cure times improve adhesion and flexibility. Patience is key to a durable finish. Check the coating before applying extra layers.
Common Problems And Fixes
Applying Plasti Dip in cold weather often leads to unique challenges. Cold temperatures affect drying times and the product’s texture. These common problems can reduce the quality and durability of your coating. Knowing how to fix them ensures a smooth and lasting finish. Below are frequent issues and practical solutions to keep your project on track.
Dealing With Uneven Coating
Cold weather causes Plasti Dip to dry unevenly. This results in blotchy or patchy areas on the surface. To avoid this, spray thin coats instead of thick ones. Allow extra drying time between coats. Maintain a steady hand and consistent distance while spraying. Warming the spray can slightly before use helps improve flow and coverage.
Preventing Peeling And Bubbling
Low temperatures slow down the curing process, which can cause peeling or bubbles. Make sure the surface is clean and dry before applying. Avoid spraying in very cold or windy conditions. If bubbles appear, do not touch the surface until fully dry. Applying multiple thin layers builds a stronger bond and reduces peeling risk.
Repairing Cold Weather Flaws
Fix peeling or bubbled spots by sanding the affected area gently. Clean the surface to remove dust and oils. Reapply Plasti Dip in thin layers, letting each coat dry properly. Use a heat gun or hairdryer on low heat to help cure the repair faster. Keep the repaired area warm until fully cured for best results.

Credit: www.youtube.com
Winter Protection Benefits
Plasti Dip offers strong protection during winter months. It guards surfaces against harsh cold and winter road conditions. This coating helps keep items safe from damage caused by salt, ice, and cold weather. Its unique properties make it a reliable choice for winter protection. Understanding these benefits can help you decide why Plasti Dip suits cold climates.
Resistance To Salt And Ice
Salt and ice can cause serious damage to many surfaces. Plasti Dip forms a protective barrier that blocks salt and ice buildup. This barrier stops corrosion and rust from forming on metals. It also prevents the surface from cracking or peeling due to frozen salt residues. Using Plasti Dip helps extend the life of your items exposed to winter roads.
Uv And Weather Durability
Winter sun can fade and weaken many coatings. Plasti Dip resists harmful UV rays that cause fading. It holds up well against snow, rain, and strong winds. This durability keeps the coating intact through changing weather. You get long-lasting protection even in tough winter conditions. The coating stays strong without cracking or shrinking.
Maintaining Flexibility In Cold
Many coatings become brittle and crack in cold weather. Plasti Dip stays flexible, even at low temperatures. This flexibility prevents damage from freezing and thawing cycles. It bends and stretches with the surface beneath it. This quality helps avoid chips and cracks during harsh winter months. The coating remains smooth and intact, protecting your items fully.
Choosing The Right Products
Choosing the right products is key for successful Plasti Dip application in cold weather. Products designed for lower temperatures help maintain smooth spraying and strong adhesion. Using compatible primers, sealers, and tools can improve the final result and durability. These choices reduce common issues like uneven coverage or slow drying times.
Cold Weather Formulations
Plasti Dip offers cold weather formulations made for temperatures below 50°F (10°C). These versions have thinner consistency for better spray flow. They dry more evenly on cold surfaces. Using these formulas prevents clumping and peeling. Always check the label for temperature ratings before buying.
Compatible Primers And Sealers
Primers and sealers designed for cold weather ensure proper surface bonding. They help the Plasti Dip stick firmly to metal, plastic, or rubber parts. Choose primers that dry quickly even in low temperatures. Sealers protect the coating from moisture and salt damage. Using the right primer and sealer extends the life of your Plasti Dip job.
Recommended Tools And Accessories
Tools suited for cold weather make application easier. Use spray guns or cans with adjustable nozzles for better control. Keep tools warm before use to avoid clogging. Gloves and protective masks help maintain steady handling. Heating lamps or warm storage areas can improve drying speed. Proper accessories ensure smooth, even layers every time.
Expert Tips And Tricks
Applying Plasti Dip in cold weather can be tricky. The paint behaves differently at low temperatures. Following expert tips ensures a smooth, lasting finish despite the chill.
These tricks help avoid common cold weather problems like poor adhesion and long drying times. Preparing well and timing your work right makes all the difference.
Prepping In A Heated Space
Keep your project and materials warm before starting. Move the item indoors or to a heated garage. Cold surfaces cause Plasti Dip to peel or not stick well.
Warm up the cans of Plasti Dip too. Store them at room temperature for several hours. Warm paint sprays easier and creates even coats.
Timing Your Application
Apply Plasti Dip during the warmest part of the day. Avoid early mornings or late evenings when temperatures drop. This helps the paint dry faster and stick better.
Spray thin layers and wait longer between coats in cold weather. Patience improves the final look and durability. Rushing leads to runs or uneven coverage.
Storage And Handling In Winter
Store leftover Plasti Dip indoors at temperatures above 50°F (10°C). Cold cans may clog spray nozzles or thicken paint. Proper storage keeps the product usable for longer.
Handle spray cans gently to avoid condensation inside. Sudden temperature changes cause moisture build-up. Moisture affects the paint’s consistency and adhesion.
Credit: www.amazon.com
Frequently Asked Questions
What Is The Temperature Rating For Plasti Dip?
Plasti Dip withstands temperatures from -30°F (-34°C) to 200°F (93°C). It remains flexible and durable within this range.
Is Plasti Dip Weather Resistant?
Plasti Dip is highly weather resistant, protecting surfaces from sun, cold, ice, and salt exposure. It maintains durability in harsh conditions.
What Happens If You Use Spray Paint In Cold Weather?
Spray paint thickens in cold weather, causing uneven coverage and longer drying times. It may lead to poor adhesion and finish.
How Long Does It Take For Plasti Dip To Fully Cure?
Plasti Dip typically takes 4 hours to dry to the touch and fully cures in 24 hours. Curing time may vary with temperature.
What Is The Ideal Temperature For Applying Plasti Dip?
Plasti Dip works best between 50°F and 90°F for smooth and even application.
Conclusion
Plasti Dip can work well even in cold weather with care. Keep the temperature above the recommended level for best results. Spray in thin, even coats to avoid drips and uneven drying. Allow extra time for the Dip to cure fully before use.
Cold weather may slow drying but does not ruin the finish. Proper preparation and patience lead to a smooth, lasting coat. This helps protect your surfaces through winter’s harsh conditions. Simple steps make Plasti Dip a good choice year-round.


