If your wheel wells look dull, faded, or just plain dirty, you’re not alone—and there’s a simple way to fix that. Making your wheel wells black again can instantly transform your vehicle’s appearance, giving it a sleek, polished look that turns heads.
But how do you do it without spending a fortune or making a mess? In this guide, you’ll learn easy, effective methods to restore that deep black finish to your wheel wells. Whether you want a quick touch-up or a longer-lasting solution, you’ll find tips that fit your needs and skill level.
Ready to give your ride that fresh, sharp look? Keep reading and discover how to make your wheel wells black and beautiful again.
Why Blacken Wheel Wells
Blackening wheel wells is a popular choice for many car owners. It improves the look of vehicles and adds strong protection. This simple upgrade can make your vehicle appear cleaner and well-maintained. It also guards against damage from dirt and rust. Below are key reasons why blackening wheel wells matters.
Aesthetic Benefits
Black wheel wells create a sharp, clean contrast with the car’s paint. They hide stains and grime better than light colors. This keeps the vehicle looking fresh longer. The deep black color adds a sleek, modern touch. It makes the wheels stand out and enhances overall style. A blackened wheel well gives a polished, finished look to any vehicle.
Protection Against Dirt And Rust
Wheel wells face constant exposure to mud, salt, and water. These elements cause rust and corrosion over time. Blackening adds a protective layer that seals the surface. It prevents dirt buildup and stops moisture from damaging metal parts. This layer also resists chips and scratches from road debris. Regular cleaning combined with blackening helps maintain wheel wells in good shape.
Increasing Vehicle Value
Well-kept wheel wells signal good vehicle care to buyers. Blackened wheel wells look newer and cleaner. This can boost the car’s resale value. Vehicles with rust-free, protected wheel wells attract more offers. The improved appearance shows attention to detail. Investing in blackening wheel wells can pay off when selling or trading in your vehicle.
Credit: www.industrialproducts.com
Tools And Materials Needed
Preparing to make your wheel wells black requires the right tools and materials. These items help clean, restore, paint, and protect the wheel wells. Using quality products ensures a smooth and lasting finish.
Cleaning Supplies
Start with cleaning supplies to remove dirt and grime. Use a strong wheel well cleaner or degreaser. A stiff brush helps scrub away stubborn debris. Microfiber cloths or rags are needed to wipe surfaces clean. Proper cleaning prepares the surface for better adhesion.
Dressings And Restorers
Dressings restore the black color and shine of plastic and rubber parts. Choose a high-quality wheel well dressing or plastic restorer. These products bring back the deep black finish. Apply them evenly with an applicator pad or sponge. Let the product dry to enhance the look.
Paints And Sprays
For a more permanent black look, use specialized paints or sprays. Rubberized undercoating spray adds protection and color. Plastic-specific paint sticks well to wheel wells without peeling. Choose matte or satin black for a natural appearance. Follow instructions carefully for the best results.
Protective Gear
Wear protective gear to stay safe during the process. Gloves protect your hands from chemicals and paint. Safety glasses shield your eyes from splashes. A mask or respirator prevents inhaling fumes from sprays and cleaners. Proper gear ensures a safe and comfortable job.
Preparing Wheel Wells
Preparing wheel wells is a key step before making them black. Clean and smooth surfaces help the product stick better. Dirt and grime block paint or coating from adhering properly. A well-prepared wheel well boosts the final look and durability.
Removing Loose Dirt And Debris
Start by removing all loose dirt and debris. Use a stiff brush or compressed air. Clean out dried mud and leaves trapped inside. This clears the surface for a deeper clean and better coating.
Deep Cleaning Techniques
Apply a strong cleaner made for automotive use. Scrub the wheel wells with a brush to remove grease and grime. Rinse thoroughly with water to wash away all residues. Repeat if the surface still feels dirty or oily.
Drying And Surface Preparation
Dry the wheel wells completely using towels or air drying. Moisture can cause paint to peel or not stick well. Check for rust spots and sand them smooth. A dry, smooth surface improves paint adhesion and finish quality.
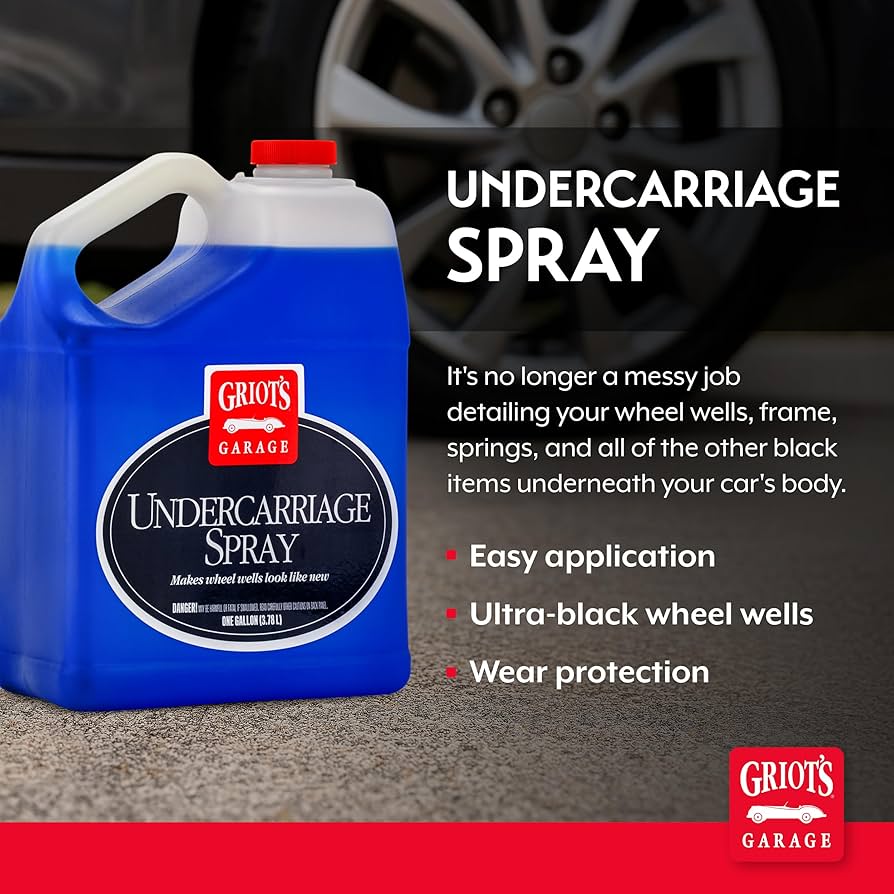
Credit: www.amazon.com
Methods To Make Wheel Wells Black
Making your wheel wells black improves your vehicle’s look. It also protects metal parts inside the wells. Several easy methods can achieve this deep black finish. Each method offers unique benefits for different needs.
Using Plastic Trim Restorers
Plastic trim restorers work well on wheel wells made of plastic. They restore faded, gray surfaces to a rich black color. Apply the restorer with a clean cloth. Let it dry for a few minutes. This method adds shine and protects against UV damage.
Applying Tire Dressings
Tire dressings are a quick way to darken wheel wells. They add a wet, glossy look. Spray or wipe the dressing directly onto the wheel well surface. Allow it to absorb and dry slightly. Tire dressings also help repel dirt and water.
Spray Painting Wheel Wells
Spray painting creates a durable, long-lasting black finish. Clean the wheel wells thoroughly before painting. Use a high-quality paint made for automotive use. Apply several thin coats to avoid drips. Let each coat dry before applying the next. Spray painting covers scratches and rust well.
Using Rubberized Undercoating
Rubberized undercoating adds protection and a matte black look. It prevents rust and reduces road noise. Clean and dry the wheel wells fully. Spray the undercoating evenly in thin layers. Allow it to dry completely between coats. This method is tough and lasts through harsh weather.
Step-by-step Spray Painting
Spray painting your wheel wells black can give your vehicle a fresh, clean look. This step-by-step guide helps you paint like a pro. Follow each stage carefully for smooth, even results. Keep your tools ready and work in a well-ventilated space.
Surface Cleaning And Masking
Start by cleaning the wheel wells thoroughly. Use soap, water, and a brush to remove dirt and grease. Dry the surface completely before painting. Mask off areas around the wheel wells using painter’s tape and plastic sheets. This prevents paint from reaching unwanted spots.
Choosing The Right Paint
Select paint made for plastic or automotive use. Flat or satin black finishes work best for wheel wells. Check that the paint resists rust and dirt. Consider using spray cans for easy application and even coverage.
Application Tips
Shake the spray can well before use. Hold it 6-8 inches from the surface. Apply thin, light coats instead of one thick coat. Move the can steadily back and forth. Allow each coat to dry before applying the next. This avoids drips and uneven texture.
Drying And Curing Time
Let the paint dry for 10-15 minutes between coats. After the final coat, allow at least 24 hours for full curing. Avoid touching or driving through water during this time. Proper drying ensures a durable, long-lasting finish.
Maintaining Black Wheel Wells
Maintaining black wheel wells keeps your vehicle looking fresh and protected. Dirt, mud, and road salt can dull their appearance quickly. Regular care preserves the deep black finish and prevents damage. Follow simple steps to ensure your wheel wells stay clean and rust-free.
Regular Cleaning Routines
Clean wheel wells every two weeks or after heavy use. Use a mild soap and water with a soft brush. Remove all dirt and grime to avoid buildup. Rinse thoroughly to prevent soap residue. Dry with a microfiber cloth for a smooth finish.
Reapplying Dressings
Apply a wheel well dressing after cleaning for protection. Use a silicone-based or rubber protectant for best results. Spread evenly with an applicator pad to avoid streaks. Reapply every month to keep the black color vibrant and shiny.
Preventing Rust And Damage
Inspect wheel wells regularly for scratches or chips. Touch up paint chips quickly to stop rust from forming. Use a rust inhibitor spray on exposed metal areas. Avoid driving through deep water or mud to reduce damage risk.
Common Mistakes To Avoid
Making your wheel wells black can improve your vehicle’s look. Avoid mistakes that reduce the quality and durability of the finish. These errors can cause uneven color, peeling, or damage to the surface. Follow the right steps to get the best results.
Skipping Proper Cleaning
Cleaning is the first and most important step. Dirt and grime prevent the product from sticking well. Skip cleaning, and the finish will fade quickly. Use soap and water or a wheel cleaner. Dry the area completely before applying any product.
Using Incorrect Products
Choose products made for wheel wells or plastic trim. Some paints or dressings can crack or peel fast. Avoid using household paints or oil-based products. Select a product that resists dirt and water. This keeps the black color fresh longer.
Overapplication Of Dressings Or Paint
Applying too much product causes runs and sticky spots. It may also attract dirt and dust. Use thin, even layers instead. Let each layer dry before adding another. This ensures a smooth and lasting finish on the wheel wells.
Cost And Time Estimates
Estimating the cost and time to make wheel wells black helps in planning your project. Costs vary based on materials and labor. Time depends on the method chosen. Understanding these factors ensures a smooth process and avoids surprises.
Diy Vs Professional Services
DIY projects cost less but require effort and skill. You buy materials and do the work yourself. Professional services charge more but save time and guarantee quality. Experts use better tools and techniques for lasting results. Choose based on your budget and confidence in handling the job.
Material Costs
Materials include paint, cleaner, and protective coatings. Basic spray paint kits cost around $20 to $50. Specialty products like rubberized coatings may cost $30 to $70. Professionals use higher-grade materials, increasing the price. Factor in extra items like brushes, tape, and gloves if doing it yourself.
Time Required For Each Method
DIY projects take 3 to 6 hours, including cleaning and drying. Proper prep is crucial for good adhesion and finish. Professional services finish in 1 to 3 hours, depending on workload. Fast service saves time but may cost more. Plan enough time for the paint to dry fully before driving.

Credit: www.ebay.com
Frequently Asked Questions
How To Black Out Wheel Wells?
Clean wheel wells with soap and a brush. Dry thoroughly. Apply plastic or rubber trim restorer. For a long-lasting black look, use black spray paint designed for plastics. Allow each coat to dry before applying the next. Repeat as needed for a deep, even finish.
How To Make Wheel Wells Shine?
Clean wheel wells with a brush and degreaser. Rinse thoroughly, then apply a tire or trim dressing. Let it dry for a glossy shine.
Can You Pressure Wash Wheel Wells?
Yes, you can pressure wash wheel wells safely. Use moderate pressure to avoid damaging plastic liners or paint.
How To Protect Wheel Wells From Rust?
Clean wheel wells regularly to remove dirt and moisture. Apply rubberized undercoating for strong rust protection. Touch up paint chips quickly to prevent rust formation.
What Is The Best Way To Make Wheel Wells Black?
Cleaning the wells, then applying a black wheel well coating or spray works best.
Conclusion
Making wheel wells black improves your vehicle’s look instantly. Clean them well before applying any product. Choose a quality black spray or dressing for best results. Regular care keeps wheel wells looking fresh and protects against damage. A simple step that adds style and helps maintain your car.
Try it yourself and enjoy the difference today.


