To troubleshoot the Kawasaki charging system, first check the battery condition and connections. Next, inspect the alternator output and regulator/rectifier function.
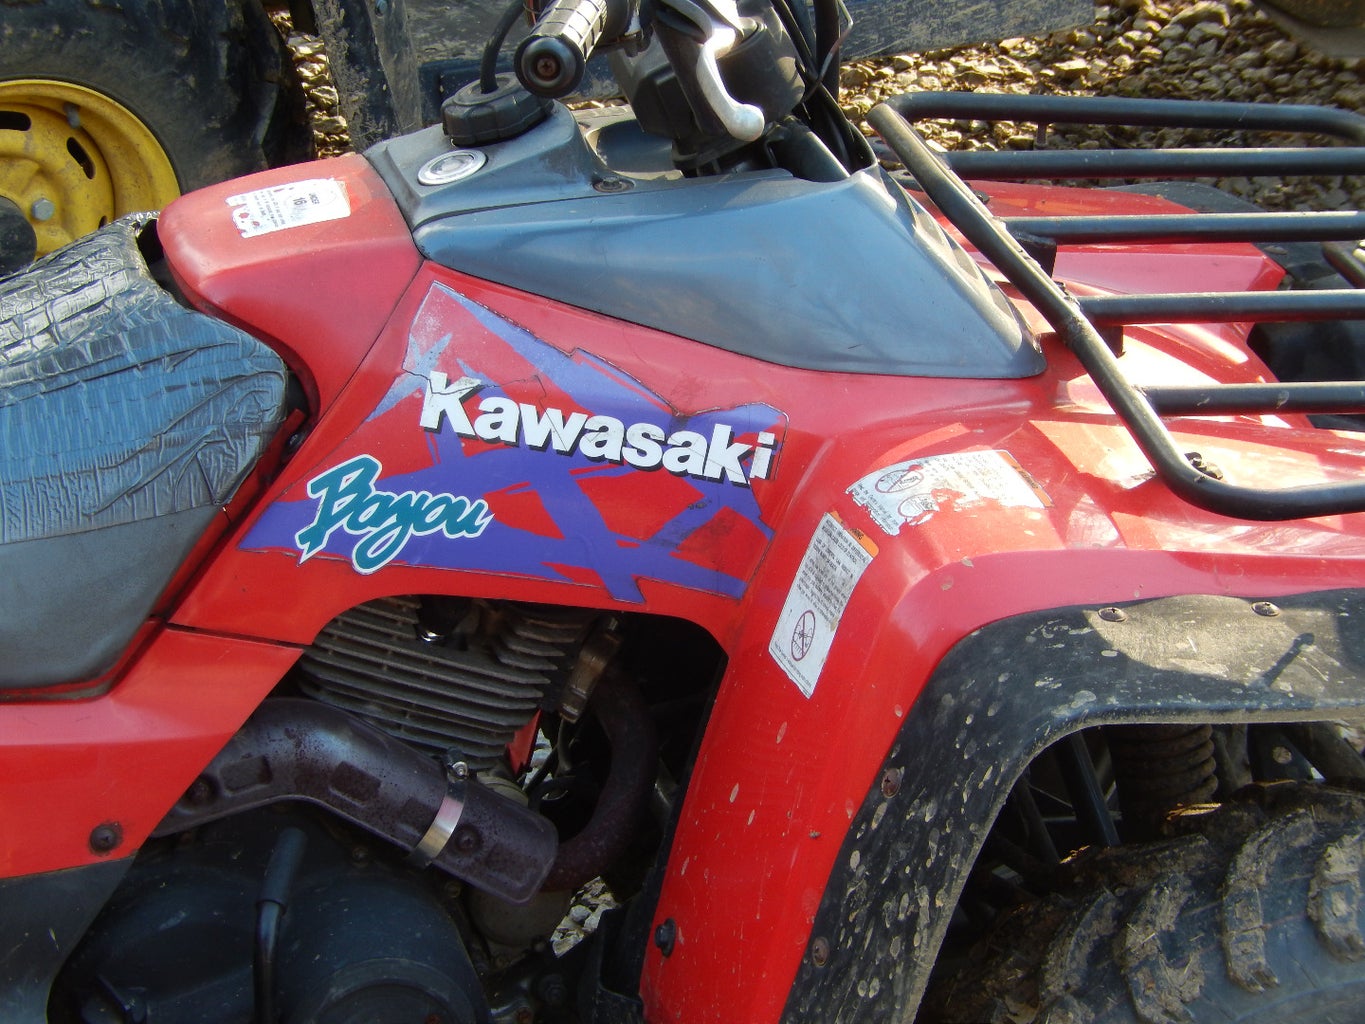
Navigating the complexities of the Kawasaki charging system requires a methodical approach. Motorcycle enthusiasts and mechanics alike understand the frustration of electrical issues. The charging system, a vital component, ensures your Kawasaki remains ready for every adventure. A weak or failing system can lead to unexpected shutdowns or starting problems, leaving riders stranded.
This guide simplifies the troubleshooting process. It breaks down into easy steps, aiming to get your bike back on the road swiftly. Remember, a well-maintained charging system not only extends the battery’s life but also enhances overall performance. Let’s dive into diagnosing and fixing common issues, ensuring your Kawasaki runs smoothly for years to come.
Credit: www.kawieriders.com
Introduction To Kawasaki Charging Systems
Kawasaki motorcycles are known for their reliability and performance. An essential component of these bikes is the charging system. It powers the bike’s electrical components and maintains the battery’s charge while riding.
Basics Of Motorcycle Charging
Understanding the basics of motorcycle charging systems is crucial. The system consists of a stator, regulator/rectifier, and battery. Together, they generate and regulate the bike’s electrical power.
- Stator: Produces alternating current (AC).
- Regulator/Rectifier: Converts AC to direct current (DC) and controls voltage.
- Battery: Stores electricity for starting and operating the motorcycle.
Signs Of Charging System Issues
Recognizing signs of charging system trouble helps prevent breakdowns. Common indicators include:
- Dimming or flickering lights.
- Weak or dead battery.
- Electrical accessories malfunction.
Regular checks ensure the system functions properly. If these signs appear, immediate troubleshooting is essential to avoid further damage.
Initial Diagnosis
When your Kawasaki won’t start, the charging system may be at fault. Begin with an initial diagnosis. This process involves simple steps. They help identify common issues. Let’s start by examining key components.
Visual Inspection
First, check for obvious signs of trouble. Look at the charging system’s parts. Focus on the alternator, wiring, and connections. Ensure wires are intact. Connections should be clean and tight. Corrosion or loose wires can cause problems.
Check these parts:
- Alternator: Look for damage or wear.
- Wires: They should be secure, not frayed.
- Connectors: No corrosion should be present.
Battery Condition Check
The battery is crucial. A weak battery can mimic charging issues. Use a voltmeter to test the battery’s charge. A fully charged battery should read around 12.6 volts. If the reading is low, charge the battery. Retest it afterward.
Follow these steps:
- Turn off the engine.
- Connect the voltmeter to the battery.
- Read the voltage output.
- Charge if necessary.
- Retest the voltage.
Battery Maintenance Tips
Keeping your Kawasaki’s battery in top shape is crucial. A strong battery ensures your motorcycle starts quickly and runs smoothly. Follow these tips to maintain your charging system’s heart.
Proper Charging Techniques
Charge batteries correctly to extend their life. Use the right charger for your battery type. Always charge in a well-ventilated area. Disconnect the battery from the bike during long storage periods and keep it charged. Follow these steps:
- Check the charger’s compatibility with your battery.
- Connect the charger carefully to the battery.
- Set the charger to the correct mode.
- Monitor the charging process.
- Disconnect once fully charged.
Regular Battery Testing
Test your battery regularly to prevent surprises. A multimeter can measure voltage and health. Perform these tests monthly:
- Turn off the bike.
- Set the multimeter to DC voltage.
- Connect the multimeter leads to the battery terminals.
- Read the voltage level.
- Assess the battery’s health based on the reading.
A reading of 12.6V or higher indicates a full charge. Lower readings suggest a charge is needed.
Voltage Regulator Checks
Keeping your Kawasaki’s charging system in top shape is crucial. A key player in this system is the voltage regulator. It ensures the battery receives the right amount of power. Without it, your bike’s electrical components could face serious issues. Let’s dive into how to check and test your voltage regulator.
Testing The Regulator/rectifier
Begin with a visual inspection. Look for signs of burn or damage. Next, grab your multimeter. Set it to diode function for the test. Ensure the bike’s engine is off. Disconnect the regulator from the wiring harness.
- Check the input. Connect the positive lead to each stator input. Connect the negative lead to the ground.
- Note the reading. A functioning regulator should show around 0.5 volts.
- Reverse the leads. A good regulator will show no reading, indicating no reverse flow.
- Repeat for each phase. A consistent result across phases is a good sign.
Testing is straightforward but crucial. It helps prevent further damage to the electrical system.
Common Regulator Failures
Regulators can fail due to various reasons. Overheating is a prime culprit. It can cause internal damage. Another issue is corrosion. It affects electrical connections. Vibration from regular use can also loosen or break internal components.
- Battery overcharging
- Undercharging
- Intermittent charging
- No charge at all
Spot these signs early. Act fast to fix them. It saves your bike’s battery and electrical system.
Remember, a faulty regulator can lead to a domino effect of electrical problems. Regular checks and tests are vital for a smooth ride.
Alternator Functionality Tests
Motorcycles, like the ones from Kawasaki, need a healthy charging system. The alternator is key. It keeps the battery powered and the bike running smoothly. Knowing how to test the alternator’s functionality is vital. Let’s dive into some tests you can do to ensure it’s working right.
Inspecting The Stator
The stator is the stationary part of your bike’s alternator. It generates power as the engine runs. First, check the stator visually. Look for signs of damage or wear. These could be burns or melted wires. Next, use a multimeter to check for continuity. Place the multimeter probes on the stator terminals. A lack of continuity suggests a broken stator. Also, test for insulation breakdown. Set the multimeter to a high resistance range. Check between each stator lead and ground. Any reading other than infinity means there’s a short and the stator needs replacing.
Testing Alternator Output
An alternator must produce enough power. This keeps the battery charged and systems running. Begin with a fully charged battery. Connect a voltmeter across the battery terminals. Start the engine and rev it up. Watch the voltmeter. It should show an increase in voltage. This confirms the alternator is charging. If the voltage doesn’t rise, suspect a fault in the charging system. Check the voltage regulator and wiring if the alternator output is low.
| Condition | Voltmeter Reading | Diagnosis |
|---|---|---|
| Engine Off | 12.6V – 12.8V | Battery is fully charged |
| Engine On (Idle) | 12.6V – 13.5V | Normal at idle |
| Engine On (Increased RPM) | >13.5V | Alternator is charging |
| Engine On (Increased RPM) | <13.5V | Charging system fault |
Wiring And Connections
Electrical woes in your Kawasaki can often trace back to wiring and connections. Proper troubleshooting of the charging system is vital. Faulty wires or loose connections can lead to power loss. This section will guide you through checking and securing these critical components.
Troubleshooting Wiring Issues
- Inspect wires for cuts, wear, or corrosion.
- Check for burnt smells or discolored insulation.
- Use a multimeter to test for continuity.
- Ensure the stator’s wiring is intact and functional.
- Look for pinched wires that may cause shorts.
Ensuring Secure Connections
- Confirm all connectors are clean and tight.
- Apply dielectric grease to prevent corrosion.
- Check the battery terminals for firm attachment.
- Verify ground connections are secure and clean.
- Ensure no wires are loose or disconnected.
Common Faults And Solutions
Dealing with a Kawasaki’s charging system can be tricky. But don’t worry. We will explore common faults and solutions. This will help keep your ride smooth and trouble-free.
Frequent Electrical Problems
Several issues can affect your Kawasaki’s charging system. Here are the most common ones:
- Dead battery: It might not hold a charge.
- Loose connections: Wires can come loose.
- Broken alternator: It charges the battery.
- Faulty regulator/rectifier: This controls voltage.
Quick Fix Techniques
Here are simple steps to fix these problems:
- Check the battery: Make sure it’s charged.
- Tighten connections: Secure all wires and connections.
- Test the alternator: Use a multimeter for this.
- Inspect the regulator/rectifier: Replace if necessary.
Following these steps can often solve your Kawasaki charging issues.
Credit: www.instructables.com
Advanced Troubleshooting
Motorcycle enthusiasts know a working charging system is key for a good ride. Advanced troubleshooting helps when problems arise. Know your Kawasaki’s charging system. Ready to dive deep?
Using Multimeters And Test Lights
Mastering tools is a must for charging system checks. Use multimeters to measure voltage and resistance. Test lights show power presence. Here’s how:
- Set the multimeter to voltage mode.
- Connect the red lead to the positive battery terminal.
- Attach the black lead to the negative terminal.
- Read the display for battery voltage.
- Use the test light to find electrical paths.
These tools reveal the charging system’s health. They show if the battery receives a charge. They also detect wire issues.
Step-by-step Diagnostic Process
Follow a structured approach for accuracy. A step-by-step diagnostic process pinpoints issues. Check these out:
- Inspect the battery condition.
- Test the battery voltage level.
- Check the alternator output.
- Examine the regulator/rectifier function.
- Look for loose or damaged wires.
This process narrows down the problem areas. It makes troubleshooting efficient and effective. Solve charging issues with precision.
When To Seek Professional Help
The Kawasaki charging system is critical for motorcycle performance. Knowing when to seek professional help can save time and prevent further damage. This section outlines key signs that indicate the need for expert assistance.
Recognizing Complex Issues
Intermittent electrical problems often signal complex issues within the Kawasaki charging system. Look out for these warning signs:
- Bike powers off during operation
- Headlights dim or flicker
- Unusual battery drain
These symptoms suggest deep-rooted electrical faults. A skilled technician should address them.
Finding Qualified Service Technicians
Choose certified technicians for charging system repairs. Ensure they have:
| Criteria | Importance |
|---|---|
| Experience with Kawasaki bikes | Ensures familiarity with your model |
| Proper diagnostic tools | Provides accurate problem identification |
| Positive reviews | Reflects quality of service |
Qualified technicians will offer reliable and lasting solutions.
Credit: www.instructables.com
Preventive Measures And Best Practices
Kawasaki motorcycles are renowned for performance and reliability.
Yet, the charging system needs careful attention to avoid issues.
Preventive measures and best practices ensure longevity and peak operation.
Routine Maintenance Schedule
Regular check-ups prevent charging system failures.
Follow a strict maintenance schedule for best results.
- Check battery voltage monthly
- Inspect wiring and connections
- Test alternator output regularly
Record findings in a maintenance log.
Spot trends and address issues early.
Investing In Quality Components
High-quality parts mean fewer problems.
They offer better performance and longer life.
| Component | Benefit |
|---|---|
| OEM Batteries | Optimal compatibility |
| Premium Alternators | Reliable power supply |
| Quality Wiring | Secure connections |
Invest in the best to save time and money.
Prevent failures before they happen.
Frequently Asked Questions
What Is The Most Common Charging System Failure?
The most common charging system failure is a faulty alternator. This critical component fails to charge the battery, leading to vehicle power issues. Regular checks can prevent such failures.
How Do You Know If Your Charging System Is Bad?
To identify a failing charging system, watch for dimming lights, slow engine start, frequent battery issues, and warning lights on your dashboard. Regularly check the battery and alternator health to avoid unexpected failures.
How Do You Fix Charging System Failure?
To fix a charging system failure, first check the battery and cables for corrosion and secure connections. Then, test the alternator and replace it if faulty. Ensure the drive belt is tight and in good condition. If issues persist, seek professional mechanic assistance.
How To Test A Kawasaki Voltage Regulator?
To test a Kawasaki voltage regulator, start the engine and check the battery voltage. It should read around 12. 5 volts at idle and 14. 5-15 volts at higher RPMs. If readings fall outside these ranges, the regulator may be faulty.
How Does The Kawasaki Charging System Work?
The Kawasaki charging system uses a stator and regulator/rectifier to convert mechanical energy into electrical energy, powering the motorcycle and charging the battery.
Conclusion
Navigating Kawasaki charging system issues can be daunting, but armed with the right knowledge, it’s manageable. Remember, regular maintenance is key to electrical system health. For persistent problems, consult a professional. Keep your ride smooth and your journeys uninterrupted by staying on top of charging system care.
Safe travels!


