Hydro Gear troubleshooting often starts with checking fluid levels and filters. Ensuring connections are secure is also crucial.
Hydro Gear systems power many of today’s lawn mowers and tractors, offering efficient and reliable performance. Yet, like all mechanical systems, they can encounter issues. Troubleshooting these problems early can prevent more significant, costly repairs down the line. Garden enthusiasts and professionals alike rely on their equipment to be in top condition.
Understanding the basics of Hydro Gear troubleshooting is essential. This includes knowing how to identify common problems, such as leaks, noise, or a lack of drive power. Armed with this knowledge, you can keep your garden machinery running smoothly, ensuring your lawn or professional project remains on schedule and looks its best.
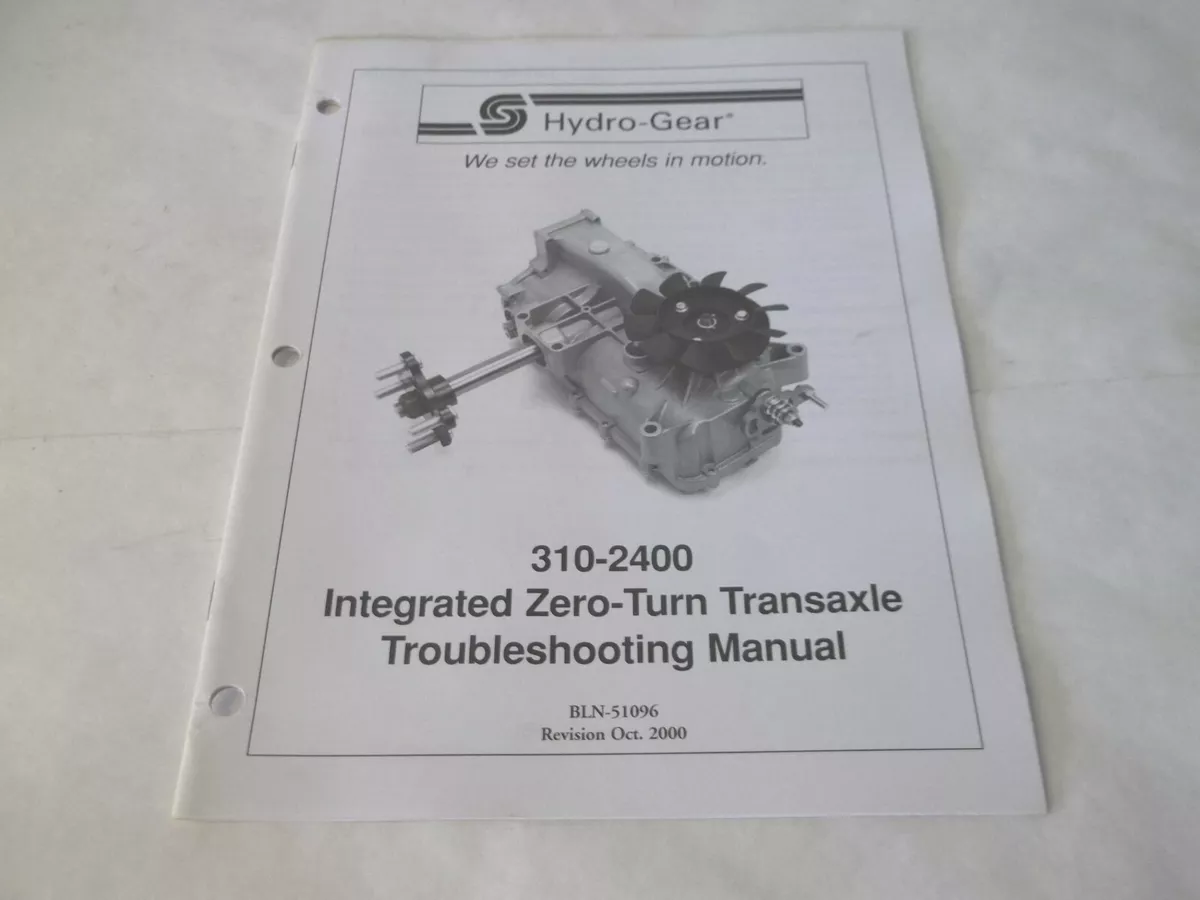
Introduction To Hydro Gear Systems
Hydro Gear systems power many machines. They use hydraulics to create smooth, reliable motion. Mowers, tractors, and other equipment rely on these systems. Proper maintenance is key to their performance.
Essential Role In Machinery
Hydro Gear units are critical components. They ensure effortless operation and precise control. Without them, heavy-duty tasks would be much harder. They convert engine power into hydraulic energy. This energy drives wheels or other moving parts.
Common Signs Of Hydro Gear Issues
- Leaking fluid – a clear sign of trouble.
- Strange noises – whining or grinding sounds.
- Weak performance – slow or uneven movement.
- Overheating – too much heat from the unit.

Credit: www.dillongarden.com
Initial Inspection Steps
Starting with Initial Inspection Steps is crucial. They help pinpoint Hydro Gear issues. Proper inspection can save time and money.
Safety First: Preparing To Troubleshoot
Before diving into Hydro Gear troubleshooting, safety is key. Always turn off your equipment. Remove the ignition key. Ensure all moving parts have stopped. Wear protective gloves and eye gear. Check the work area. Make sure it’s free from hazards. Secure the machine to prevent unwanted movement.
Identifying External Damage
Inspect your Hydro Gear for visible signs of damage. Look for cracks, leaks, and wear. Check hoses and connections for tightness. Use a flashlight to see hidden areas. Take notes of any abnormalities. This will guide your troubleshooting process.
| Area | Check For |
|---|---|
| Casing | Cracks, wear |
| Hoses | Leaks, loose fittings |
| Connections | Tightness, corrosion |
Document your findings. Use your notes for the next steps in troubleshooting. Remember to work methodically. Tackling one area at a time is best.
Fluid Level And Quality Checks
Maintaining your Hydro Gear system requires regular fluid checks. Proper fluid levels and quality are crucial. They ensure smooth operation and prevent damage. This section guides you through checking and analyzing your hydraulic fluid.
Assessing Hydraulic Fluid Levels
Checking fluid levels is simple but vital. Start with these steps:
- Place your equipment on a level surface.
- Locate the fluid reservoir.
- Clean the area around the dipstick to avoid contamination.
- Remove the dipstick and wipe it clean.
- Insert it back fully, then remove to check the level.
Fluid should be between the marked indicators. Low levels may indicate leaks or consumption. Top up with the manufacturer’s recommended fluid only.
Analyzing Fluid Condition
The quality of your hydraulic fluid impacts performance. Look for these signs:
- Color: Dark fluid may suggest contamination.
- Smell: A burnt odor indicates overheating.
- Particles: Metal flakes or debris are a bad sign.
Use a clean cloth to check for impurities. Replace fluid if you find any issues. Regular fluid analysis prevents costly repairs.
Remember to check your manual for specific guidelines. Proper maintenance keeps your Hydro Gear system running smoothly.
Filter Inspection And Maintenance
Maintaining your Hydro Gear system ensures optimal performance. Regular filter inspection and maintenance are crucial. A clean filter prevents contaminants from harming the hydraulic system. Follow these guidelines to inspect and maintain your Hydro Gear filter.
Locating And Examining The Filter
The filter is key to a healthy Hydro Gear system. It is often found on the unit’s side or bottom. Look for a cylindrical component attached to the transmission. Ensure the machine is off and cool before you start.
Steps To Clean Or Replace
- Identify the filter’s exact location.
- Turn off the equipment.
- Drain the hydraulic fluid.
- Remove the filter with a wrench.
- Inspect for dirt or damage.
- Clean with approved solvent or replace if needed.
- Install the new or cleaned filter.
- Refill with fresh hydraulic fluid.
- Test the system for proper operation.
Replace filters as per Hydro Gear guidelines. Use only genuine parts for your model. This ensures longevity and avoids damage.
Drive Belt Analysis
Proper drive belt analysis is vital for Hydro Gear performance. A belt in good shape ensures smooth operations. A faulty one can cause many issues. Let’s dive into how to keep your Hydro Gear drive belt in top condition.
Checking Belt Tension
To maintain optimal performance, check the belt tension regularly. A loose belt slips and reduces mower efficiency. A tight belt can wear quickly and damage other components.
- Turn off the machine before inspection.
- Locate the belt and assess its tension by pressing it.
- The belt should have a slight give, about half an inch.
- Adjust tension if the belt deviates from this standard.
Identifying Wear And Tear
Over time, drive belts can show signs of wear and tear. Catching these early prevents breakdowns.
- Inspect the belt for cracks, fraying, and thinning.
- Look for shiny spots that indicate slippage.
- Replace the belt at signs of severe wear.
A well-maintained drive belt keeps your Hydro Gear system running smoothly. Regular checks and timely replacements save time and money.
Purge Procedure Simplified
Many Hydro Gear users face issues with hydraulic drive systems. The solution often lies in a simple purge procedure. Let’s simplify this process and get your equipment running smoothly again.
Purging Air From The System
Air in the hydraulic system can cause poor performance. It leads to jerky movements and a lack of power. The first step is to remove this air, known as purging.
- Check the fluid level and top off if necessary.
- Set the machine on a level surface.
- Disengage the transmission.
- Start the engine and throttle to about half speed.
- Move the motion control levers slowly back and forth.
- Repeat the lever movements for several minutes.
Ensuring Correct Purge Procedure
To ensure a successful purge, follow these steps closely. They ensure air escapes the system fully, restoring smooth operation.
- Follow the manufacturer’s manual for specifics.
- Perform the steps in the correct order.
- Check for leaks in the system.
- Test drive after purging to confirm success.
Electrical System Diagnostics
Welcome to the section on Electrical System Diagnostics for Hydro Gear troubleshooting. This part is crucial for ensuring your equipment runs smoothly. We will dive into how to test solenoids and connections. Also, we’ll guide you through troubleshooting electrical failures. Let’s get started!
Testing Solenoids And Connections
To start, let’s focus on testing solenoids and their connections. These are vital for your machine’s operation.
- First, locate the solenoid on your Hydro Gear equipment.
- Use a multimeter to check for continuity. Set it to the ohms symbol.
- Place one probe on each terminal of the solenoid.
- A good solenoid will show some resistance. Note the value.
- Zero or infinite resistance means the solenoid is faulty.
Next, inspect all electrical connections:
- Ensure each connection is clean and tight.
- Look for any signs of corrosion or damage.
- Apply dielectric grease to prevent future corrosion.
Troubleshooting Electrical Failures
Electrical failures can stop your equipment in its tracks. Here’s how to tackle them:
- Check the battery voltage. It should be around 12 volts.
- Inspect all fuses. Replace any that are blown.
- Examine the wiring harness. Look for cuts or wear.
- Test the ignition switch with a multimeter for continuity.
- If everything checks out but problems persist, consult a professional.
Remember, safety first. Always disconnect the battery before working on electrical components. This prevents accidents and damage. With patience and careful testing, you can solve many common electrical issues.
Mechanical Adjustments And Fixes
When tackling Hydro Gear issues, mechanical adjustments are key. These fixes can restore your equipment’s performance. Let’s dive into specific adjustments that make a real difference.
Correcting Alignment Issues
Misaligned parts cause poor performance and wear. To fix this:
- Inspect the drive system for misalignments.
- Loosen the mounting bolts slightly.
- Adjust the position of the pump or motor.
- Re-tighten bolts after alignment.
- Test the equipment to ensure smooth operation.
Tightening Loose Components
Vibrations can loosen components, leading to issues. Regular checks are vital. Follow these steps:
- Turn off the machine and wait for all moving parts to stop.
- Locate any loose nuts, bolts, or connectors.
- Use the appropriate tools to tighten them.
- Do not over-tighten, as this can cause damage.
- Perform a functional test to ensure stability.
When To Seek Professional Help
Hydro gear systems power many lawnmowers and tractors. Sometimes, they need a professional’s touch. Knowing when to seek help can save time and prevent damage.
Recognizing Complex Problems
Hydro Gear issues aren’t always simple fixes. Complex problems often show specific signs:
- Unusual noises like grinding or whining
- Leaking fluid beneath the machine
- Weak or erratic drive performance
- Failure to engage or respond
When these signs appear, a skilled technician should assess the system.
Benefits Of Expert Intervention
Professional help offers key benefits:
| Benefit | Description |
|---|---|
| Diagnostics | Experts use special tools to find issues quickly. |
| Efficiency | Professionals work fast and effectively. |
| Guarantee | Work often comes with a service guarantee. |
| Safety | Technicians ensure safe repairs. |
Seek expert help to protect your investment and ensure proper function.

Credit: www.hydro-gear.com
Preventative Measures For Longevity
Want your Hydro Gear to last? Preventative measures are key. They ensure smooth operation and avoid costly repairs. Let’s dive into some essential tips for maintaining your Hydro Gear system.
Routine Maintenance Tips
Consistent care keeps your Hydro Gear in top shape. Follow these steps:
- Check oil levels regularly to prevent wear.
- Clean or replace filters to maintain flow.
- Inspect and tighten bolts to avoid leaks.
- Look for signs of wear on belts and hoses.
- Use recommended fluids for optimal performance.
Importance Of Regular System Checks
Regular checks catch issues before they grow. Implement these practices:
- Schedule monthly inspections for peace of mind.
- Listen for unusual noises that signal problems.
- Monitor performance changes during use.
- Seek professional advice when in doubt.
Maintain records of all maintenance activities. This helps track the system’s health over time.
Conclusion: Restoring Hydro Gear Performance
Making your Hydro Gear work like new is easy and satisfying. We will show you how. Let’s ensure your equipment runs smoothly with these steps.
Summarizing Key Troubleshooting Steps
- Check the oil level and quality.
- Clean or replace the air filter.
- Inspect the drive belt for wear and tension.
- Look for leaks and fix them.
- Test the relief valves.
These steps help find and fix common problems.
Encouragement For Effective Maintenance
Regular care keeps your Hydro Gear in top shape. Let’s make maintenance a habit.
| Task | Frequency |
|---|---|
| Oil Check | Every 50 hours |
| Air Filter Clean | Every 100 hours |
| Belt Inspection | Every 100 hours |
| Leak Inspection | As needed |
Follow this table for a happy Hydro Gear.
Credit: www.ebay.com
Frequently Asked Questions
How Do You Get Air Out Of A Hydrostatic Transmission?
To remove air from a hydrostatic transmission, start the engine and slowly move the drive control back and forth several times. This process encourages air bubbles to escape, effectively bleeding the system. Ensure the transmission fluid is at the correct level afterward.
How Long Is The Hydro-gear Warranty?
The Hydro-Gear warranty typically covers products for up to five years, but terms can vary by product model. Always check your specific product documentation for exact details.
What Is The Phone Number For Hydro-gear Technical Support?
Hydro-Gear technical support can be reached at 1-800-932-0503 for assistance with their products.
How Often Do You Change Hydro-gear Oil?
Change Hydro-Gear oil every 200 hours of operation or once every two years, whichever comes first, to maintain optimal performance.
What Causes Hydro Gear Failure?
Hydro Gear failures often stem from low fluid levels, contamination, or excessive loading beyond the equipment’s designed capacity.
Conclusion
Navigating Hydro Gear issues doesn’t have to be daunting. With the insights shared, homeowners and professionals alike can tackle common problems effectively. Remember, regular maintenance is key to longevity and smooth operation. For more complex issues, seeking expert advice is always wise.
Keep your gear running smoothly with these troubleshooting tips.


