If you’ve ever worked with Bondo, you know how frustrating it can be when it’s too thick or hard to spread smoothly. What if you could make your Bondo easier to work with, apply thinner layers, and get a better finish every time?
The secret lies in thinning Bondo properly. In this guide, you’ll discover simple, effective ways to thin Bondo using common materials like acetone, so your auto body repairs or DIY projects become faster and more precise. Keep reading to learn how to transform your Bondo into a smooth, workable consistency that saves you time and effort—and delivers professional results.

Credit: www.classiccarrestorationclub.com
Choosing The Right Thinner
Choosing the right thinner for Bondo is key to getting smooth, workable filler. Thinners change Bondo’s texture and drying time. Picking a suitable thinner helps avoid cracking or poor adhesion. It also makes spreading and sanding easier.
Some thinners work better than others. Knowing the best options keeps your project on track. The wrong thinner can ruin your work and waste materials.
Using Acetone Safely
Acetone is a common thinner for Bondo. It helps make the filler less thick and easier to spread. Use only small amounts to avoid breaking down the filler.
Always work in a well-ventilated space. Acetone fumes can irritate eyes and lungs. Wear gloves to protect your skin. Avoid open flames since acetone is highly flammable.
Alternatives To Acetone
Lacquer thinner is another option to thin Bondo. It works well for slower drying and smoother finishes. Mineral spirits can also help but dry slower.
These alternatives offer different drying times and effects. Test a small batch before applying to the whole project. Each thinner changes Bondo’s feel and workability.
Avoiding Water And Other Liquids
Water should never be used to thin Bondo. It causes the filler to weaken and not cure properly. Other liquids like alcohol or oils also harm the mixture.
Stick to solvents designed for body fillers. Using the wrong liquid leads to poor adhesion and cracks. Keep your thinner choice safe and effective for best results.
Preparing Bondo For Thinning
Preparing Bondo for thinning is a crucial step to achieve a smooth, workable filler. Proper preparation ensures better adhesion and easier application. It also prevents problems like cracking or uneven drying. Understanding the right consistency and mixing technique sets the foundation for successful thinning.
Checking Bondo Consistency
Start by examining the Bondo’s texture. It should be firm but pliable. Too hard means it is old or dried out. Too soft indicates excess hardener or improper storage. Proper consistency feels like thick putty that you can shape easily.
Testing a small amount by pressing it with a finger helps. If it crumbles or sticks excessively, it needs adjustment. Knowing the current state guides how much thinner to add.
Gathering Proper Tools
Collect the right tools before thinning. Use a clean mixing board or surface. Have a putty knife or spreader ready for blending. Use disposable gloves to protect your hands.
Also, prepare a small container for mixing the base and hardener. Having everything at hand speeds up the process and keeps the mixture fresh.
Mixing Base And Hardener
Mix the Bondo base with the hardener carefully. Use the recommended ratio, usually about 2% hardener by volume. Too much hardener causes quick curing and a brittle finish.
Work quickly but thoroughly to combine them. Mix until the color is uniform with no streaks. Proper mixing ensures the filler cures evenly after thinning.
Step-by-step Thinning Process
Thinning Bondo correctly improves its spread and finish. The process requires patience and attention. Follow these clear steps for best results. Adjust the thickness gradually for smooth application. Avoid rushing to keep the filler effective and easy to work with.
Adding Thinner Gradually
Start with a small amount of thinner, such as acetone. Mix it slowly into the Bondo. Stir the mixture well to combine fully. Add more thinner little by little. Stop adding once you reach a workable consistency. This prevents weakening the filler too much.
Achieving Yogurt-like Texture
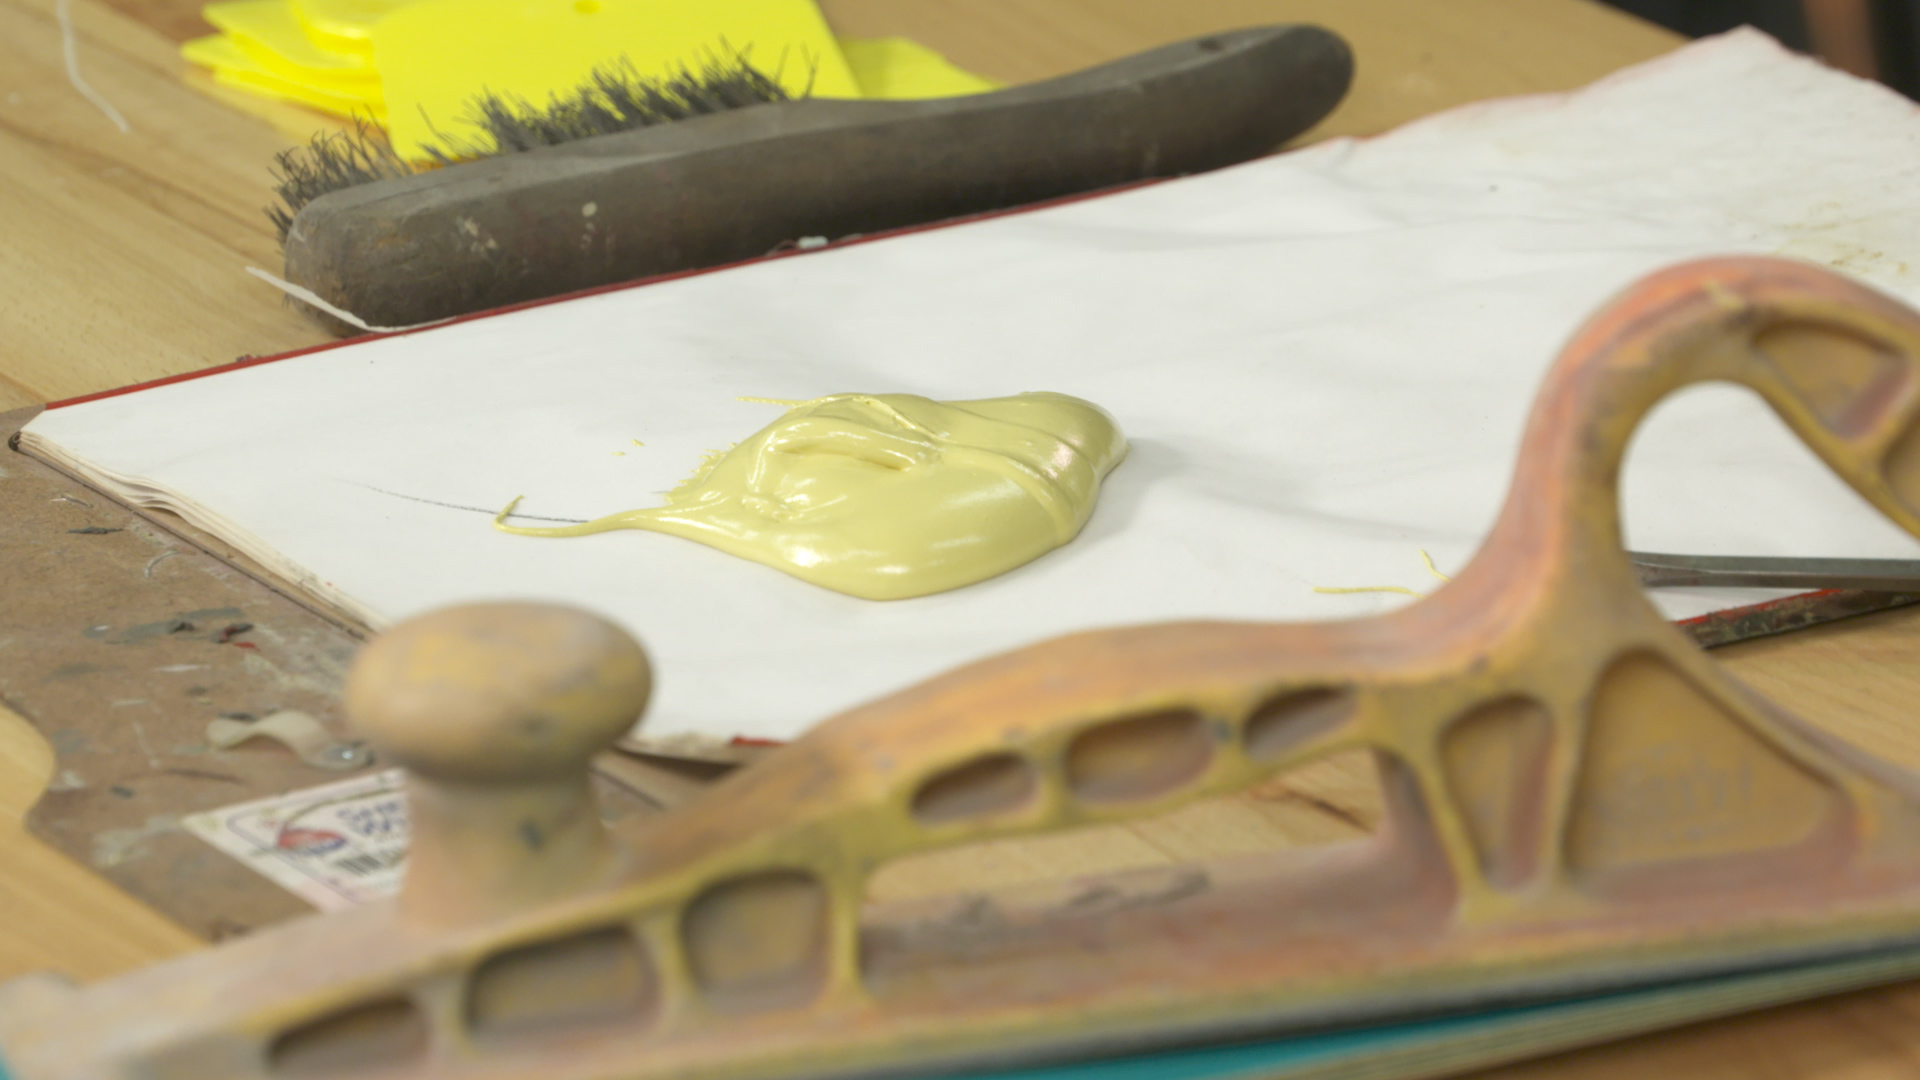
The ideal texture looks like thick yogurt. It should be smooth and creamy. This consistency spreads easily on surfaces. It also allows for better control during application. Test the texture by dipping a spatula into the mix. Adjust thinner amount if needed to reach this stage.
Avoiding Over-thinning
Too much thinner makes Bondo watery and weak. Over-thinned filler loses its bonding strength. It may not dry properly or may crack later. Stop adding thinner once the mix flows smoothly but holds shape. Always mix small batches to avoid waste and errors.
Tips For Application
Applying thinned Bondo correctly ensures a smooth, even finish. Proper technique helps avoid lumps and imperfections. Here are some tips to improve your Bondo application for better results.
Spreading Thinned Bondo Smoothly
Use a flexible spreader or putty knife to apply the thinned Bondo. Work in thin layers to avoid drips and uneven spots. Apply light pressure and smooth the filler in one direction. This reduces air bubbles and gives a uniform surface. Wipe the spreader clean after each pass for a cleaner finish.
Slowing Cure Time
Mix a small amount of acetone with Bondo to slow the curing process. This gives more time to work and smooth the filler. Use less hardener than usual and add acetone gradually. Avoid adding too much acetone to prevent weakening the bond. Slower curing helps when working on large or detailed areas.
Using Thinned Bondo For Spraying
Thinned Bondo can be sprayed for a fine, even coat. Mix the filler with acetone until it reaches a sprayable consistency, like thick paint. Use a spray gun with a suitable nozzle size for body filler. Spray in light, even coats and let each layer dry before applying the next. Wear protective gear to avoid inhaling fumes and particles.
Recovering Dried Or Hardened Bondo
Dried or hardened Bondo can be frustrating to handle. It loses its smooth, workable texture. Recovering it saves money and reduces waste. Some simple methods can bring it back to life. Knowing how to safely reconstitute Bondo extends its usability. Use caution to avoid damaging the material during recovery.
Reconstituting With Acetone
Acetone is a common solvent to soften hardened Bondo. Apply a small amount to the dried filler. Let it soak in for a few minutes. The Bondo will soften and become pliable again. Use a putty knife to mix and knead the softened filler. Avoid adding too much acetone, which can weaken the bond. Reconstituted Bondo works best for small repairs and smoothing.
Limitations Of Recovery
Recovered Bondo may not have the same strength as fresh filler. Avoid using it for structural repairs or large patches. The texture can become grainy or inconsistent. Overuse of acetone can cause the filler to break down. Test the recovered filler on a small area first. Only use recovered Bondo if it meets your repair needs.
Storage Recommendations
Store Bondo in a cool, dry place to prevent hardening. Keep the container tightly sealed after each use. Use plastic wrap over the filler surface for extra protection. Avoid exposure to air and moisture. Label containers with the date of opening. Fresh Bondo lasts longer and performs better for repairs.

Credit: www.youtube.com
Safety Measures
Thinning Bondo requires careful attention to safety. The chemicals involved can be harmful. Taking safety measures protects your health and ensures a smooth project. Always prepare your workspace and use the right safety tools. Follow these steps to stay safe.
Wearing Protective Gear
Wear gloves to protect your skin from chemicals. Use safety goggles to shield your eyes from splashes. A mask or respirator helps avoid breathing harmful dust and fumes. Long sleeves and pants add extra protection. Never skip protective gear when working with Bondo.
Ensuring Proper Ventilation
Work in a well-ventilated area. Open windows and doors to allow fresh air. Use fans to increase airflow if possible. Avoid enclosed spaces to reduce inhaling toxic fumes. Good ventilation keeps the air clean and reduces health risks.
Handling And Disposal
Handle Bondo and solvents carefully to avoid spills. Keep containers tightly closed when not in use. Dispose of leftover materials according to local hazardous waste rules. Never pour chemicals down drains or on the ground. Proper handling and disposal protect the environment and your safety.
Common Mistakes To Avoid
Thinning Bondo requires care and precision. Many beginners make common mistakes that ruin the mixture’s effectiveness. Avoid these errors to achieve smooth, workable filler that sets correctly. Understanding what to avoid saves time and effort during your project.
Using Too Much Thinner
Adding too much thinner weakens Bondo’s strength. The filler becomes soft and crumbly after curing. It loses adhesion and can crack easily. Always start with small amounts and mix thoroughly. Add more thinner only if necessary, in tiny increments.
Mixing In Advance
Mixing Bondo and thinner too early causes problems. The filler begins to harden before application. This reduces working time and affects spreadability. Mix only what you need for immediate use. Prepare fresh batches to maintain proper consistency and curing speed.
Ignoring Test Patches
Skipping test patches leads to unpredictable results. Different thinners or fillers may react oddly. Testing a small area shows how the mixture behaves. It reveals drying time, texture, and adhesion before full application. Always test first to avoid costly mistakes and wasted materials.

Credit: www.classiccarrestorationclub.com
Testing And Adjusting Consistency
Testing and adjusting the consistency of thinned Bondo is crucial for a smooth repair job. Getting the right texture ensures easy application and proper curing. It also helps avoid cracks or weak spots in the filler. Small tests can save time and materials before working on larger surfaces.
Trial On Small Surfaces
Start by applying a small amount of the thinned Bondo on a test panel. This allows you to see how it spreads and sticks. Check if the filler is too runny or too thick. A good test spot helps avoid mistakes on the main repair area.
Adjusting Thinner Amount
Change the thinner quantity based on your trial. Add thinner slowly in small drops. Mix thoroughly after each addition. The goal is a creamy, spreadable texture that holds shape. Avoid adding too much thinner, or the Bondo will not cure properly.
Evaluating Cure And Finish
Observe how the thinned Bondo hardens on the test surface. It should cure without becoming brittle or sticky. After curing, sand the area to check for smoothness. Properly thinned Bondo sands easily and provides a clean finish.
Frequently Asked Questions
What Can You Add To Bondo To Make It Thinner?
You can add a small amount of acetone or lacquer thinner to Bondo to make it thinner and easier to spread. Use sparingly to avoid weakening the filler. Mix just before use for best results.
Can Bondo Be Thinned With Acetone?
Yes, Bondo can be thinned with acetone in small amounts to improve spreadability and smoothness. Use acetone sparingly to avoid weakening the filler. Applying acetone to drying Bondo helps smooth the surface. Always wear protective gear when handling acetone due to its toxicity.
Can You Thin Down Car Body Fillers?
Yes, you can thin car body fillers using small amounts of acetone or lacquer thinner. Add sparingly to avoid weakening. Mix fresh batches for best results. Always wear protective gear and test before full application to ensure proper consistency and curing.
Can You Use Lacquer Thinner To Thin Out Bondo?
Yes, you can thin Bondo with lacquer thinner, but use it sparingly. It may weaken the filler and affect curing. Test small amounts first for workable consistency.
What Is The Best Way To Thin Bondo For Easy Application?
Mix a small amount of acetone or lacquer thinner into Bondo to make it easier to spread.
Conclusion
Thinning Bondo helps achieve smoother, more even repairs. Use acetone carefully to adjust consistency. Add small amounts to avoid ruining the filler. Work quickly before the mixture hardens. Practice makes it easier to control the texture. Proper thinning improves spreading and sanding results.
Follow safety tips and work in a ventilated area. Thinning Bondo is a simple step for better auto body work.


