Have you ever tried fixing a small paint mistake, only to end up with a patch that stands out like a sore thumb? Removing touch-up paint can feel tricky, especially when it doesn’t blend with your original surface.
But don’t worry—whether it’s a wall, furniture, or your car, you can learn how to carefully remove unwanted touch-up paint and restore a smooth, clean look. In this guide, you’ll discover simple, effective methods that anyone can use, saving you from frustration and costly mistakes.
Keep reading, because the right techniques will make your touch-up removal easier than you think—and your surface will thank you for it!
Reasons Touch Up Paint Stands Out
Touch-up paint often stands out on surfaces due to differences between the new and original paint. These differences make the repaired spots easy to notice. Understanding why touch-up paint does not blend well helps to manage expectations and improve repair results.
Fading Effects Over Time
Original paint fades because of sunlight and air exposure. This fading changes the color gradually. Fresh touch-up paint uses the original color formula. It appears brighter and less faded. The contrast between old and new paint becomes visible quickly.
Differences In Sheen
Paint gloss or sheen changes as it ages. New paint has a shiny or matte finish fresh from the can. Older paint loses some of its sheen over time. This causes a noticeable difference between the two surfaces. Light reflects differently, making touch-ups obvious.
Water Content Impact
Water in paint affects how it dries and looks. Older paint loses water, changing its texture and color slightly. New paint contains more water and dries differently. This difference can cause fresh paint to appear darker or uneven. The drying process highlights the mismatch.
Texture Variations
Original paint and touch-up paint often have different textures. Paint applied with a roller or brush leaves unique patterns. Touch-up paint is usually brushed on in small areas. This creates edges and rough spots that stand out. Texture differences make touch-ups easy to spot.
Credit: chipex.com
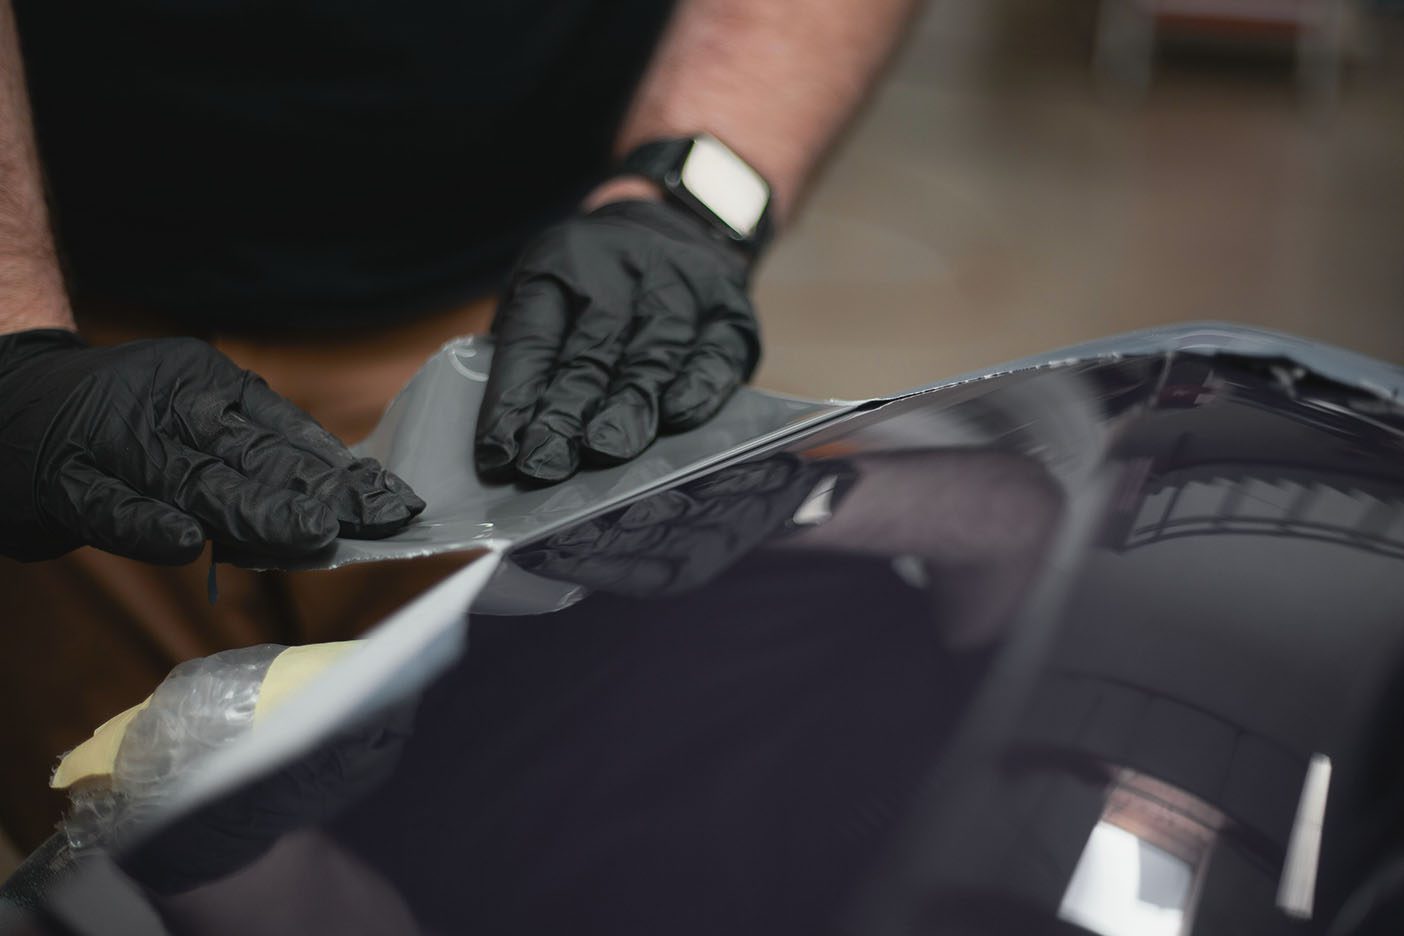
Tools Needed For Paint Removal
Removing touch-up paint requires the right set of tools. These tools make the process easier and more effective. Proper tools help prevent damage to the original surface. Below are the essential tools needed for paint removal.
Paint Removers And Solvents
Paint removers dissolve paint for easier removal. Choose a remover suitable for the paint type. Solvents like rubbing alcohol or acetone can also soften touch-up paint. Use them carefully to avoid harming the surface underneath.
Scrapers And Sandpaper
Scrapers gently lift paint from the surface. Plastic scrapers reduce the risk of scratches. Sandpaper smooths rough spots after scraping. Start with coarse grit and finish with fine grit for a clean surface.
Cleaning Supplies
Cleaning supplies prepare the area before and after paint removal. Use cloths or rags to wipe away dust and debris. Mild soap and water clean the surface without damage. Proper cleaning ensures better results when repainting.
Step-by-step Removal Process
Removing touch up paint can restore your surface to its original look. The process requires care and patience. Follow these clear steps to remove unwanted paint effectively. Each step prepares you for the next, ensuring smooth results without damage.
Preparing The Surface
Start by cleaning the area with mild soap and water. Remove dirt, grease, and dust to avoid scratches. Use a soft cloth and dry the surface completely. Cover nearby areas with tape or plastic to protect them.
Applying Paint Remover
Choose a paint remover suitable for your surface type. Apply it evenly using a brush or sponge. Allow it to sit for the time recommended on the label. This softens the touch up paint for easy removal.
Scraping Off Excess Paint
Use a plastic scraper or putty knife to lift the softened paint gently. Work slowly to avoid damaging the surface below. Remove all loose paint but stop if the surface feels rough or damaged.
Sanding For Smoothness
Lightly sand the area with fine-grit sandpaper. Move in small, circular motions to blend edges. Sand until the surface feels even and smooth. Wipe away sanding dust with a clean, damp cloth.
Cleaning And Drying
Clean the area again to remove any residue from sanding or paint remover. Use a clean cloth and warm water for best results. Let the surface dry fully before applying any new paint or finish.

Credit: www.wikihow.com
Tips For Avoiding Damage
Removing touch-up paint requires care to avoid harming your vehicle’s original finish. Taking precautions helps keep the surface intact and looking good. Follow these tips to protect your car while removing unwanted paint spots.
Testing On Small Areas
Start by trying any removal method on a hidden, small spot. This test shows how the paint and surface react. Avoids surprises or damage to visible areas. If the test area stays safe, continue with full removal.
Using Gentle Tools
Pick soft cloths, sponges, or fine brushes for paint removal. Avoid harsh scrapers or abrasive pads that scratch the surface. Gentle tools help remove paint without harming the original finish. Work slowly and carefully for best results.
Protecting Surrounding Surfaces
Cover areas next to the touch-up paint with tape or plastic sheets. This stops accidental damage during cleaning. Protect trims, glass, and other painted parts from cleaners or tools. Keeping the surrounding surfaces safe is key to a neat job.
Refinishing For A Flawless Finish
Refinishing is key to removing touch-up paint flawlessly. It smooths out uneven patches and blends repaired areas with original paint. Proper refinishing restores the surface’s uniform look without obvious marks. Follow these steps for a clean, professional result.
Choosing Matching Paint
Select paint that matches the original color exactly. Use the paint code from the vehicle or item. Avoid guessing by eye, as slight differences show up after drying. Purchase small amounts to test before applying widely.
Feathering Paint Edges
Feather edges by lightly brushing paint beyond the repaired spot. This softens the transition between new and old paint. Use small, gentle strokes to avoid harsh lines. Feathering helps the patch blend naturally into the surrounding area.
Allowing Proper Drying Time
Let each coat dry fully before adding another. Drying times vary by paint type and temperature. Rushing this step can cause peeling or uneven texture. Patience ensures the paint cures correctly and looks smooth.
Applying Multiple Thin Coats
Apply several thin layers instead of one thick coat. Thin coats dry faster and build color evenly. This method prevents drips and runs. Repeat until the repaired area matches the original finish perfectly.

Credit: www.reddit.com
When To Repaint Entire Sections
Deciding to repaint entire sections instead of just removing touch-up paint saves time and improves results. Small fixes work well for minor chips or scratches. Larger or highly visible areas need more attention. Repainting whole sections ensures a smooth, even finish that blends well with the rest of the surface. Here are key cases when repainting entire sections makes sense.
Large Or Glossy Areas
Touch-up paint rarely matches perfectly on big or shiny surfaces. Glossy finishes reflect light differently, making patched areas stand out. Large areas show color and texture differences clearly. Repainting the entire section restores a uniform look. It avoids patchy spots that catch the eye and reduce appeal.
Severe Color Mismatch
Original paint fades over time due to sunlight and weather. New touch-up paint often looks brighter or darker than the faded original. This mismatch creates noticeable patches. When the color difference is strong, repainting the whole section is better. It covers uneven tones and produces a seamless appearance.
Long-term Aesthetic Goals
Short fixes may not last or look good over time. Repainting large sections improves durability and appearance. It prevents repeated repairs and keeps surfaces looking fresh. For homes or cars with high visual standards, full repainting meets long-term goals. It also increases value and satisfaction with the finished look.
Frequently Asked Questions
Will Touch Up Paint Eventually Blend In?
Touch-up paint rarely blends perfectly due to fading, sheen, and texture differences. It may improve slightly as it cures but often remains noticeable. For the best match, repainting the entire area ensures a seamless finish.
How Do You Touch Up Paint Without It Showing?
Apply touch-up paint sparingly with feathered strokes, match sheen and color closely, let it dry fully, and consider repainting entire area for best blending.
Can Acetone Remove Touch Up Paint?
Acetone can remove some touch-up paint but may damage the underlying surface. Test a small area first. Use with caution and proper ventilation.
How To Remove Paint From Car Without Damaging Original Paint?
Use a clay bar or rubbing compound gently to remove paint without harming the original finish. Test on a small area first. Avoid harsh chemicals or abrasive tools. Always wax and polish after removal to protect the paint and restore shine.
What Is The Easiest Way To Remove Touch Up Paint?
Use a gentle paint remover or rubbing alcohol with a soft cloth to wipe off the paint.
Conclusion
Removing touch-up paint can be simple with the right approach. Use gentle tools and mild solvents to avoid damage. Always test in a small area first. Patience matters—work slowly to lift the paint without harming the surface. For larger spots, consider repainting the whole section for a uniform look.
Regular care helps maintain your paint job’s appearance. Follow these tips to keep your surfaces clean and smooth.


