Has your car emblem fallen off or started to peel away? You’re not alone, and the good news is you don’t have to spend a fortune getting it fixed.
Reattaching your car emblem yourself is easier than you might think. With just a few simple tools and the right steps, you can restore your vehicle’s look and keep it looking sharp. In this guide, you’ll learn exactly how to clean the surface, choose the best adhesive, and securely reattach your emblem so it stays put for the long haul.
Keep reading to save money and bring back that polished finish your car deserves!
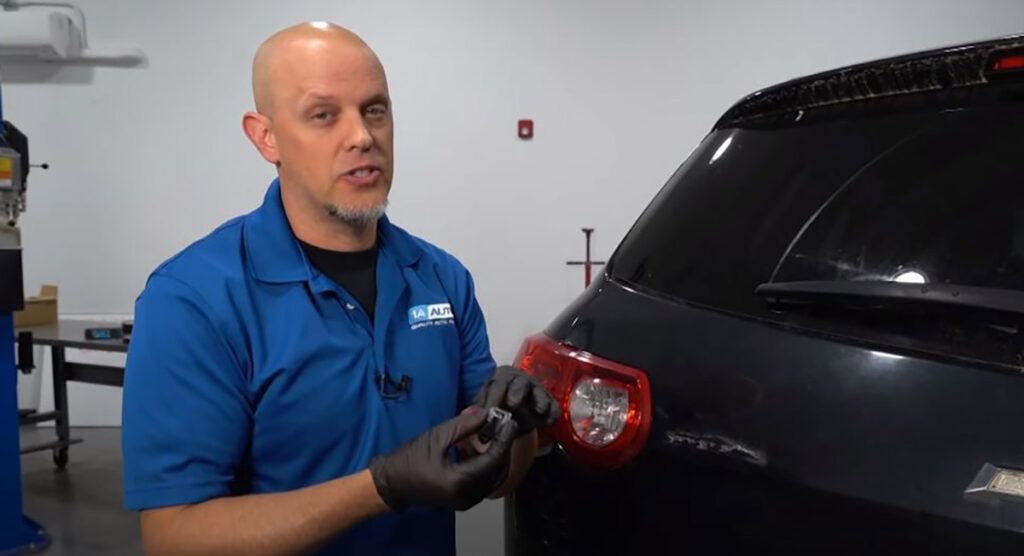
Credit: blog.1aauto.com
Prepare The Surface
Preparing the surface is a key step to reattach a car emblem properly. A clean and smooth area ensures the emblem sticks firmly and lasts longer. Dirt, old glue, or moisture can weaken the bond and cause the emblem to fall off again.
Follow these simple steps to get the surface ready for reattachment.
Remove Old Adhesive
Start by peeling off any old adhesive left on the car’s surface. Use your fingers or a plastic scraper to avoid scratching the paint. For stubborn glue, apply a gentle adhesive remover or rubbing alcohol. Remove all residue to create a smooth base.
Clean With Isopropyl Alcohol
Next, clean the area using isopropyl alcohol. It removes oils, dirt, and leftover glue that regular soap might miss. Dampen a clean cloth with alcohol and wipe the surface thoroughly. This step helps the new adhesive stick better.
Dry The Area Thoroughly
Allow the cleaned surface to dry completely before attaching the emblem. Use a dry cloth to speed up drying if needed. A dry surface improves adhesion and prevents moisture from weakening the glue bond.
Mark The Emblem Position
Marking the emblem position is a key step before reattaching it to your car. It helps ensure the emblem looks straight and centered. A well-marked spot prevents mistakes and saves time during the final placement. Using simple tools can make this process easy and accurate. Below are three effective ways to mark the emblem position clearly.
Use Painter’s Tape For Alignment
Painter’s tape works well to mark the emblem spot without damaging your car’s paint. Place strips of tape around the area where the emblem will go. Use a level or ruler to make sure the tape lines are straight. This creates a visible guide to align the emblem perfectly. After securing the emblem, remove the tape carefully to avoid sticky residue.
Measure Distance For Accuracy
Use a tape measure to find the exact center or desired position for the emblem. Measure distances from fixed points like the car’s edges or other emblems. Mark small dots or lines with a pencil or a fine marker on the tape. Double-check measurements on both sides to keep the emblem balanced. Accurate measuring prevents uneven or crooked placement.
Utilize Old Emblem Outline
Look closely for any leftover marks or outlines from the old emblem. These traces can guide you to the original position. Clean the surface gently to reveal any faint adhesive marks or dirt lines. Place the new emblem over the old outline and check alignment. This method helps match the original spot without guessing or extra tools.
Choose Adhesive Method
Choosing the right adhesive is key to reattaching your car emblem securely. The bond must last through weather and car washes. Different adhesives suit different emblem types and surfaces. Consider ease of use, strength, and durability before picking one.
Automotive-grade Double-sided Tape
Automotive-grade double-sided tape is popular for reattaching emblems. It offers a strong hold without making a mess. This tape is weather-resistant and sticks well to clean, dry surfaces. It allows easy alignment before pressing the emblem in place. Perfect for smooth car surfaces and lightweight emblems.
Emblem Adhesive Application
Emblem adhesive comes as a glue or gel designed for car badges. It creates a tough bond that resists water and heat. Apply a thin layer on the emblem’s back evenly. Press firmly against the car surface and hold for a minute. Allow the adhesive to cure for several hours before driving.
Alternative Adhesive Options
Other adhesives include epoxy and silicone-based glues. Epoxy offers a very strong bond but needs careful mixing and curing time. Silicone glue is flexible and water-resistant but may not hold as tightly. Avoid super glue as it can damage paint or fail in heat. Choose the best option based on emblem material and your skill level.
Apply Adhesive To Emblem
Applying adhesive to the car emblem is a key step for a secure reattachment. The right amount and placement of adhesive ensure the emblem stays firmly on the car surface. This process requires care and precision to avoid mess and ensure durability.
Trim Tape To Fit Edges
Cut the adhesive tape to match the emblem’s edges precisely. Use scissors for clean, straight cuts. This prevents excess tape from sticking out. Proper trimming helps the emblem sit flush against the car surface.
Apply Thin Line Of Adhesive
Apply a thin, even line of adhesive along the trimmed tape edges. Avoid thick globs that can spill over the sides. A thin line creates a strong bond and looks neat. Use a small applicator or toothpick for control.
Avoid Excess Squeeze-out
Press the emblem gently but firmly to avoid adhesive squeeze-out. Too much pressure can push adhesive beyond edges, causing a mess. Wipe off any excess immediately with a clean cloth. Keeping the area clean improves the final look and adhesion.
Attach Emblem To Car
Attaching a car emblem requires care and precision. This step restores your vehicle’s look and ensures the emblem stays put. Follow these simple steps for a strong, lasting hold.
Remove Tape Backing Carefully
Start by peeling off the tape backing slowly. Avoid touching the adhesive surface with your fingers. This keeps the adhesive clean and sticky for better bonding.
Press Emblem Firmly In Place
Align the emblem on the clean surface of your car. Press down firmly to make sure the adhesive sticks well. Apply even pressure across the whole emblem.
Hold For Secure Bonding
Keep the emblem pressed for at least 30 seconds. This helps the adhesive bond tightly to the car’s surface. Avoid moving the emblem during this time for the best result.
Final Touches
After securing the emblem back on your car, the final touches are crucial. These steps ensure the emblem stays firmly in place and looks perfect. Taking time here prevents future issues and keeps your car’s appearance sharp.
Clean Surrounding Area
Wipe the area around the emblem gently with a clean cloth. Use rubbing alcohol or a mild cleaner to remove dirt and oils. A clean surface helps the adhesive bond better and lasts longer. Avoid harsh chemicals that might damage the paint.
Check For Proper Alignment
Look closely to see if the emblem is straight and centered. Step back to view it from different angles. Correct alignment avoids a crooked look and keeps your car’s style intact. Adjust carefully before the adhesive sets.
Allow Adhesive To Cure
Let the adhesive dry fully without touching the emblem. Follow the glue manufacturer’s recommended curing time, usually several hours. Avoid washing or driving in heavy rain during this period. Proper curing strengthens the bond and prevents the emblem from falling off again.
Tips For Long-lasting Fix
Ensuring your car emblem stays firmly attached takes more than just a quick fix. Follow these simple tips to make your reattachment last longer. Proper care after installation helps the emblem resist falling off again. Small efforts can save you time and money on future repairs.
Avoid Washing For 24 Hours
After reattaching the emblem, do not wash your car for at least 24 hours. Water and soap can weaken the adhesive bond. Let the glue dry completely to secure the emblem tightly. This waiting period helps the emblem stick better and last longer.
Protect From Extreme Weather
Extreme heat or cold can damage the adhesive holding the emblem. Try to park your car in a garage or shaded area. Avoid exposing the emblem to direct sunlight for too long. If possible, use a car cover during harsh weather to protect the emblem and paint.
Regularly Inspect Emblem
Check the emblem often for any signs of loosening or damage. Early detection allows quick fixes before the emblem falls off completely. Clean around the emblem gently to avoid dirt buildup. Keeping it clean and secure ensures a longer-lasting attachment.

Credit: www.youtube.com

Credit: blog.1aauto.com
Frequently Asked Questions
How To Stick Car Emblem Back On?
Clean the car surface and emblem with isopropyl alcohol. Remove old adhesive. Apply automotive double-sided tape or emblem adhesive. Press the emblem firmly onto the marked spot. Let it set to ensure a strong bond.
What Is The Best Glue To Reattach A Car Emblem?
Use automotive-grade double-sided tape or emblem adhesive for the best results. Clean surfaces with isopropyl alcohol before applying. Press firmly and allow time to bond for a secure attachment.
How To Take Off Car Emblems And Put Them Back On?
Remove old adhesive and clean both emblem and car surface with isopropyl alcohol. Let dry completely. Use automotive double-sided tape or emblem adhesive. Align emblem using painter’s tape if needed. Press firmly to secure emblem back in place.
How To Restick A Car Decal?
Clean the car surface and emblem thoroughly. Remove old adhesive with isopropyl alcohol. Apply automotive double-sided tape or emblem adhesive. Press the decal firmly in place. Allow adhesive to set before driving.
Conclusion
Reattaching a car emblem is simple with the right steps. Clean both surfaces well for strong adhesion. Use automotive-grade tape or glue for best results. Press the emblem firmly and hold it in place. Let it set without disturbance to ensure it sticks.
This small fix restores your car’s look quickly. Keep your tools ready for easy future repairs. A neat emblem adds pride to your vehicle’s appearance.


