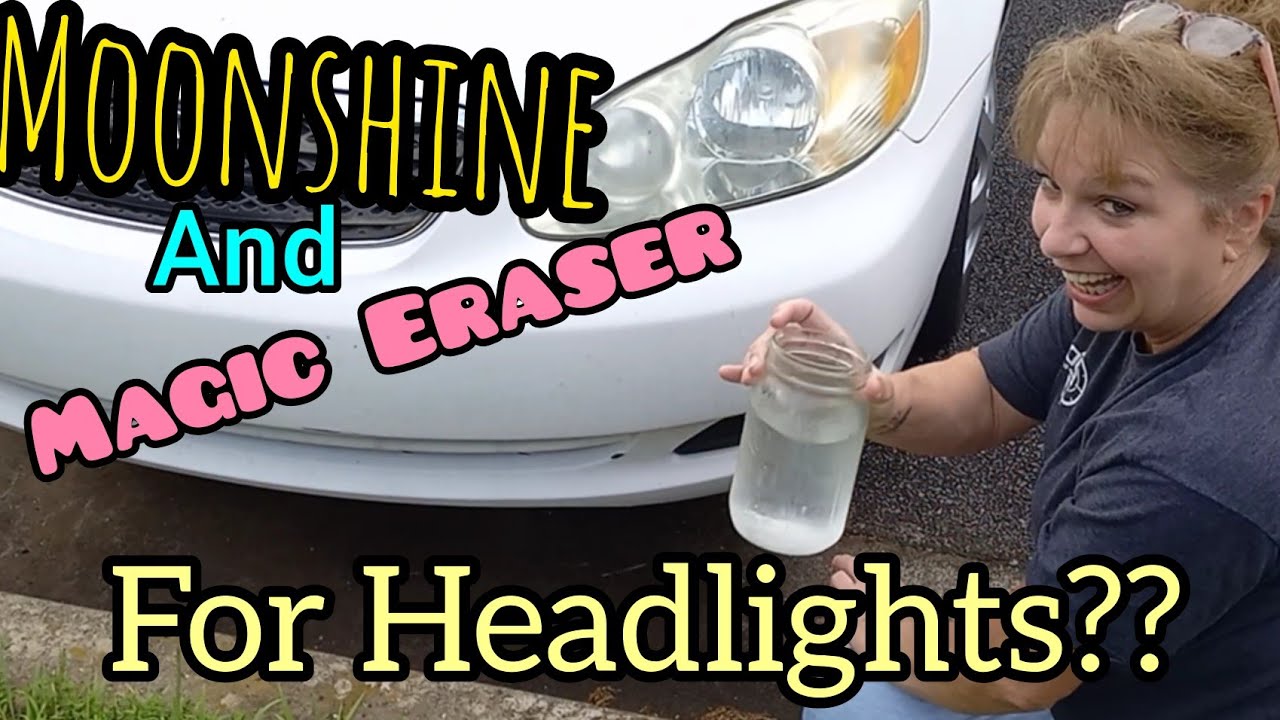
To clean headlights with a Magic Eraser, wet the eraser, gently scrub the headlights in circular motions, then rinse with water. A dull or foggy headlight can reduce visibility and compromise safety while driving.
Cleaning your headlights with a Magic Eraser is a simple and effective solution to restore clarity and brightness. The Magic Eraser’s fine grit helps remove dirt, grime, and oxidation from the headlights’ surface, resulting in improved visibility and a refreshed appearance.
With a few easy steps, you can enhance your headlights’ performance and ensure maximum safety on the road. Keep reading to learn how to clean headlights with a Magic Eraser in detail.
What Is A Magic Eraser
A Magic Eraser is a versatile cleaning tool that can be used to effectively clean headlights. Its abrasive properties remove dirt and grime, restoring clarity to the headlights for improved visibility on the road.
Composition
Magic Eraser is a highly effective cleaning tool that can help restore the clarity and shine of your headlights. Made from a unique melamine foam material, it consists of tiny microscrubbers that work wonders on a variety of surfaces, including plastic, glass, and metal. The composition of a Magic Eraser allows it to effortlessly remove stubborn dirt, grime, and oxidation from your headlights, leaving them looking as good as new.Uses
There are many ways you can use a Magic Eraser to clean your headlights. Here are a few techniques that can yield impressive results:- Dampen the Magic Eraser: Before getting started, make sure to dampen the Magic Eraser with water. This will activate its cleaning power and ensure gentle yet effective scrubbing.
- Gently scrub the headlights: Using light pressure, scrub the surface of your headlights with the damp Magic Eraser. The microscrubbers will work their magic, removing dirt and grime to reveal the true shine underneath.
- Rinse the headlights: Once you have cleaned the headlights to your satisfaction, rinse them thoroughly with water to remove any residual cleaner or debris.
- Dry and protect: After rinsing, make sure to dry the headlights using a clean, soft cloth. For added protection, consider applying a coat of wax specifically designed for headlights. This will help maintain their clarity and prevent future deterioration.
Credit: www.youtube.com
Why Use A Magic Eraser For Cleaning Headlights
Cleaning headlights with a Magic Eraser is a convenient and effective way to remove dirt, grime, and oxidation. The abrasive foam of the eraser gently scrubs the surface, restoring clarity and improving visibility while driving at night.
Why Use A Magic Eraser For Cleaning Headlights?
The Magic Eraser has gained popularity as a versatile cleaning tool that can tackle a wide range of surfaces. But why use it specifically for cleaning headlights? There are several compelling reasons that make the Magic Eraser an excellent choice for headlight restoration.
Gentle Yet Effective Cleaning
One of the key advantages of using a Magic Eraser for cleaning headlights is its gentle yet effective cleaning action. The melamine foam material of the Magic Eraser is non-abrasive, which means it won’t scratch or damage the delicate surface of your headlights. This makes it a perfect choice for headlights that may have accumulated dirt, grime, and even oxidation over time.
Removes Oxidation And Grime
Headlights are constantly exposed to various external elements, including UV rays, dirt, and pollution. Over time, this exposure can lead to the formation of a cloudy layer known as oxidation, which can severely reduce the brightness and effectiveness of your headlights. The Magic Eraser, with its micro-abrasive properties, can effectively remove this oxidation and restore the clarity and brightness of your headlights.
Additionally, the Magic Eraser can easily remove stubborn grime, bugs, and road tar that may have accumulated on the surface of your headlights. Its unique material and cleaning action make it capable of lifting off these contaminants without the need for harsh chemicals or excessive scrubbing.
In conclusion, the Magic Eraser is an excellent choice for cleaning headlights due to its gentle yet effective cleaning action and its ability to remove oxidation and grime. It provides a convenient and affordable solution for restoring the clarity and brightness of your headlights, improving both visibility and the overall appearance of your vehicle.
Materials Needed
When it comes to cleaning headlights with a Magic Eraser, you only need a few simple materials to get the job done. Gather the following items before you begin: Magic Eraser, water, and a microfiber cloth.
Magic Eraser
A Magic Eraser is a versatile cleaning tool that can work wonders on headlights. Made from melamine foam, this gentle yet effective sponge-like material is perfect for removing dirt, grime, and oxidation from the surface of your headlights.
Water
Water is an essential component in the cleaning process. It helps to break down dirt and allows the Magic Eraser to glide smoothly over the surface of your headlights. Make sure you have enough clean water readily available to dampen the eraser and rinse off any residue.
Microfiber Cloth
A microfiber cloth is an indispensable tool when it comes to achieving a streak-free shine on your headlights. After using the Magic Eraser, gently dry off the headlights using the microfiber cloth to ensure a clear, polished finish. Microfiber cloths are soft and non-abrasive, making them ideal for delicate surfaces like headlights.

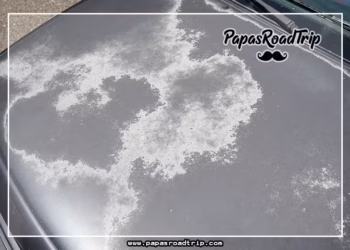
Credit: www.maplewoodautoinc.com
Step-by-step Guide To Clean Headlights With A Magic Eraser
Are your headlights looking dull and foggy, reducing visibility while driving at night? Cleaning headlights may seem like a daunting task, but with a Magic Eraser, it becomes a breeze. In this step-by-step guide, we will walk you through the process of restoring your headlights’ clarity and brightness using a Magic Eraser. So, let’s get started and give your headlights a new lease on life!
Preparation
Before you begin the headlight cleaning process, gather the necessary supplies. Here’s what you’ll need:
- A Magic Eraser
- Water
- A bucket
- A microfiber cloth
- Protective gloves
Once you have all the supplies ready, you can move on to the next step.
Wetting The Magic Eraser
Start by wetting the Magic Eraser thoroughly. Ensure it is damp but not dripping with water. This step is crucial as it helps activate the eraser and makes it ready to tackle the grime and oxidation on your headlights.
Gentle Scrubbing Motion
With the wet Magic Eraser in hand, gently scrub the headlights in a circular motion. Apply even pressure and avoid pressing too hard, as it may damage the delicate plastic surface. Keep scrubbing until you notice the grime lifting off and your headlights becoming clearer.
If there are stubborn stains or areas that require extra attention, you can focus on those spots with a bit more pressure. However, always be cautious and test an inconspicuous area first to ensure it doesn’t cause any damage.
Rinsing And Drying
Once you are satisfied with the results of the scrubbing, it’s time to rinse off the headlights. Use clean water from a bucket or hose to thoroughly rinse away any residue left behind by the Magic Eraser. Ensure that all cleaning solution is removed for a streak-free finish.
After rinsing, take a microfiber cloth and gently dry the headlights, ensuring there are no water spots left behind. This step is important to avoid any potential water damage or streaks.
And voila! You have successfully cleaned your headlights using a Magic Eraser, restoring their brightness and improving your nighttime visibility.
Remember, regular headlight cleaning helps maintain their longevity and ensures optimal performance. So, don’t forget to repeat this process periodically to keep your headlights in top shape.
Tips And Precautions
Learn how to effectively clean your headlights with a Magic Eraser using these helpful tips and precautions. Illuminate the road ahead and improve your visibility by following this simple step-by-step guide.
Avoid Excessive Pressure
One of the most important tips for cleaning headlights with a Magic Eraser is to avoid applying excessive pressure. While it may be tempting to scrub away at the headlights, using too much force can lead to scratches and damage the lens. Instead, apply gentle pressure and let the Magic Eraser do its job. A light touch will effectively remove buildup and restore clarity without causing any harm.
Test On A Small Area First
Before tackling the entire headlight, it’s crucial to test the Magic Eraser on a small, inconspicuous area first. This step allows you to ensure that the Magic Eraser is safe for your specific headlights and won’t cause any discoloration or damage. Apply the Magic Eraser to a small section and carefully observe the results. If there are no adverse effects, such as fading or scratching, you can proceed with confidence to clean the entire headlight.
Protect The Surrounding Paint
When cleaning headlights with a Magic Eraser, it’s vital to protect the surrounding paint from any accidental contact. The cleaning process can involve some rubbing and may cause slight abrasion if not careful. To avoid any unwanted damage, use masking tape or a protective film to shield the nearby painted surfaces. This precaution will ensure that only the headlights receive the cleaning treatment while the rest of the car remains unharmed.

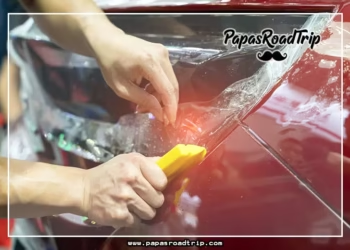
Credit: www.tiktok.com
Frequently Asked Questions On How To Clean Headlights With Magic Eraser
How Does A Magic Eraser Clean Headlights?
A magic eraser is made of a micro-abrasive material that gently removes dirt, grime, and oxidation from headlights, restoring their clarity.
Is It Safe To Use A Magic Eraser On Headlights?
Yes, a magic eraser is safe to use on headlights. However, it’s important to avoid excessive scrubbing to prevent any potential damage to your headlights.
Can A Magic Eraser Remove Yellowing From Headlights?
Absolutely! A magic eraser has the ability to remove yellowing and discoloration caused by UV exposure, giving your headlights a like-new appearance.
How Long Does It Take To Clean Headlights With A Magic Eraser?
The time it takes to clean headlights with a magic eraser varies depending on the level of buildup. Generally, it can take anywhere between 5-15 minutes per headlight to achieve desired results.
Conclusion
To recap, using a Magic Eraser to clean headlights is a simple and effective solution. Its abrasive properties combined with its gentle nature make it a great tool for removing oxidation and dirt. Follow the step-by-step process outlined in this guide to restore your headlights to their former glory.
Remember to exercise caution and always test in a small, inconspicuous area before proceeding with the entire headlight. With this method, you can achieve crystal-clear headlights and improve your visibility on the road. Happy cleaning!


