If you’re tackling a body repair project, you might wonder: can you apply Feather Fill G2 directly over bare metal? The answer isn’t just yes or no—it depends on how you want your repair to hold up over time.
You want your work to last, right? Skipping important steps could lead to rust, bubbling, or cracking down the road. You’ll discover why prepping your metal with primer often makes all the difference, how Feather Fill G2 performs on different surfaces, and when it’s okay to apply filler right onto bare metal.
Keep reading to learn the smart way to get a smooth, durable finish that protects your investment and keeps your vehicle looking sharp.
Feather Fill Basics
Feather Fill G2 is a popular product in auto body repair. It helps smooth surfaces and fix minor dents. Understanding its basics helps achieve better repair results. This section covers what Feather Fill G2 is and its common uses.
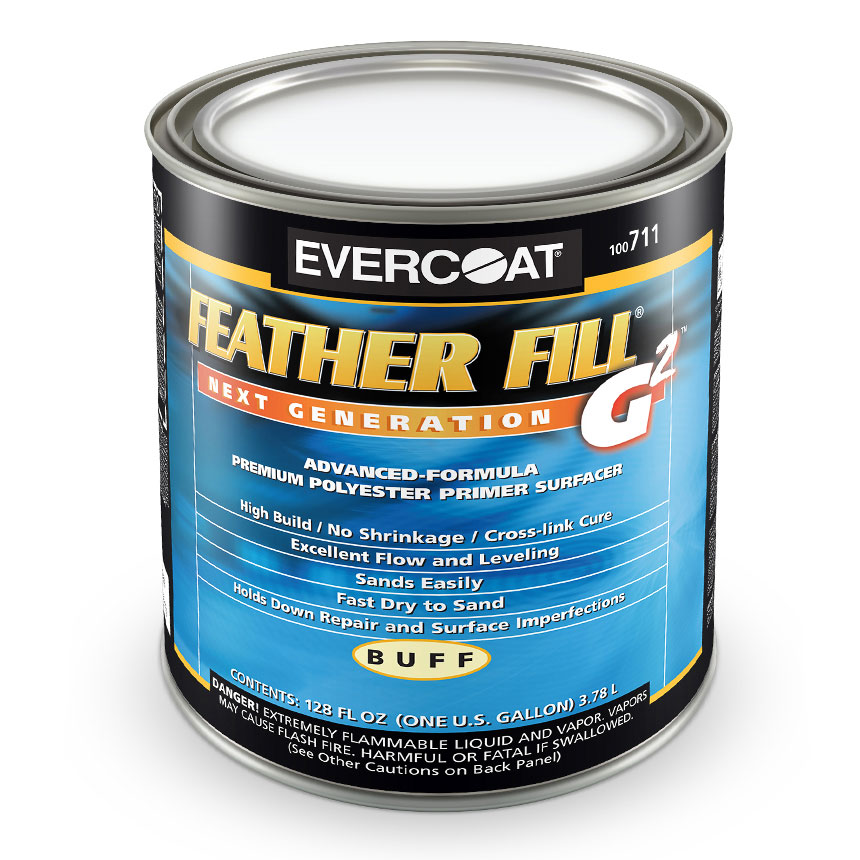
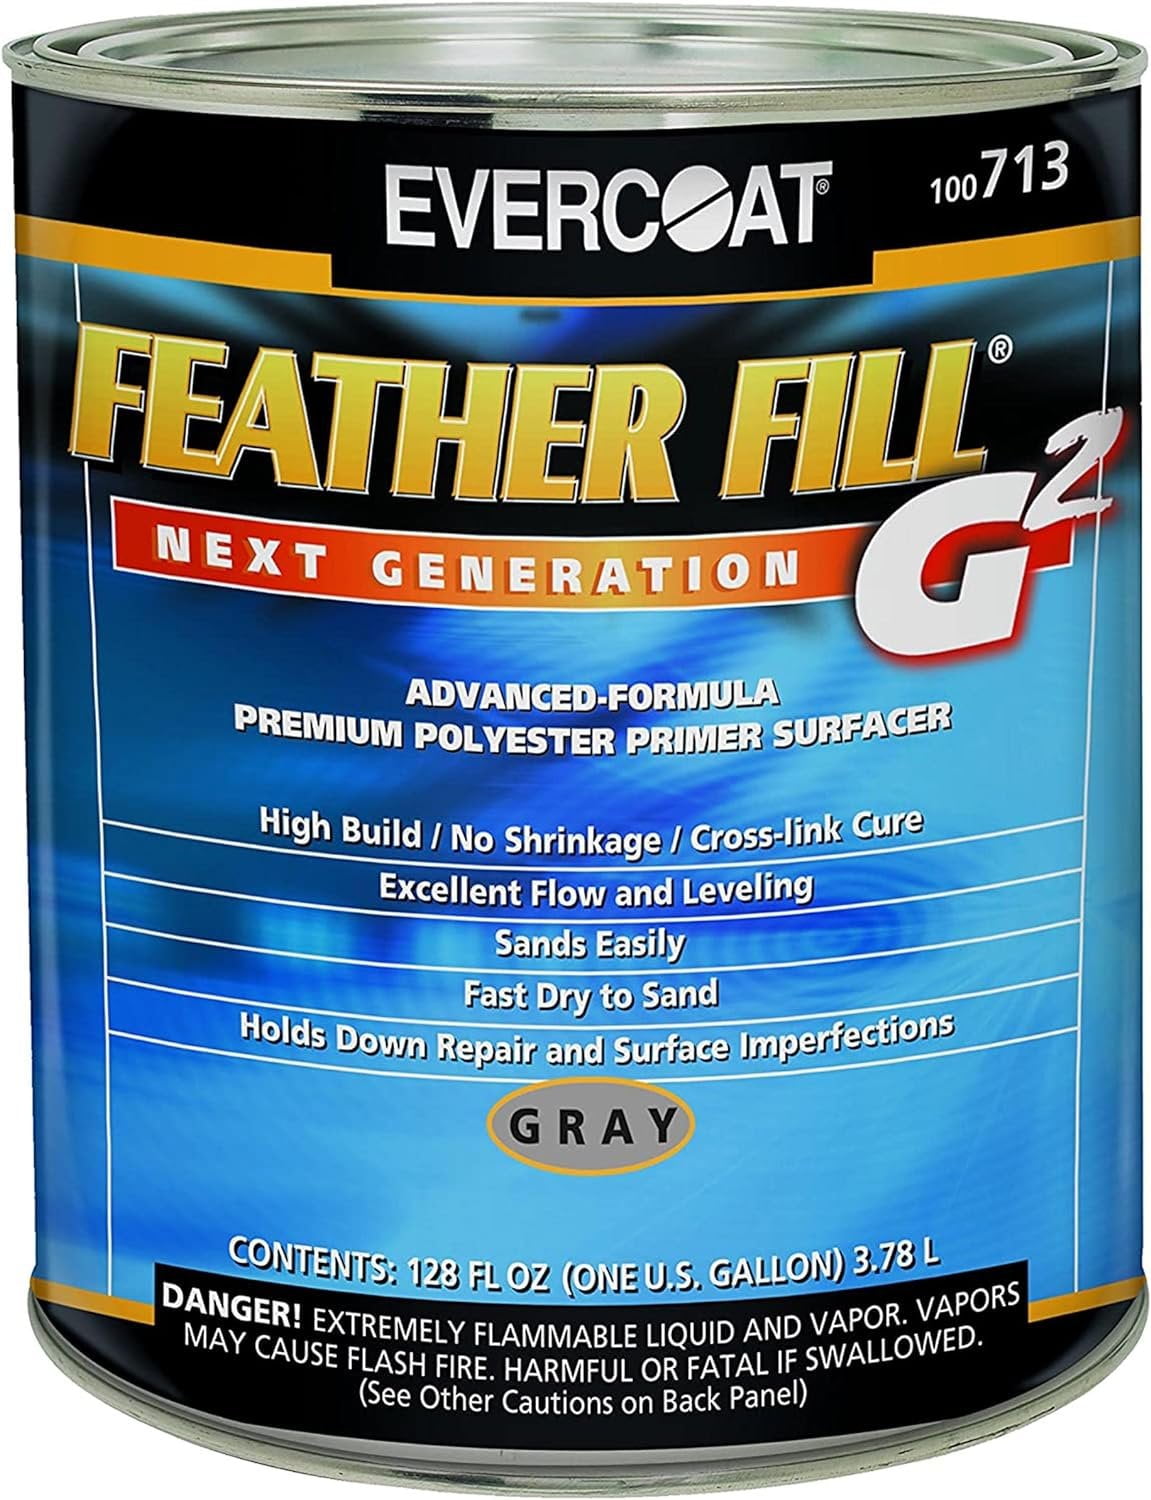
What Is Feather Fill G2
Feather Fill G2 is a lightweight body filler. It spreads easily and sands smoothly. The product is designed to fill small dents and scratches. It bonds well with many surfaces, including metal and fiberglass.
This filler dries fast and shrinks less than other fillers. It allows for quick and efficient repairs. Feather Fill G2 is easy to shape, which saves time in finishing work.
Common Uses In Auto Repair
Feather Fill G2 is widely used to fix minor body damage. It repairs small dents, dings, and scratches on cars. The filler works well over bare metal, but primer is recommended for best results.
Auto technicians use it to prepare surfaces before painting. It smooths out imperfections and creates a clean, even base. Feather Fill G2 is also useful for filling pinholes and small cracks.

Credit: www.eastwood.com
Bare Metal Challenges
Working with bare metal surfaces presents unique challenges in automotive repair. Bare metal is prone to corrosion and damage if not properly treated before applying filler. Understanding these challenges helps ensure a durable and smooth finish. Applying filler directly over bare metal without the right preparation can cause problems later.
Risks Of Applying Filler Directly
Applying filler straight on bare metal risks poor adhesion. Filler may not stick well, leading to cracks or peeling. It lacks rust protection, so moisture can reach the metal. Over time, this causes rust to form beneath the filler. The filler itself can trap moisture, worsening the problem. This weakens the repair and shortens the lifespan of the finish.
Why Rust Occurs Under Filler
Rust forms under filler because metal is exposed to air and moisture. Filler does not seal metal completely. Tiny gaps allow water to seep through. Moisture reacts with metal, causing oxidation or rust. Without a protective primer, rust spreads beneath the filler layer. This leads to bubbles or blisters on the surface. Rust under filler damages the repair and may require full rework.
Primer Importance
Applying Feather Fill G2 directly over bare metal is a practice seen in many body shops. Primer plays a crucial role in this process. It prepares the metal surface, ensuring better results and durability. Without primer, the metal is exposed to moisture, which causes rust. Primer acts as a shield, protecting the metal beneath the filler. It also helps the filler stick firmly to the metal, preventing peeling or cracking over time.
Rust Protection Benefits
Metal rusts quickly when exposed to air and moisture. Body filler alone does not stop rust. Primer creates a barrier that blocks moisture from reaching the metal. This stops rust from forming under the filler. Rust weakens the metal and ruins the repair. Using primer first extends the life of the repair by preventing rust damage.
Enhancing Filler Adhesion
Primer roughens the metal surface slightly. This roughness helps the filler grip the metal better. Without primer, the filler can slip or peel off. Primer also seals the metal, stopping oils or dirt from weakening the bond. Good adhesion means the repair stays strong and smooth. It reduces the chance of cracks or bubbles forming later.
Types Of Recommended Primers
Epoxy primers are the best choice for bare metal. They provide strong rust protection and excellent adhesion. Self-etching primers are also useful for quick repairs. They contain acid that etches the metal for better grip. Use high-quality primers made for automotive use. Avoid cheap primers that lack corrosion resistance. Always follow the primer’s instructions for best results.
Credit: www.autobodytoolmart.com
When To Apply Filler On Bare Metal
Applying feather fill G2 over bare metal requires careful timing. Knowing when to apply filler ensures a smooth, durable finish. Bare metal is sensitive and prone to rust. Proper preparation and timing prevent future problems like corrosion and peeling. This section explains the key moments to apply filler directly on bare metal.
Time-sensitive Repairs
Time-sensitive repairs demand quick action. When metal is freshly exposed, moisture can cause rust fast. Applying feather fill G2 immediately helps seal the surface. This prevents rust from forming under the filler. Quick application works best if the metal is clean and dry. Avoid delays to keep the repair strong and lasting.
Handling Complex Dents
Complex dents often expose bare metal in deep spots. Feather fill G2 is ideal for filling these areas. Applying filler directly saves time and effort. It shapes the dent before sanding and painting. For best results, clean the metal thoroughly. Use filler to build up low spots and smooth the surface evenly.
Preparation Steps
Proper preparation is key to a smooth Feather Fill G2 application over bare metal. This process ensures strong adhesion and lasting results. Skipping steps can lead to rust or poor finish. Follow each step carefully for the best outcome.
Cleaning And Sanding Bare Metal
Start by removing all dirt, grease, and oil from the metal surface. Use a wax and grease remover for a clean base. Next, sand the metal using 80-120 grit sandpaper. This creates a rough surface for better filler grip. Make sure to remove all rust and old paint. Wipe the area clean with a cloth before moving on.
Primed Surface Prep
Applying primer protects the metal from rust and moisture. Use a high-quality epoxy or self-etch primer designed for bare metal. Spray a thin, even coat and let it dry fully. Once dry, sand the primer lightly with 320-400 grit sandpaper. This smooths the surface and helps the Feather Fill G2 stick firmly.
Tools Needed For Prep
Gather these tools before starting: wax and grease remover, sandpaper (80-120 grit and 320-400 grit), sanding block, clean cloths, and a quality primer spray. Having the right tools ready saves time and improves results. Proper tools make the preparation easier and more effective.
Credit: www.walmart.com
Application Techniques
Applying Feather Fill G2 over bare metal requires careful technique for best results. Proper preparation and application ensure a smooth, durable finish. The right steps prevent issues like rust and poor adhesion. This section explains how to mix and apply Feather Fill G2 on bare metal and primer. It also highlights common mistakes to avoid.
Mixing Feather Fill G2
Start by squeezing the correct amount of filler onto a clean mixing board. Add the recommended hardener in small drops. Mix the two thoroughly using a spreader until you see a uniform color. Avoid mixing too much at once; it can harden before use. Work quickly but carefully to get the right consistency. The mixture should be smooth and easy to spread.
Applying Over Bare Metal
Ensure the bare metal surface is clean and free of rust, dirt, or grease. Sand the metal with a fine grit to create a rough texture for better adhesion. Apply Feather Fill G2 in thin layers rather than one thick coat. Spread the filler evenly, focusing on low spots and imperfections. Let each layer cure completely before sanding or applying more filler. This approach helps avoid cracking and peeling.
Applying Over Primer
Primer acts as a protective barrier and improves filler adhesion. Lightly sand the primer surface with fine grit sandpaper to remove gloss. Clean the area to remove dust and oils. Apply Feather Fill G2 as you would on bare metal, using thin, even layers. The primer helps prevent moisture from reaching the metal, reducing rust risk. This method increases the repair’s durability and lifespan.
Common Mistakes To Avoid
Do not apply filler directly over rust or contaminated metal. It weakens adhesion and causes future problems. Avoid mixing too much hardener, which shortens working time. Applying thick layers can lead to cracking and poor curing. Skipping primer over large bare metal areas increases rust risk. Rushing the process without proper sanding reduces finish quality. Follow steps carefully for a strong, smooth repair.
Curing And Sanding
Curing and sanding are crucial steps when using Feather Fill G2 over bare metal. Proper curing ensures the filler hardens fully, providing a solid base for sanding. Sanding shapes the filler, creating a smooth surface ready for painting. Skipping these steps or rushing can cause problems later, like uneven surfaces or poor paint adhesion.
Taking time to cure the filler properly helps prevent dents and scratches during sanding. Using the right sanding techniques reduces dust and keeps the surface even. Both steps affect the final look of your project, so it pays to do them carefully.
Optimal Drying Times
Feather Fill G2 dries fast but needs enough time to cure completely. Usually, it takes about 20 to 30 minutes at room temperature. Warmer temperatures can speed up drying, while cooler ones slow it down. Avoid sanding too soon; the filler must be hard, not soft or sticky. Test the surface by pressing gently with a finger. If it feels firm, it is ready to sand.
Proper drying prevents clogging your sandpaper and ensures a smooth finish. Let the filler cure longer if you see any softness. Patience here saves time in the sanding stage.
Sanding Tips For Smooth Finish
Start sanding with a coarse grit like 80 or 120 to shape the filler. Use a sanding block to keep the surface flat and avoid dips. Sand in a circular or back-and-forth motion with gentle pressure. Change to finer grits, such as 220 or 320, to smooth the surface gradually.
Keep the sandpaper clean and replace it when clogged. Wet sanding with water can reduce dust and give a finer finish. Always wear a mask to protect from dust particles. A well-sanded surface shows no scratches or bumps and feels smooth to touch.
Long-term Maintenance
Long-term maintenance is key to preserving repairs using Feather Fill G2 over bare metal. Proper care helps avoid future problems like rust and filler damage. Regular inspection and timely action keep the repaired surface strong and looking good.
Preventing Rust Post-repair
Rust can form under the filler if moisture reaches bare metal. Always ensure the metal is clean and dry before application. Applying a high-quality epoxy primer before Feather Fill G2 creates a protective barrier. This primer stops moisture from touching the metal. Avoid leaving filler exposed to water for long periods. Store the repaired item in a dry place to reduce rust risk. Routine checks can catch early signs of corrosion. Fix small rust spots immediately to prevent spread.
Signs Of Filler Failure
Watch for cracks or bubbles on the filler surface. These signs suggest moisture trapped under or poor adhesion. Soft spots or peeling indicate the filler may be losing bond with metal. Discoloration or rust stains near the repair also warn of failure. If you notice these issues, remove the damaged filler. Clean and treat the metal, then reapply primer and filler. Early repair stops bigger problems and extends the life of your work.
Product Recommendations
Choosing the right products is key for a smooth Feather Fill G2 application over bare metal. Proper selection ensures good adhesion, rust protection, and a long-lasting finish. Here are some top product picks that work well in this process.
Top Epoxy Primers
Epoxy primers create a solid base on bare metal. They protect metal from rust and help filler stick better. Look for primers with strong adhesion and corrosion resistance. Popular choices include:
- Eastwood Self-Etch Primer – Known for excellent metal bonding.
- 3M Scotch-Weld Epoxy Primer – Offers great rust prevention.
- U-POL Epoxy Primer – Easy to sand and durable.
Apply one even coat and allow it to cure fully before feather filling. This step extends repair life and prevents future issues.
Best Tools For Feather Filling
Using the right tools helps achieve a smooth and even feather fill. Quality tools reduce sanding time and improve finish quality. Recommended tools include:
- Plastic spreaders – Flexible and gentle on surfaces.
- Rubber squeegees – Great for applying thin, even layers.
- Sandpaper (180 to 320 grit) – For shaping and smoothing filler.
- Backing blocks – Provide flat surfaces for sanding.
Keep tools clean to avoid contamination and ensure the best results.
Frequently Asked Questions
Is Feather Fill G2 Direct To Metal?
Feather Fill G2 is not designed for direct application on bare metal. Apply a quality epoxy or self-etch primer first to ensure proper adhesion and prevent rust. This method protects metal from moisture and improves filler durability. Always prep metal surfaces before applying Feather Fill G2.
Is It Okay To Put Body Fillers On Bare Metal?
Applying body filler directly on bare metal is possible but not ideal. Use epoxy primer first to prevent rust and ensure durability. Primer isolates metal from moisture, extending repair life and avoiding blisters or corrosion beneath the filler. Always prep metal properly before filler application.
Can I Paint Directly Over Feather Fill?
You should not paint directly over feather fill. Always sand it smooth and apply a primer before painting for proper adhesion and durability.
Can You Spray 2k Primer Over Bare Metal?
You can spray 2K primer over bare metal after cleaning and sanding. Use an epoxy or self-etch primer first for rust protection and better adhesion. This ensures durability and prevents rust under the primer.
Can Feather Fill G2 Be Applied Directly Over Bare Metal?
Feather Fill G2 can be applied on bare metal but needs proper surface prep for best adhesion.
Conclusion
Feather Fill G2 works well on many surfaces, including bare metal. Still, applying a proper primer first helps protect metal from rust. Without primer, moisture can cause rust and damage under the filler. Using epoxy primer seals metal and improves repair durability.
This simple step extends the life of your paint job. Remember, careful preparation leads to better results. Choose the right method to keep your vehicle looking great longer.


