Are you thinking about giving your car’s parking sensors a fresh new look by painting them? You’re not alone.
Many car owners wonder if painting these tiny yet important devices is safe or if it might mess up their function. After all, parking sensors help keep you safe by detecting obstacles when you’re backing up. So, can you paint parking sensors without risking their performance?
You’ll discover the truth about painting parking sensors, how to do it right if possible, and what risks you should avoid. Keep reading to make sure your sensors stay both stylish and fully functional.
Painting Parking Sensors
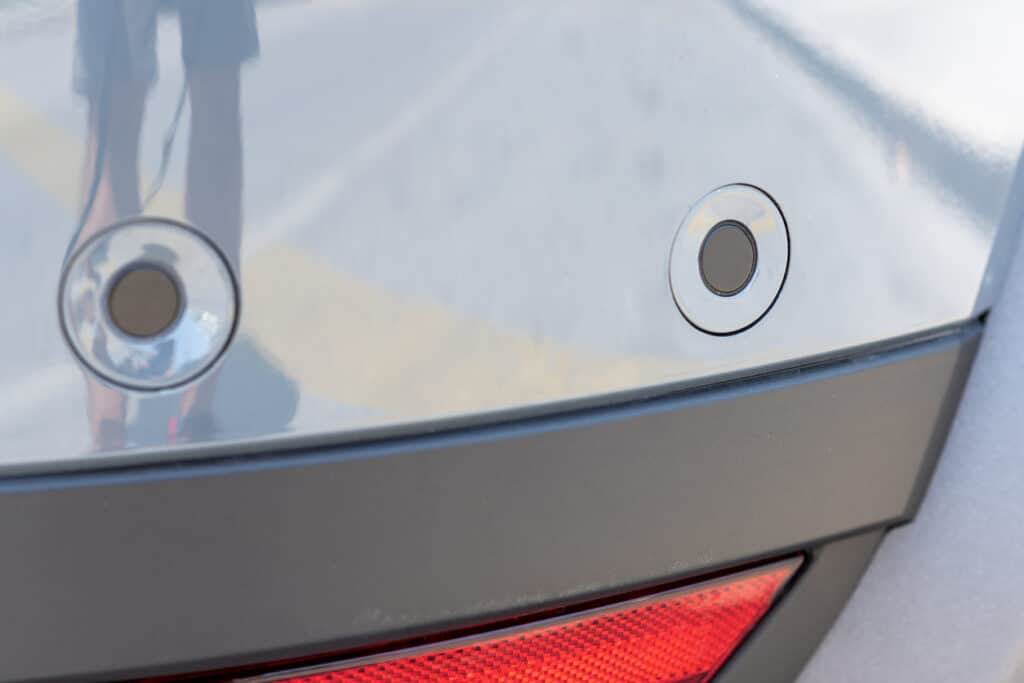
Painting parking sensors can help them blend better with your car’s color. It offers a cleaner, more uniform look. Many car owners want their sensors to be less visible without harming their function. Before painting, it is important to know what works and what does not.
Can You Paint Them?
Yes, parking sensors can be painted, but it requires care. The paint must be thin and even to avoid problems. Special paints made for plastic surfaces work best. Avoid thick coats that can block the sensor’s signals. Proper preparation, like cleaning and lightly sanding, helps paint stick well.
Common Concerns
Many worry that paint will stop sensors from working. Another concern is paint peeling off over time. Using the wrong paint may cause damage or make sensors less sensitive. It is best to test on a small area first. Also, avoid painting the sensor’s front face too heavily.
Effect On Sensor Function
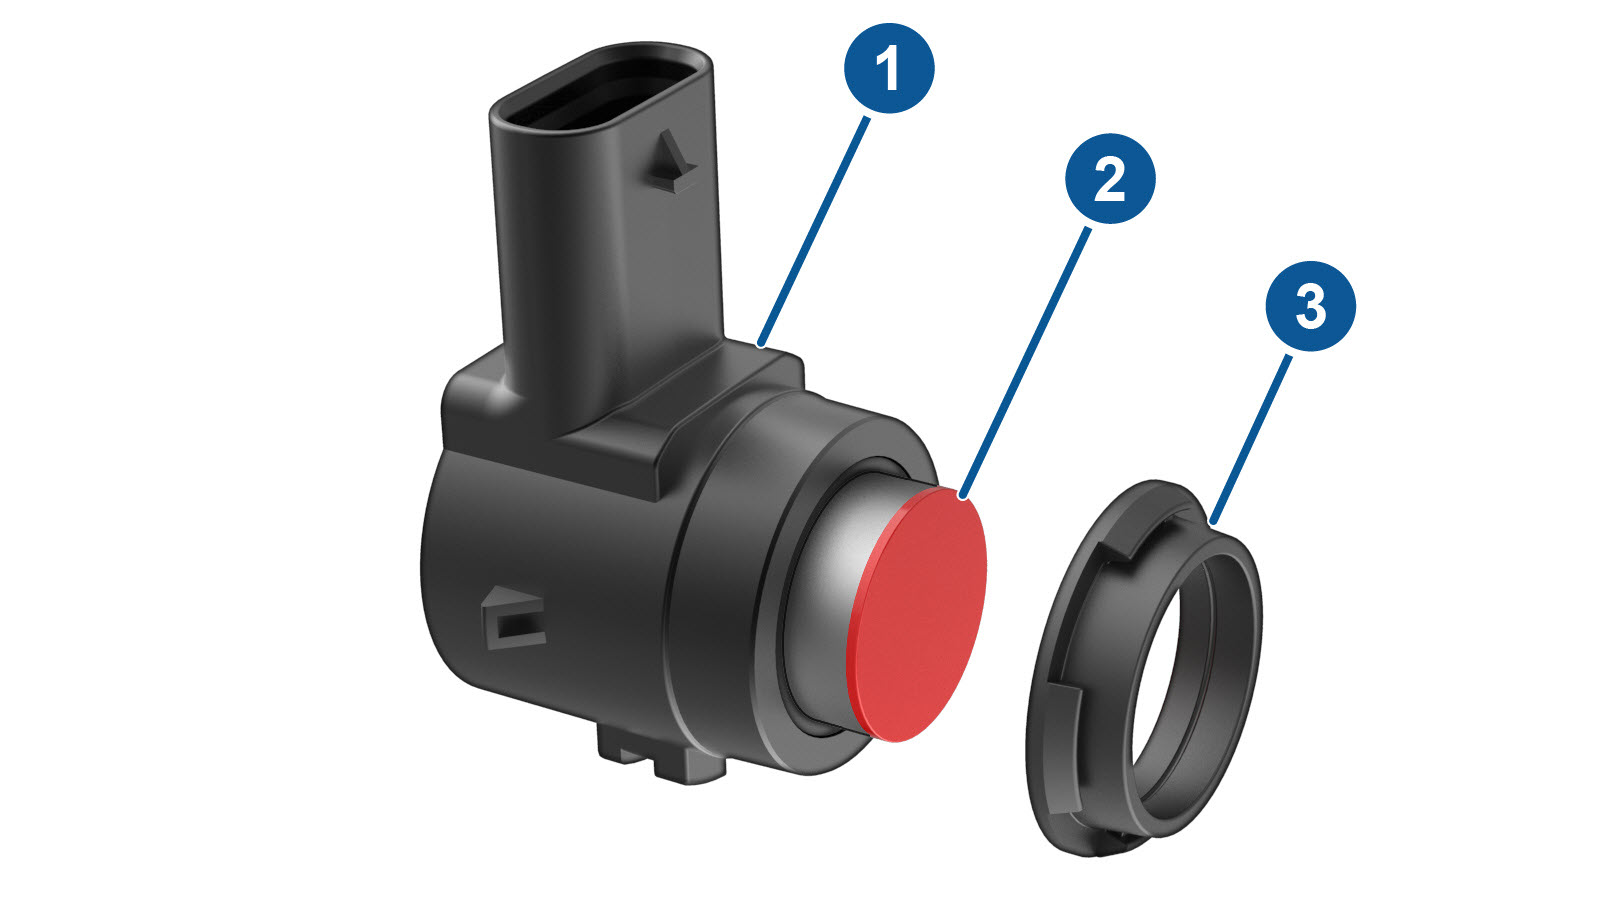
Parking sensors use sound waves to detect objects. Thick or uneven paint layers can block these waves. This may cause false alerts or no alerts at all. Thin, smooth paint layers usually do not affect sensor performance. Always let paint dry fully before reattaching the sensors.
Credit: www.jtape.com
Preparation Steps
Before painting parking sensors, preparation is essential. Proper preparation ensures the paint adheres well and the sensors work correctly. Skipping steps can cause damage or poor results. Follow these steps carefully to get the best finish without affecting sensor performance.
Cleaning The Sensors
Start by cleaning the sensors thoroughly. Use a soft cloth with mild soap and water. Avoid harsh chemicals that can damage sensor surfaces. Remove all dirt, grease, and grime. Let the sensors dry completely before painting. Clean sensors allow the paint to stick better and prevent peeling.
Removing Or Masking
Decide if you want to remove the sensors or mask them. Removing sensors is safer but requires care and tools. Masking protects sensor parts that should not be painted. Use painter’s tape to cover sensor openings and edges. Make sure the tape fits tightly to avoid paint seeping underneath.
Choosing The Right Paint
Select paint made for plastic or automotive parts. Use paint that is thin and dries fast. Avoid thick or glossy paints that block sensor signals. Matte or satin finish paints work best for sensors. Test the paint on a small area to check adhesion and color match.
Painting Techniques
Painting parking sensors requires careful technique to avoid damaging their function. Proper painting keeps sensors working while blending them with your vehicle’s color. Different methods suit different skill levels and tools. Here are some reliable painting techniques to consider.
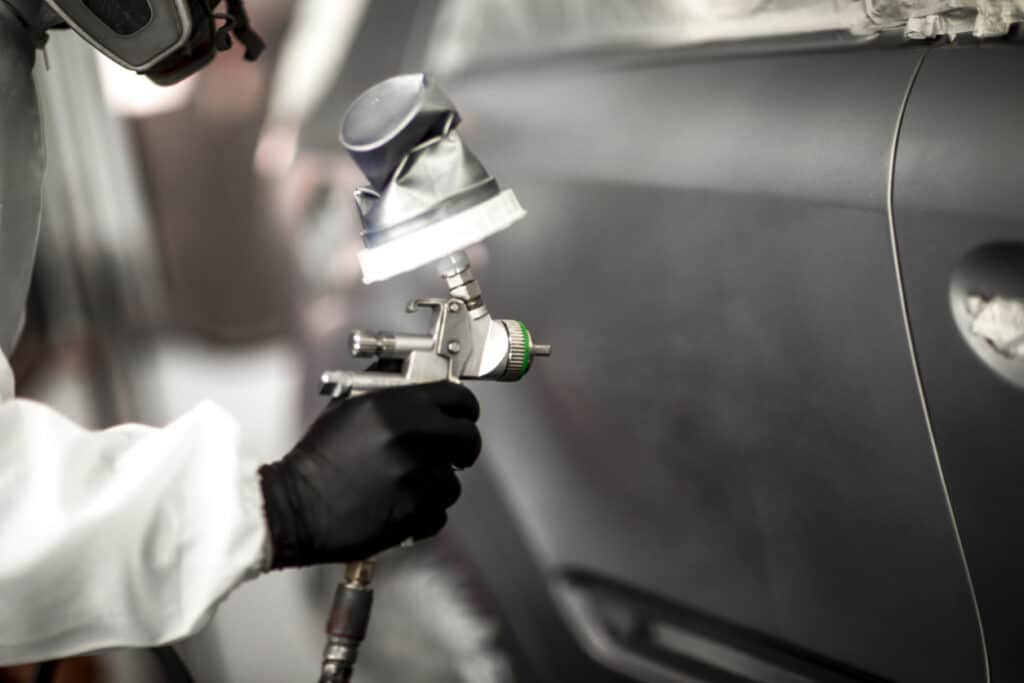
Spray Painting Tips
Spray painting offers an even finish for parking sensors. Use light, multiple coats instead of one heavy coat. Hold the spray can about 6-8 inches away from the sensor surface. Allow each coat to dry fully before applying the next. Mask off areas around the sensor to prevent overspray. Avoid spraying too much paint, which can block sensor signals.
Hand Painting Methods
Hand painting works well for small touch-ups on sensors. Use a fine brush to apply paint carefully. Dip the brush lightly to avoid drips or thick layers. Apply thin coats and let each dry before adding more. This method requires steady hands and patience. It offers more control but takes longer than spray painting.
Using Color Match Paints
Color match paints help blend sensors with your car’s body color. Choose paint designed for automotive use and match the exact shade. Use a paint code from your vehicle or get a sample from a dealer. Matching colors makes the sensors less visible and keeps a professional look. Test the paint on a small area before full application.
Credit: service.tesla.com
Drying And Curing
Drying and curing are vital steps after painting parking sensors. Proper drying ensures the paint sets well and lasts longer. Curing strengthens the paint and protects the sensor’s function. Without enough drying and curing time, paint may peel or damage the sensor.
Optimal Conditions
Choose a dry, dust-free place for drying. Keep temperature between 60°F and 80°F. Avoid high humidity, which slows drying. Good airflow helps paint cure faster. Let the paint dry for at least 24 hours. Avoid touching or moving sensors during this time. Follow paint manufacturer instructions for best results.
Avoiding Paint Damage
Do not rush the drying process by using heat guns or direct sunlight. These can cause cracks or bubbles. Avoid washing the car or exposing sensors to water too soon. Use gentle cleaning methods after full curing. Handle sensors carefully to prevent scratches or chips. Proper care extends sensor life and maintains appearance.
Wrapping Vs Painting
Choosing between wrapping and painting parking sensors affects their look and function. Wrapping uses vinyl films to change sensor color without chemicals. Painting applies layers of paint directly on sensors. Each method has pros and cons, especially for sensor performance. Understanding these helps protect your vehicle’s safety features.
Wrapping Methods
One way is to remove sensors from the bumper, wrap them individually, then reinstall. This avoids damage and ensures a smooth finish. Another method is applying vinyl over the bumper, then carefully trimming around each sensor. This keeps sensor surfaces clear and maintains appearance. Some wrap installers tuck vinyl edges around sensor rims, then heat the film to secure it tightly.
Risks Of Improper Wrapping
Wrapping too thickly over sensors can block signals, causing false alerts or sensor failure. Cutting vinyl poorly leaves gaps or overlaps, which may trap dirt or moisture. Wrapping with low-quality film may peel quickly, exposing sensors to damage. Using heat improperly can warp sensor plastic or loosen adhesive. Careless wrapping can reduce sensor lifespan and parking safety.
Sensor Performance With Wraps
Proper wraps do not affect sensor accuracy or range. Thin, smooth vinyl films allow ultrasonic signals to pass easily. Sensors wrapped with precise cuts continue detecting obstacles reliably. Thick or uneven wraps weaken signal strength and create blind spots. Keeping sensor faces clear ensures the system works as designed. Wrapping can protect sensors from scratches while preserving function.
Common Mistakes To Avoid
Painting parking sensors might seem simple, but many make common errors. These mistakes can reduce sensor function and cause costly repairs. Knowing what to avoid helps keep sensors working well and looking good.
Thick Paint Layers
Applying thick paint blocks sensor signals. Sensors use sound waves or electromagnetic signals. Thick paint layers absorb or scatter these signals. Sensors may fail to detect obstacles. Always use thin, even coats of paint on sensors.
Blocking Sensor Surface
Covering the sensor surface with paint harms its ability to work. The sensor’s front must stay clear and smooth. Paint buildup creates a barrier, causing false alerts or no alerts. Avoid painting directly on the sensor face or lens.
Ignoring Manufacturer Guidelines
Each sensor brand has specific instructions for painting. Ignoring these can void warranties and damage sensors. Some sensors should never be painted. Follow all manufacturer rules to protect sensor function and vehicle safety.
Testing After Painting
Testing after painting parking sensors is essential to ensure they work correctly. Paint can block or weaken sensor signals. It may cause errors or reduce accuracy. Careful testing confirms the sensors still detect obstacles properly.
Always test sensors in a safe, controlled environment. This helps spot any problems early. Quick checks save time and prevent costly repairs later.
Functionality Checks
Start by turning on the vehicle and activating the parking system. Listen for beeps or alerts when an object is near the sensors. Move a solid object slowly toward each sensor. The sensor should respond with increasing beep frequency as the object gets closer.
Check all sensors individually. Make sure none remain silent or give false alarms. Also, observe the dashboard or screen display for any warning messages about sensor faults.
Troubleshooting Issues
If a sensor does not respond, inspect the painted surface. Excess paint or thick layers may block signals. Clean the sensor gently with a soft cloth or remove excess paint carefully.
Reset the parking sensor system if possible. Consult the vehicle manual for reset instructions. If problems persist, professional inspection may be necessary. Avoid repainting without proper preparation to prevent recurring issues.
Credit: www.jtape.com
When To Seek Professional Help
Painting parking sensors might seem simple, but some situations need expert care. Sensors play a key role in safety and parking ease. Mistakes during painting can cause sensor failure or wrong signals. Knowing when to seek professional help saves time and money. Experts understand sensor types and how paint affects them.
Complex Sensor Systems
Modern cars often use advanced sensor systems. These systems have multiple sensors working together. Each sensor must stay clear of paint that blocks signals. Professionals know how to handle complex wiring and sensor types. They use special tools to protect sensors during painting. DIY painting can damage these sensitive parts easily. Experts ensure sensors work perfectly after paint jobs.
Advanced Painting Needs
Some paint jobs require special techniques. Matching the car’s exact color and finish needs skill. Professionals mix paint to get perfect shades and textures. They use equipment to apply paint evenly on small sensor surfaces. Painting without proper tools can cause uneven coats and peeling. Experts also protect sensor lenses from paint buildup. This keeps sensors accurate and reliable.
Frequently Asked Questions
Can You Wrap Parking Sensors?
Yes, you can wrap parking sensors carefully. Remove sensors or trim vinyl precisely around them. Avoid covering sensors fully to prevent malfunctions. Proper wrapping keeps sensors functional and avoids false alarms.
What Kind Of Paint Can I Use To Paint A Parking Spot?
Use durable, water-based or oil-based traffic paint designed for pavement. Look for fast-drying, weather-resistant, and non-slip formulas. Acrylic latex paint is popular for parking spots due to its longevity and ease of application. Always choose paint labeled for outdoor concrete or asphalt use.
How To Paint Parking Sensors On A Vw?
Clean the VW parking sensors with alcohol. Mask around sensors carefully to avoid overspray. Use thin, sensor-safe paint in light coats. Allow each coat to dry before applying the next. Avoid thick layers to prevent sensor malfunction.
Can You Paint A Motion Sensor?
Painting a motion sensor is not recommended. Paint can block or interfere with its detection ability and cause malfunction.
Can You Paint Parking Sensors Without Damage?
Yes, you can paint them carefully using thin, even coats and sensor-safe paint.
Conclusion
Painting parking sensors is possible but requires great care. Use thin, even coats to avoid blocking sensor signals. Thick paint or wrong materials can cause sensor errors. Always test sensors after painting to ensure proper function. When done right, painted sensors can match your car’s look without losing accuracy.
Take your time and follow proper steps for best results. This keeps your parking system working well and your car looking neat.


